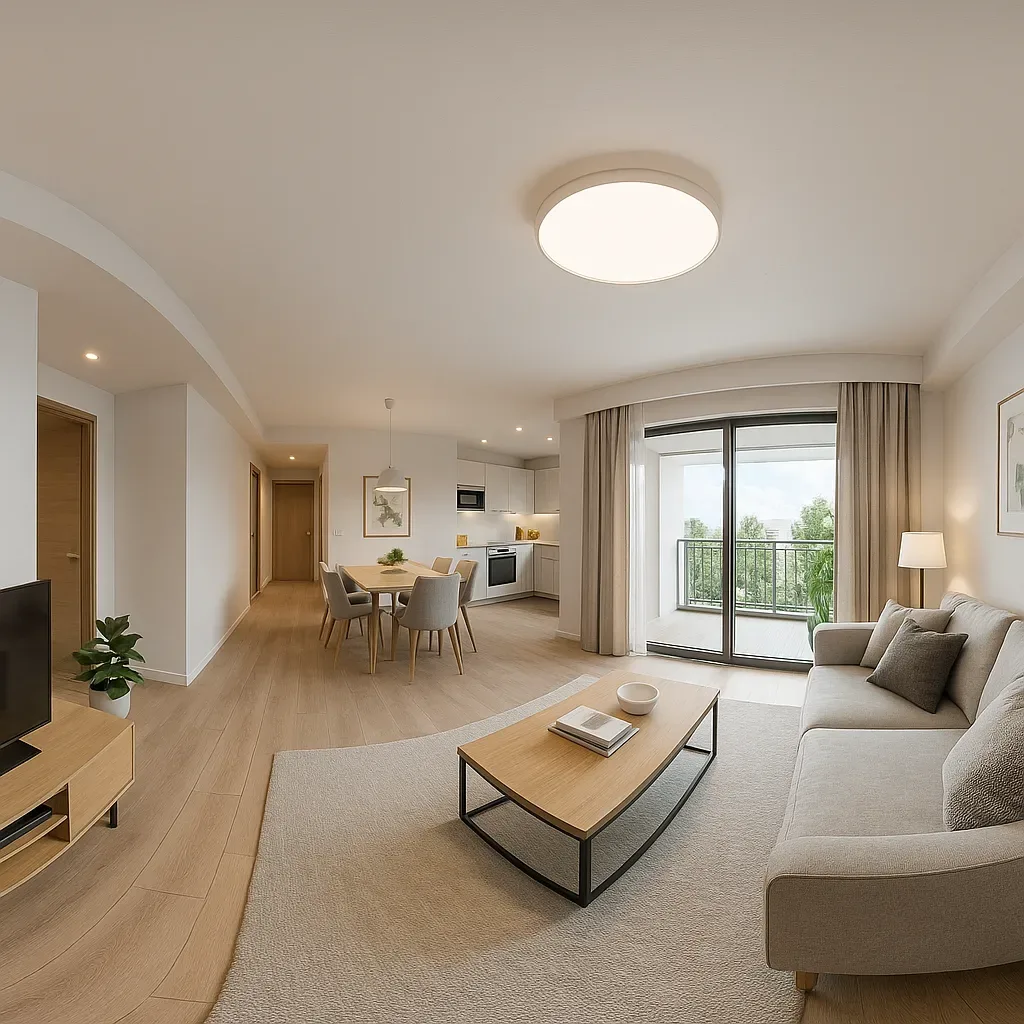
Why Build a Virtual Home Before Installing Smart Home Devices
Smart home projects planned without a digital model frequently suffer from: sensors placed in the wrong position leaving coverage gaps, insufficient Zigbee/Wi-Fi signal in certain zones due to uncalculated distances, redundant or missing Cat6 cabling runs, and budget overruns from post-installation corrections. A 360-degree virtual model lets every family member visualise the result before any money is spent, cutting rework costs by 40–60%.
Step 1: Create a Digital Floor Plan
Sweet Home 3D (free) — Open-source, easy to use, imports architect DXF files, places smart home devices in a 3D view, and exports OBJ or PNG.
RoomSketcher (freemium) — 2D/3D floor plans with online walkthrough. Good for presenting to contractors or interior designers.
AutoCAD LT / DraftSight — Millimetre-precision plans ideal for routing conduit and Cat6 for a smart home build.
Step 2: 3D Visualisation with Twinmotion
Twinmotion (currently free for personal use, by Epic Games) converts a floor plan into a photorealistic real-time ray-traced 3D environment. Simulate sunlight angles at Bangkok’s GPS coordinates to plan CCTV placement, solar panel orientation, and motion sensor fields of view. Test camera blind spots and Zigbee/Wi-Fi signal paths before purchasing hardware.
Step 3: Map Smart Home Devices onto the Floor Plan
Home Assistant Floorplan is a custom Lovelace card that overlays real-time device status on your actual floor plan. Upload your floor plan as SVG or PNG to /config/www/, assign HA entities to each device position, set colour states for On/Off/Alert, and monitor your entire home on a single mobile screen.
Step 4: Plan Wireless Network Coverage
NetSpot (free tier) — Draw a Wi-Fi signal heatmap over your floor plan to locate dead zones and position mesh nodes or additional APs.
Zigbee2MQTT Network Map — After deploying your Zigbee coordinator, use the built-in Network Map to visualise the full mesh topology and signal strength between nodes, enabling optimal placement of router nodes (signal-repeating Zigbee devices).
Step 5: Test Automations in a Virtual Environment
Before deploying automations to your live home, test them in Home Assistant Demo or a local HA Docker container. Create virtual entities that simulate each device and verify Trigger/Condition/Action logic — preventing scenarios such as an automation switching on the air conditioner at 3 a.m. or locking a door while someone is still inside.
AR Tools for Real-Space Visualisation
IKEA Place App — AR furniture placement through your phone camera. Useful for ensuring furniture choices do not obstruct sensor fields of view.
Measure App (iOS/Android) — Measure room dimensions with LiDAR (iPhone 12 Pro and later) or ARCore and import the data directly into Sweet Home 3D.
ROI of Virtual Home Planning
Across more than 50 smart home installations, investing 2–5 hours in virtual home design upfront saves ฿15,000–50,000 per project in post-installation rework costs — especially for cabling inside concrete walls. Virtual home planning is the highest-return investment you can make before starting a smart home project.