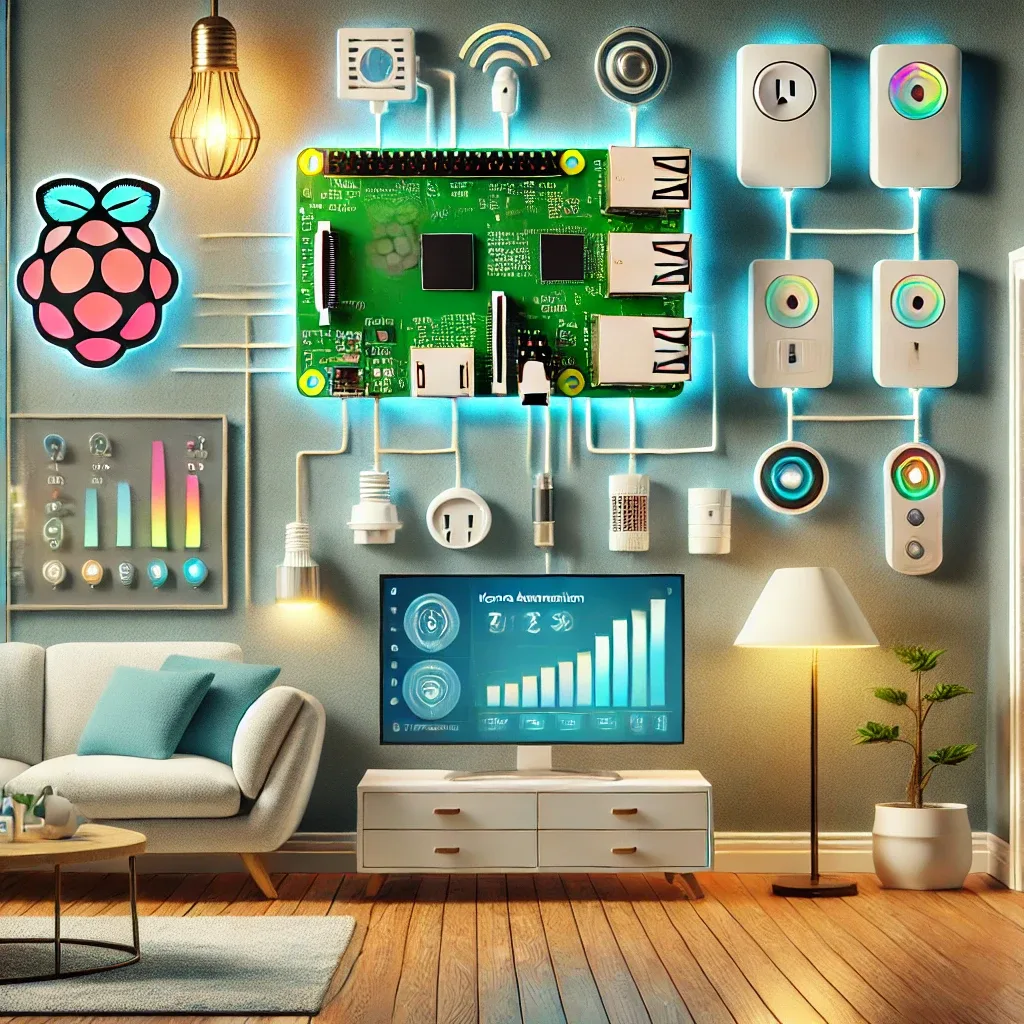
Why Raspberry Pi Is the Most Cost-Effective Smart Home Hub
Raspberry Pi is a credit-card-sized single-board computer powerful enough to simultaneously run Home Assistant, Homebridge, Zigbee2MQTT, Mosquitto MQTT Broker, and Node-RED — all on one device priced at approximately 2,500-3,500 baht. Compared to dedicated smart home hubs from Philips, Samsung, or Apple costing 3,000-15,000 baht and locking users into each manufacturer's closed ecosystem, Pi's flexibility in supporting every major protocol is the primary reason smart home enthusiasts worldwide choose it as their central hub.
Core Benefits of Raspberry Pi as a Smart Home Hub
Raspberry Pi delivers five key advantages: energy efficiency at just 5-15W consumption, protocol flexibility supporting Zigbee, Z-Wave, Wi-Fi, Matter, and Bluetooth simultaneously, privacy through local processing that keeps data off cloud servers, longevity through open-source software that never becomes obsolete, and hardware upgradeability when higher performance is needed. Expected operational lifespan as a smart home hub is 5-10 years depending on usage and maintenance.
How to Install Raspberry Pi for Smart Home
Basic setup for beginners: download and flash Home Assistant OS onto an SD card or NVMe SSD via Raspberry Pi Imager, connect Pi 5 to network via Ethernet, power on and access homeassistant.local:8123 after 10 minutes, complete onboarding to name your home and add your first device, then install essential Add-ons like Zigbee2MQTT (with a USB dongle) and Mosquitto MQTT. The entire process takes approximately 2-3 hours for someone with no prior experience.
Connecting Smart Home Devices to Raspberry Pi
Once Home Assistant is running, connecting most devices happens through Auto-Discovery — HA automatically detects devices on the same network and prompts you to add them. For Zigbee devices, you need a USB Zigbee coordinator like the Sonoff Zigbee 3.0 USB Dongle Plus (approximately 800-1,200 baht) plugged into Pi 5, then configured through the Zigbee2MQTT Add-on, which supports over 3,000 Zigbee device models.
HappySmart and Raspberry Pi Installation
For those who prefer professional installation, HappySmart handles every step: selecting and preparing the appropriate Pi 5 model, flashing the OS, configuring essential Add-ons, connecting all devices, building automations with Scrypt, and providing user training — saving dozens of hours of self-learning and delivering a fully operational system from day one.