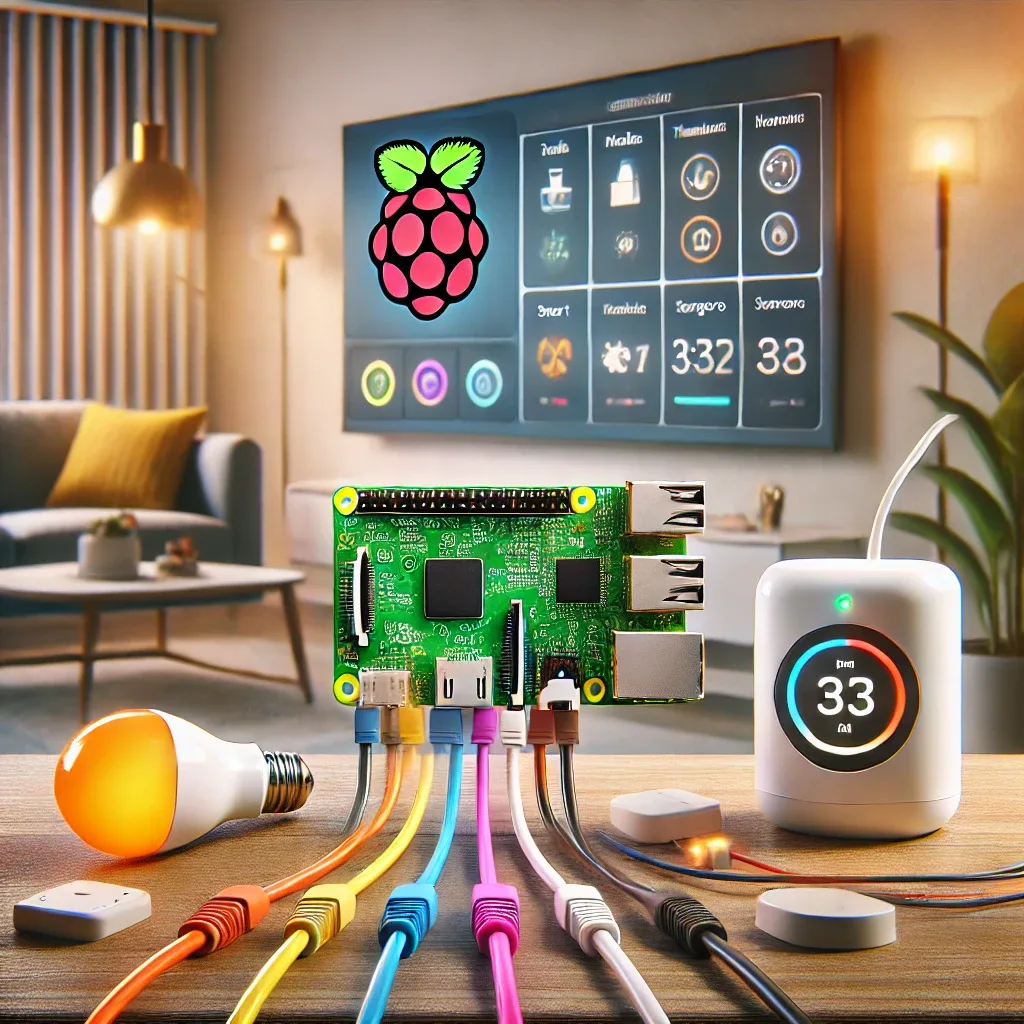
Why Install Home Assistant on Raspberry Pi 5?
Raspberry Pi 5 and Home Assistant OS are the perfect pairing for a smart home system. The RPi5 delivers performance sufficient for hundreds of automations, Frigate AI cameras, and real-time dashboards — at a fraction of the cost of proprietary hubs. Home Assistant OS is an operating system purpose-built for smart homes, providing the best possible Home Assistant experience.
Required Hardware
Prepare these items before starting: Raspberry Pi 5 (4 GB or 8 GB RAM recommended), 32 GB+ Class 10 micro SD card or M.2 SSD via PCIe, USB-C 5A power supply, a case with cooling fan, Ethernet cable (recommended for initial setup), and a computer or smartphone for first-time access.
Step 1: Download and Flash Home Assistant OS
Download Raspberry Pi Imager from raspberrypi.com. Open the application, select Raspberry Pi 5 as the device, then navigate: Choose OS > Other specific-purpose OS > Home Assistant and Homelab > Home Assistant. Select your SD card or SSD and click Next. Wait for flashing to complete (approximately 5-10 minutes).
Step 2: First Boot
Insert the SD card or connect the SSD to the Raspberry Pi 5. Connect an Ethernet cable to your router. Plug in the power supply and wait approximately 5-10 minutes for the first boot. The system downloads additional components and configures itself automatically.
Step 3: Access Home Assistant
Open a browser on any computer or smartphone on the same network. Navigate to http://homeassistant.local:8123. If this doesn't resolve, use the Raspberry Pi's IP address directly (find it in your router's admin panel or using an app like Fing).
Step 4: Initial Configuration
Follow the guided setup to create a user account, set your location (used for sunrise/sunset automations), and select your timezone. Home Assistant will automatically scan the local network for compatible IoT devices.
Step 5: Connect Device Integrations
Go to Settings > Devices & Services > Add Integration. Search for your device brand or protocol — Xiaomi, TP-Link, Zigbee, Z-Wave, and thousands more. Follow the brief wizard steps. Devices appear in Home Assistant immediately, ready for control.
Step 6: Build Your First Automation
Navigate to Settings > Automations & Scenes > Create Automation. Set a trigger — for example, sunset. Add an action — turn on outdoor lights. Save and test. From that point, the automation runs daily without any manual input. HappySmart offers RPi5 installation and Home Assistant configuration services with custom automation design tailored to your specific home.