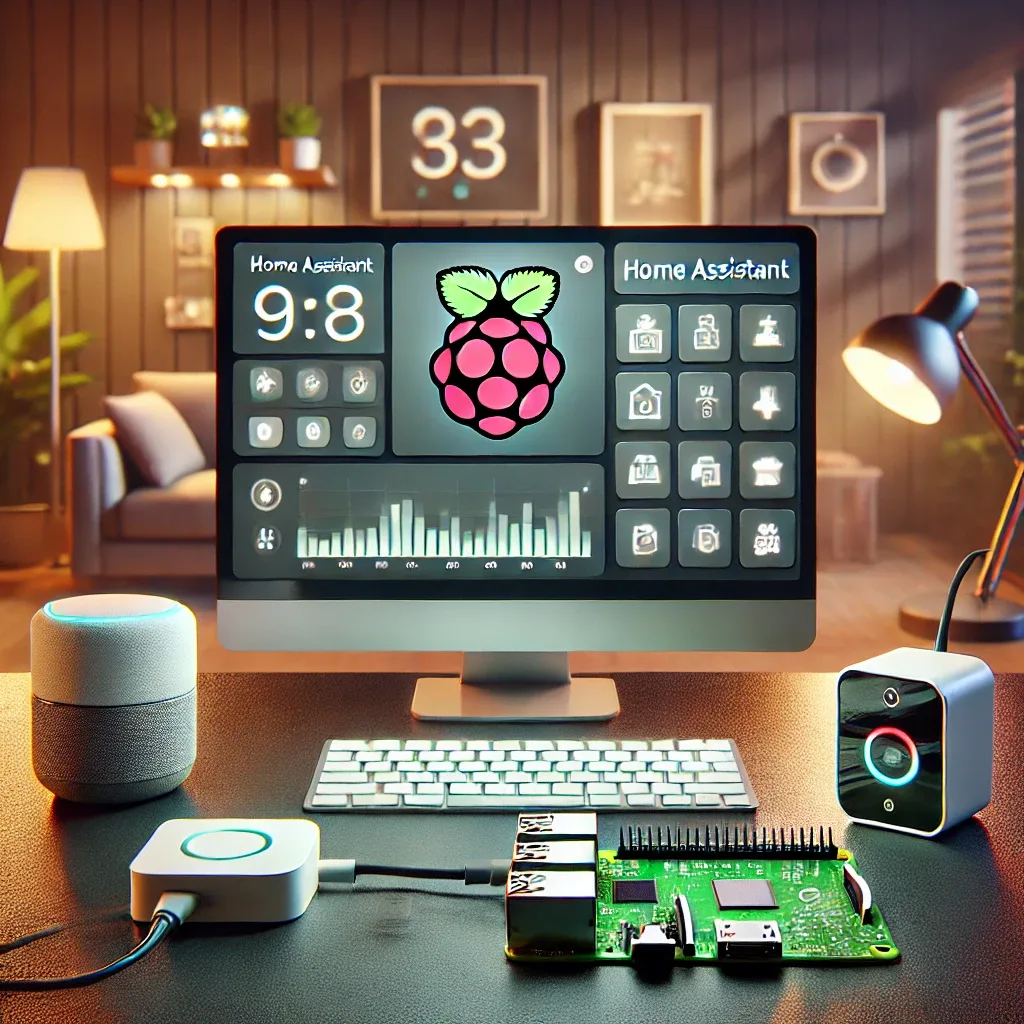
Preparing Hardware Before You Start
Required equipment: Raspberry Pi 5 (4GB or 8GB) + NVMe SSD M.2 2230/2242 128GB or larger + PCIe HAT+ for RPi5 + USB-C 27W power supply + Sonoff Zigbee 3.0 USB Dongle Plus for the Zigbee network.
Why NVMe SSD instead of MicroSD? Home Assistant writes data frequently, and low-quality MicroSD cards can fail within 6–12 months. NVMe SSD lasts 5+ years and runs 10–20× faster. A 128GB NVMe SSD starts at just 400 THB — a small investment with a large reliability payoff.
Steps 1–3: Flash and First Boot
Step 1: Download HA OS — Go to home-assistant.io/installation/raspberrypi, select Raspberry Pi 5 64-bit, and download the .img.xz file (approximately 500MB–1GB).
Step 2: Flash with Balena Etcher — Download Balena Etcher on Mac or Windows. Open the application → select the .img.xz file → select the NVMe SSD connected via USB-to-NVMe adapter → click Flash! Allow 5–10 minutes. Do not disconnect the SSD during the process.
Step 3: Assemble Hardware and Boot — Insert the NVMe SSD into the PCIe HAT+ → attach the HAT+ to the RPi5 → plug in the Sonoff Zigbee Dongle via USB → connect an Ethernet cable (strongly recommended over Wi-Fi for initial setup) → connect the power supply → wait 5–10 minutes for the first boot and installation to complete.
Steps 4–6: Configure Home Assistant
Step 4: Access the HA Dashboard — Type homeassistant.local:8123 in your browser. If this does not resolve, use the RPi5's IP address instead (visible in your router's admin page). The Welcome screen will appear.
Step 5: Create Your First Account — Enter a strong username and password. Set your home's location (used for Sunrise/Sunset automations) and select Asia/Bangkok as the timezone for maximum accuracy.
Step 6: Configure Zigbee ZHA — Go to Settings → Devices & Services → Add Integration → search for Zigbee Home Automation (ZHA) → select the dongle at /dev/ttyUSB0 or /dev/ttyACM0 → click Submit. ZHA is now active.
Steps 7–8: Add Devices and Create Your First Automation
Step 7: Pair a Zigbee Device — In ZHA, click Add Device → hold the Pairing button on a Zigbee device for 5–10 seconds. The device will appear in HA within 30–60 seconds. Give it a meaningful name such as "Motion Bedroom" or "Plug Living Room."
Step 8: First Automation — Settings → Automations → New Automation → set Trigger to the motion sensor, add a Condition of Sun Below Horizon (after sunset), set Action to Turn On the smart bulb. Click Run to test immediately.
Common Troubleshooting Tips
Issue 1: homeassistant.local:8123 not found — Use the IP address instead. Verify the RPi5 is connected via Ethernet to the same router as your computer.
Issue 2: Zigbee dongle not detected — Try both /dev/ttyUSB0 and /dev/ttyACM0. Unplug and replug the dongle before configuring ZHA.
Issue 3: HA boots very slowly — Verify the NVMe SSD is firmly seated in the PCIe HAT+. Try a full power cycle once.