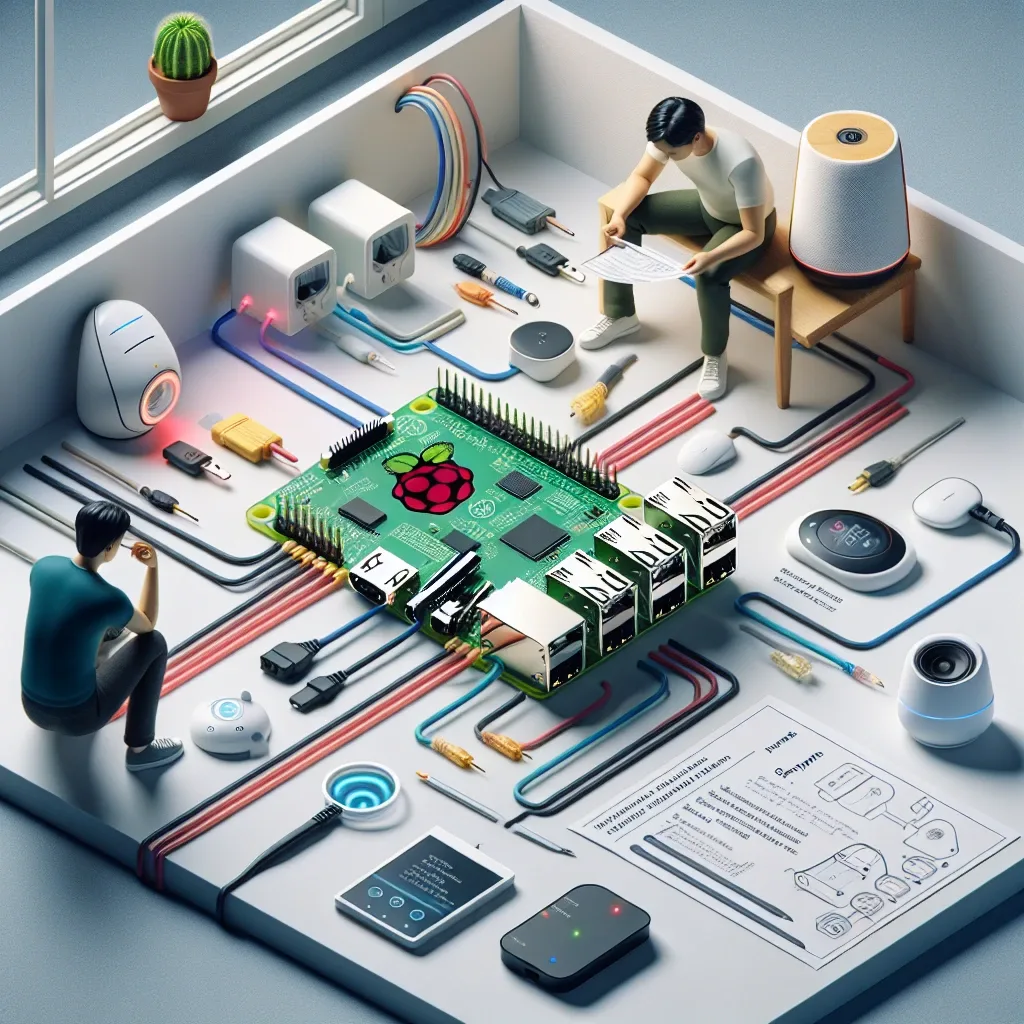
What Is Raspberry Pi 5 and Why Is It Ideal for Smart Home
Raspberry Pi 5 is the latest and most powerful single-board computer from the Raspberry Pi Foundation. Featuring a 2.4 GHz ARM Cortex-A76 CPU and up to 8GB of RAM, it can serve as a capable smart home hub—running Home Assistant smoothly, processing local AI camera detection, and managing numerous IoT devices simultaneously without performance issues. Drawing only 5–10 watts, it operates continuously around the clock with negligible impact on electricity costs.
Hardware You Need Before Starting
Before beginning, gather the following components: a Raspberry Pi 5 (4GB or 8GB RAM recommended), a MicroSD card of at least 32GB Class 10 or A2 rating for best performance, a USB-C 5V/3A power supply meeting official specifications (the Official Raspberry Pi Power Supply is recommended), an HDMI monitor and keyboard for initial configuration, a Wi-Fi network or Ethernet cable, and the IoT devices you plan to connect—such as motion sensors, smart bulbs, or smart locks.
Installing Raspberry Pi OS
The first step is flashing the operating system. Download Raspberry Pi Imager from the official raspberrypi.org website and install it on your computer. Insert the MicroSD card, open Imager, select Raspberry Pi OS (64-bit) as the operating system, and choose your MicroSD card before clicking Write. Use the Advanced Options screen to pre-configure SSH and Wi-Fi credentials so the RPi can be accessed over the network without connecting a monitor. After flashing, insert the MicroSD card into the RPi5 and power it on.
Installing Home Assistant on Raspberry Pi 5
Home Assistant OS is the most recommended option for smart home users—it provides maximum convenience and full Add-on support. Flash Home Assistant OS directly to a MicroSD card via Raspberry Pi Imager by selecting Other specific-purpose OS, then Home Assistant. After the first boot, open a browser and navigate to http://homeassistant.local:8123 and follow the setup wizard. The system will be ready for use within 5–10 minutes, with no command-line configuration required.
Connecting IoT Devices Through Home Assistant
Home Assistant supports multiple connection protocols including Zigbee (requiring a Zigbee Coordinator such as the Sonoff Zigbee Dongle Plus), Z-Wave, and Wi-Fi. Navigate to Settings > Devices & Services > Add Integration and search for the brand or protocol you need—Philips Hue, Xiaomi, MQTT, or Zigbee Home Automation are common examples. Follow the on-screen pairing instructions for each device. Once connected, create Automations such as turning on lights when a motion sensor triggers, or automatically locking the door when GPS detects departure from home.
What Raspberry Pi 5 and Home Assistant Can Control
Once fully configured, Raspberry Pi 5 running Home Assistant becomes a comprehensive home automation hub. It handles smart lighting with schedules and motion triggers, security surveillance using Frigate NVR for on-device AI camera processing, PM2.5 and CO2 air quality sensors linked to automatic air purifiers, temperature and energy management, and elderly care systems that alert family members when unusual patterns are detected. All processing occurs locally on the device—no dependence on external cloud servers—ensuring both privacy and reliability even during internet outages.