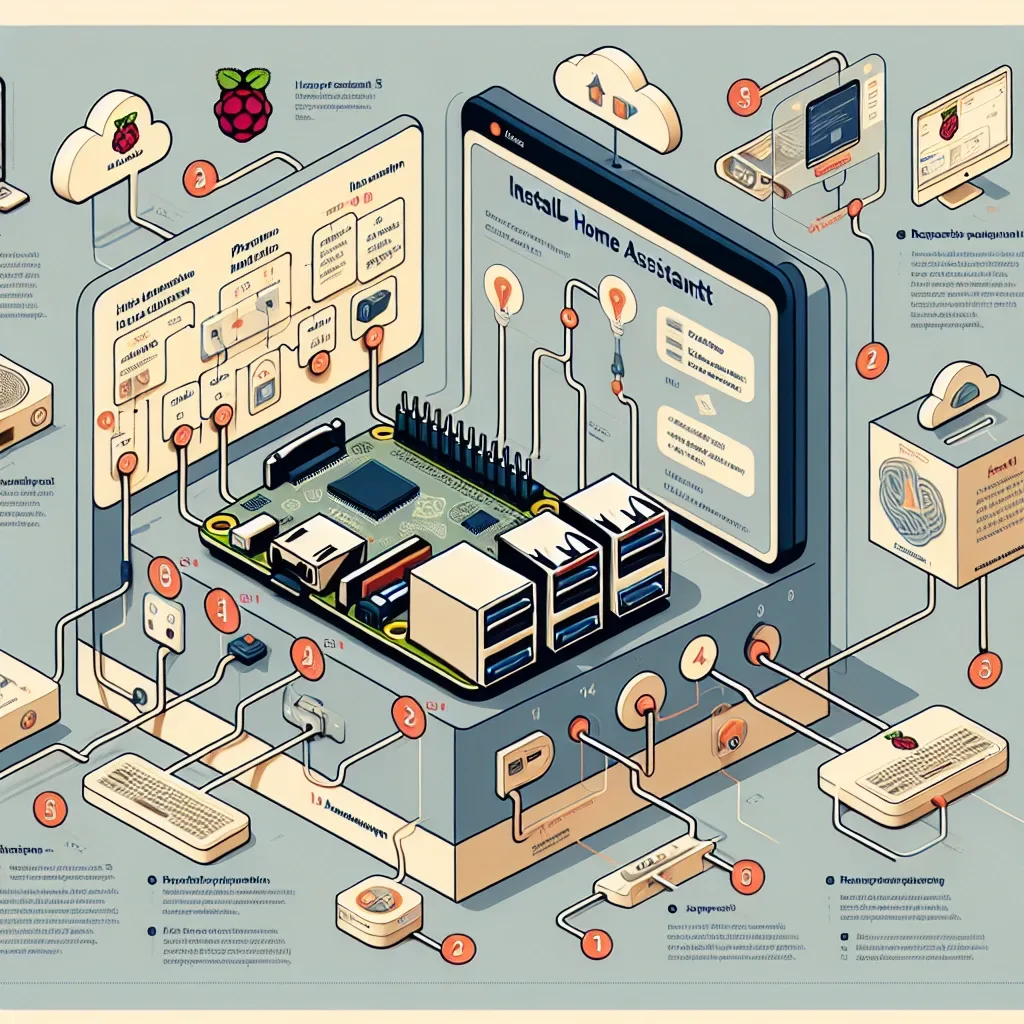
Why Raspberry Pi 5 Is the Best Hardware for Home Assistant
The Raspberry Pi 5, launched in late 2023, represents a major leap for smart home developers. Its ARM Cortex-A76 quad-core chip at 2.4 GHz is 2-3 times faster than previous generations. RAM options from 4GB to 8GB are sufficient to run Home Assistant alongside multiple Add-ons simultaneously. USB 3.0 ports enable SSD storage far faster than microSD. Gigabit Ethernet ensures stable network connectivity, and PCIe support opens expansion possibilities for the future.
For those wanting a 24/7 smart home system that doesn't depend on a third-party cloud, RPi 5 combined with Home Assistant is the optimal answer.
Step 1: Prepare Your Hardware
Before starting, gather the following: a Raspberry Pi 5 (4GB or 8GB — 8GB recommended for heavy use), the official 27W USB-C power supply, at least a 32GB Class 10 microSD card (or a USB SSD for better performance), an Ethernet cable, and a computer for flashing the OS.
Download two files: the Home Assistant OS Image for Raspberry Pi 5 from home-assistant.io, and Balena Etcher for flashing.
Step 2: Flash Home Assistant OS
Open Balena Etcher on your computer. Click Flash from file and select the downloaded Home Assistant OS file. Click Select target to specify your microSD card or USB SSD. Click Flash and wait for the process to complete — typically 5-10 minutes.
Once flashing is done, insert the microSD or connect the USB SSD to your RPi 5, attach the Ethernet cable, then connect the power supply. Allow 15-20 minutes for the first boot, during which the system automatically downloads necessary components.
Step 3: Access the Home Assistant Dashboard
Open a web browser on a computer or smartphone on the same network. Type http://homeassistant.local:8123 — if it doesn't resolve, use the RPi's IP address from your router's admin panel instead. Follow the setup wizard to create a user account, define your home name, location, and timezone. Upon completion you'll enter the main Dashboard displaying your full home overview.
Adding IoT Devices
Home Assistant supports devices from hundreds of manufacturers. Devices popular in Thailand include Philips Hue and Xiaomi Yeelight smart lights (Wi-Fi or Zigbee), Hikvision and Reolink security cameras (RTSP), Daikin and Mitsubishi air conditioners via IR Blaster or Wi-Fi module, and Google Nest or Amazon Echo smart speakers.
Adding new devices is simple via Settings → Devices & Services → Add Integration. Select the brand or protocol and follow the steps.
Setting Up Automation and Add-ons
Home Assistant's most powerful feature is its Automation engine. Examples include turning on lights when a motion sensor detects movement after 6 PM, turning off the AC when no one is home for 30 minutes, or sending a Line notification when the front door opens between 10 PM and 6 AM.
Recommended Add-ons for beginners include File Editor for editing configuration files, Mosquitto MQTT Broker for IoT devices using MQTT protocol, and Node-RED for creating visual automation flows without writing code.
Keeping Home Assistant and Add-ons updated through Settings → System → Updates, and configuring automatic backups to Google Drive or NAS, maintains system security and long-term reliability.