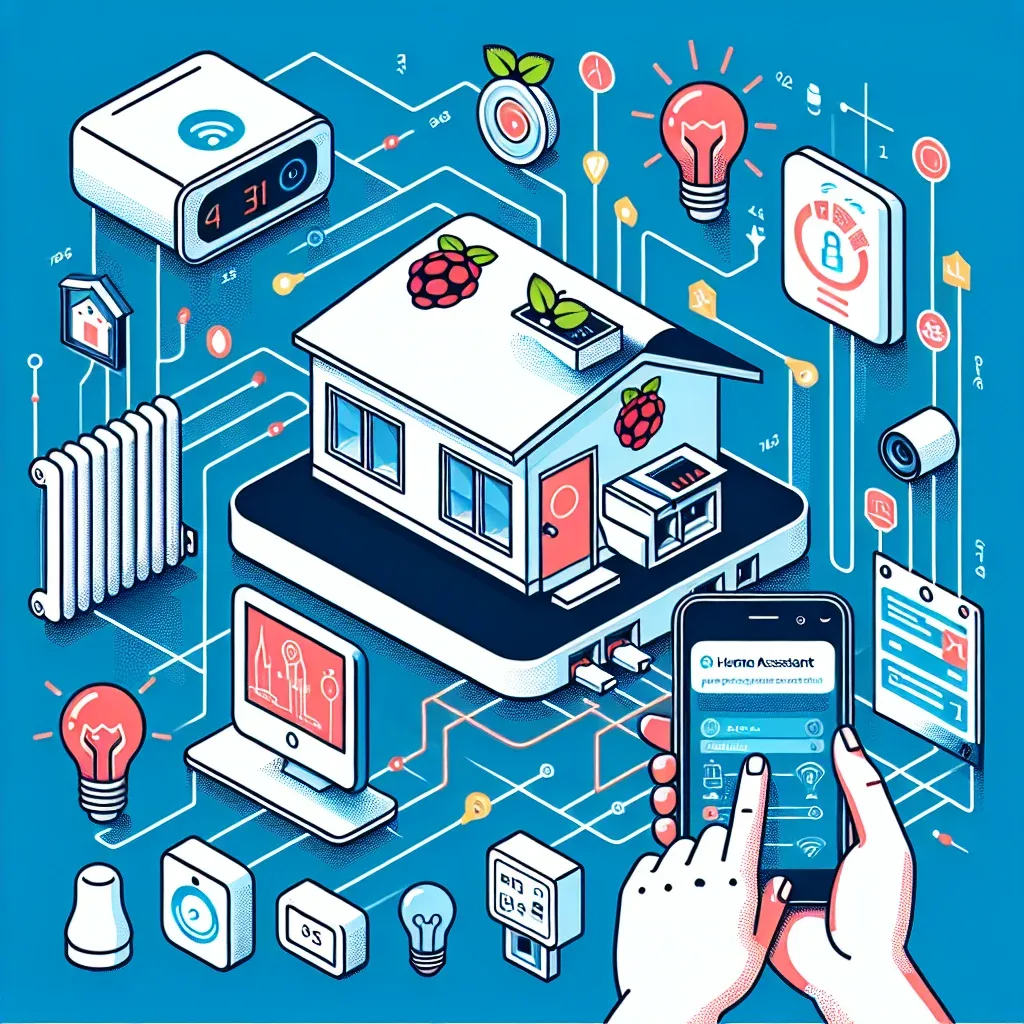
Why Home Assistant Is the Number One Choice
Home Assistant (HA) is an open-source Smart Home platform with over 800,000 active installations worldwide. The key difference from Google Home or Amazon Alexa is that HA runs on a server inside your home. Every piece of data stays on your local network, never transmitted to any company cloud. This makes it the best option for users who prioritize privacy alongside functionality.
HA supports over 3,200 integrations, covering every major IoT brand and protocol — Zigbee, Z-Wave, Wi-Fi, Bluetooth, Matter, and Thread. Whatever brand you choose today, HA connects to it. You can switch brands at any time without rebuilding your automation setup from scratch.
Why Raspberry Pi 5 Is the Right Hardware
Raspberry Pi 5 is powered by the ARM Cortex-A76 at 2.4GHz — 2–3× faster than the RPi4. Its PCIe 2.0 interface enables direct NVMe SSD connection, making HA boot 10–20× faster than MicroSD. The built-in RTC ensures time-based automations continue accurately even after power outages. At 5–12W power consumption, running 24/7 adds only 80–120 THB per month to your electricity bill.
Recommended starter hardware: RPi5 4GB (2,000–2,500 THB) + 128GB NVMe SSD (400–600 THB) + PCIe HAT+ (500–800 THB) + 27W PSU (400 THB) + Sonoff Zigbee 3.0 Dongle Plus (600–800 THB). Total: approximately 4,000–5,500 THB.
Key Home Assistant Features in 2025
Energy Management Dashboard displays real-time power consumption by hour, day, and month, with projected electricity bill calculations based on actual usage data.
Matter Protocol Support connects Matter-certified devices from Apple, Google, Amazon, and Samsung natively — no bridge required.
AI-Powered Automation Suggestions analyze your usage patterns and proactively recommend automations — for example, "You usually turn off the bedroom lights at 11 PM. Would you like to create an automation?"
Local Voice Assistant processes all voice commands on-device with zero cloud transmission. English commands are fully supported; Thai language support is actively developing.
Getting Started: Installation Overview
Download the HA OS image for RPi5 from home-assistant.io → Flash to NVMe SSD using Balena Etcher → Connect SSD via PCIe HAT+ → Power on and wait 5–10 minutes → Access homeassistant.local:8123 → Create account → Set location → Add your first integration.
HappySmart offers full turnkey installation for those who prefer professional setup — covering HA installation, Zigbee configuration, existing device integration, and a 2-hour usage training session.