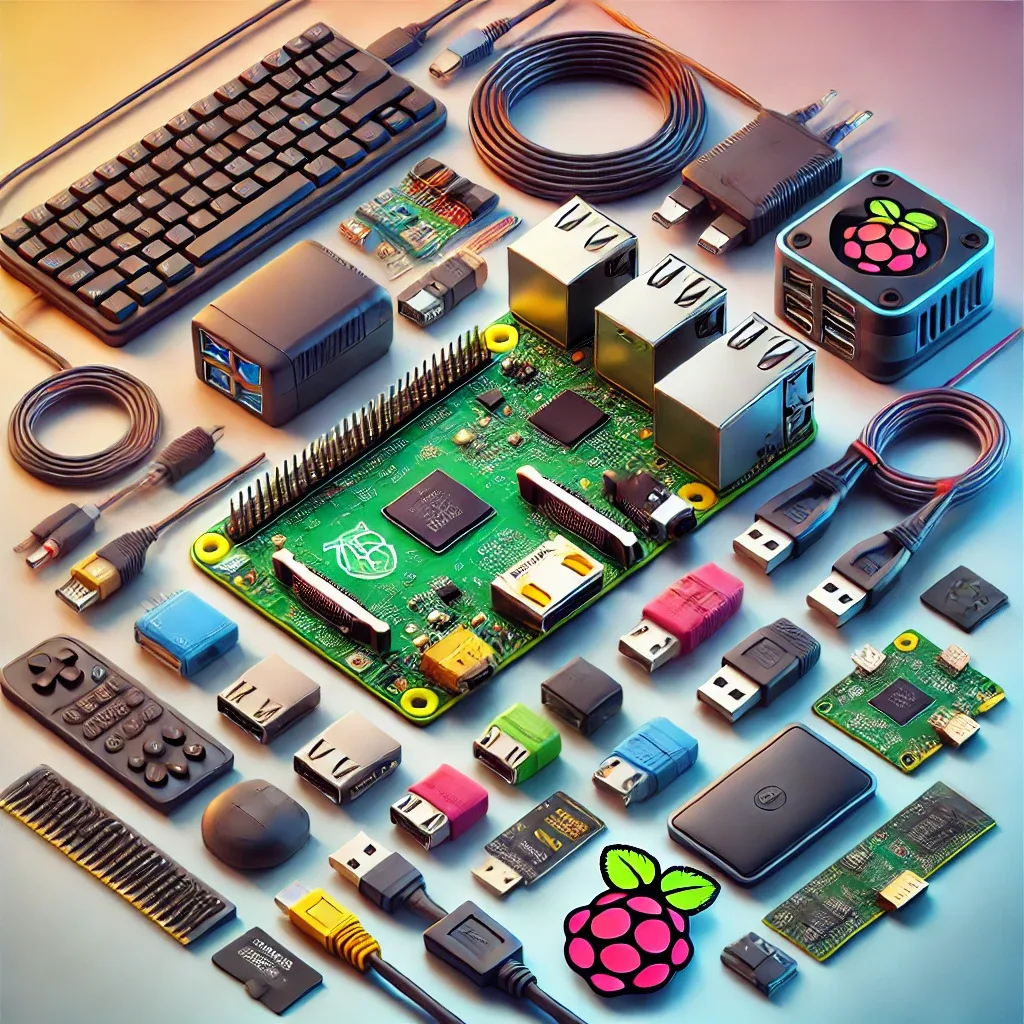
Why Is Raspberry Pi 5 the Best Choice for a Smart Home Hub?
The smart home hub market ranges from Amazon Echo and Google Nest to Home Assistant Yellow, but RPi5 stands out for flexibility and value. The BCM2712 Cortex-A76 2.4 GHz chip with 4-16 GB RAM delivers sufficient performance for mid-sized homes with 50-200 devices at 3,500-5,500 THB. USB-C power, 40-pin GPIO, dual HDMI, Wi-Fi 5 (802.11ac), Bluetooth 5.0, and PCIe 2.0 provide broad peripheral support.
Step 1 — Install Home Assistant OS on RPi5
Download the Home Assistant OS image for Raspberry Pi 5 from home-assistant.io → use Balena Etcher or Raspberry Pi Imager to write the image to a MicroSD card (32 GB minimum) or NVMe SSD (recommended for speed and durability) → insert and power on → wait 5-10 minutes for boot → open a browser at http://homeassistant.local:8123 → complete the onboarding wizard to create an account and name your home.
Step 2 — Connect Zigbee for Smart Lighting
Insert a Zigbee USB dongle (Sonoff Zigbee 3.0 USB or HUSBZB-1) into RPi5's USB port → in Home Assistant go to Settings → Devices & Services → Add Integration → select Zigbee Home Automation (ZHA) → choose the dongle's serial port → ZHA is now ready to pair any Zigbee device.
Pair Smart Bulbs, Smart Switches, and Motion Sensors to build Smart Lighting automations:
- Motion Sensor detects hallway movement → lights open at 50% → auto-off after 5 minutes
- At sunset → living room lights dim to Warm White 2700K
Step 3 — Fresh Air System Automation
Connect a Zigbee Air Quality Sensor (Aqara TVOC Air Quality Monitor or IKEA VINDSTYRKA) to ZHA → the sensor displays PM2.5, CO2, TVOC, temperature, and humidity in Home Assistant.
Create automations:
When sensor_co2 > 1000 ppm
→ Increase Fresh Air System speed to High (via Smart Switch or Modbus)
→ Send LINE notification: "Bedroom CO2 high, increasing fresh air"

When sensor_pm25 > 35 μg/m³
→ Enable Air Purifier Speed 3
→ Reduce Fresh Air intake (prevent polluted outdoor air entry)
Step 4 — Intelligent CCTV Security
Install the Frigate NVR add-on on Home Assistant → connect IP cameras via RTSP stream → configure Frigate to detect people, vehicles, and animals → create automations to send snapshots via LINE when an unfamiliar person appears at the front door.
Adding a Coral USB Accelerator enables Frigate to process AI detection 5-10x faster with significantly less RPi5 CPU load — recommended for more than 4 cameras.
Benefits of Full Integration
When Smart Lighting, Fresh Air System, and CCTV work together through RPi5 and Home Assistant, you gain:
- 20-35% electricity savings from occupancy-driven air conditioning
- Indoor air quality maintained to health standards continuously
- Real-time security response via smartphone
- Historical data for intelligent home improvement decisions
All of this from a hub investment of just 3,500-5,500 THB.