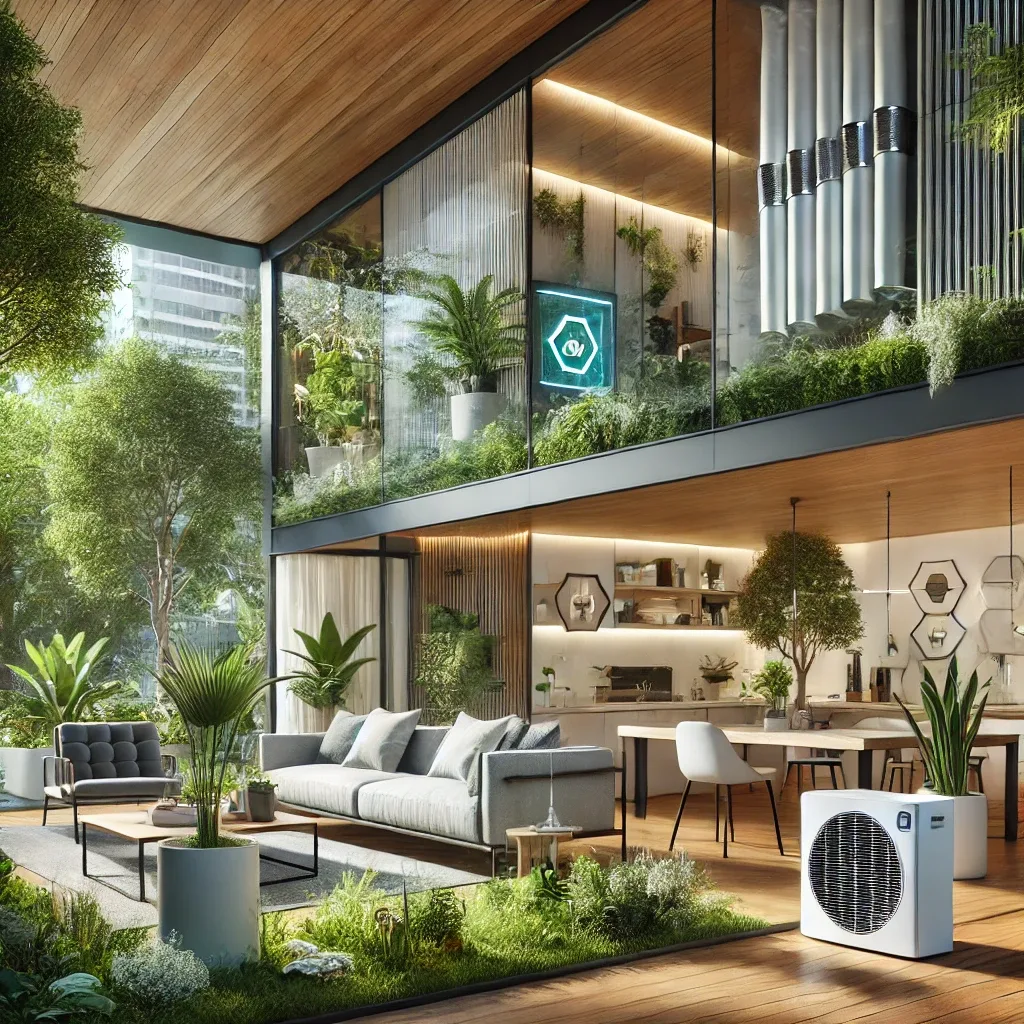
Why Transform Your Home into a Smart Home with Fresh Air?
Many people assume Smart Homes must be built from scratch. In reality, any existing house can be upgraded incrementally — no structural teardown required. Adding a Fresh Air System to your smart home plan from the start means you gain both intelligence and health benefits simultaneously.
In Bangkok, where PM2.5 exceeds safe thresholds an average of 30-50 days per year, and sealed air-conditioned rooms routinely accumulate CO2 above 1,000 ppm, smart air control is not a luxury — it is a necessity for quality of life.
Step 1 — Assess Your Needs and Create a Plan
Before purchasing any device, evaluate your home:
Air Quality Baseline: Measure PM2.5, CO2, and humidity in each room using affordable sensors (1,500-3,000 THB) to identify the worst spaces. Bedrooms and living rooms are typically the critical zones.
Structural Check: Assess whether there is space to route Fresh Air ducting. Single-storey homes are easiest, but two-storey houses can run ducts along ceiling edges or inside walls.
Budget Phasing: Plan in phases. Phase 1 covers Fresh Air system and sensors (40,000-80,000 THB). Phase 2 adds Smart Lighting and Smart Locks (20,000-40,000 THB). Phase 3 integrates everything through Home Assistant.
Step 2 — Install the Fresh Air System
Choose a Fresh Air system matching your home and budget:
ERV (Energy Recovery Ventilator) is recommended for Bangkok at 30,000-80,000 THB. It is ideal for hot-humid climates because it recycles cooling energy from exhaust air, reducing air conditioning costs.
PIV (Positive Input Ventilation) is more affordable at 5,000-15,000 THB, suitable for homes that primarily need positive air pressure to keep dust and insects out.
Installation sequence: choose unit location → run intake duct from outdoors (must pass through HEPA filter) → distribute ducting to each room → connect power and integrate with Home Assistant via Wi-Fi or Modbus.
Step 3 — Connect Smart Home Devices
Once the air system is running, add smart devices layer by layer:
Sensors First: Install Air Quality Sensors (Zigbee, 2,500-3,500 THB each) in the bedroom, living room, and home office for real data that will drive automations.
Essential Smart Devices: Smart Plugs for existing air purifiers, Smart Switches for ventilation fans, and a Smart Thermostat for humidity control.
Gateway: Use a Raspberry Pi 5 (3,500-5,500 THB) or Home Assistant Yellow as the central hub, paired with a Zigbee dongle (Sonoff or ConBee II) to receive data from all sensors.
Step 4 — Set Up Automation and Alerts
This is where your home starts thinking for itself:
Automatic Air Management: Create rules to increase Fresh Air System speed when CO2 exceeds 1,000 ppm or PM2.5 exceeds 35 μg/m³, and reduce speed when air quality recovers to save electricity.
LINE Notifications: Connect Home Assistant to LINE Notify to receive alerts when air quality degrades, filter replacement reminders, and daily air quality reports.
Smart Scheduling: Program the system to run at full capacity during 06:00-09:00 (before leaving home) and 17:00-20:00 (return time) so air is already clean when you need it.
Investment Summary and Payback Period
Transforming a home into a Smart Home with Fresh Air typically costs 60,000-150,000 THB depending on home size and device choices. Payback comes from reduced electricity bills (ERV saves 15-25% on air conditioning), lower healthcare costs, and increased property value — typically within 3-5 years. Start today, one step at a time, one room at a time.