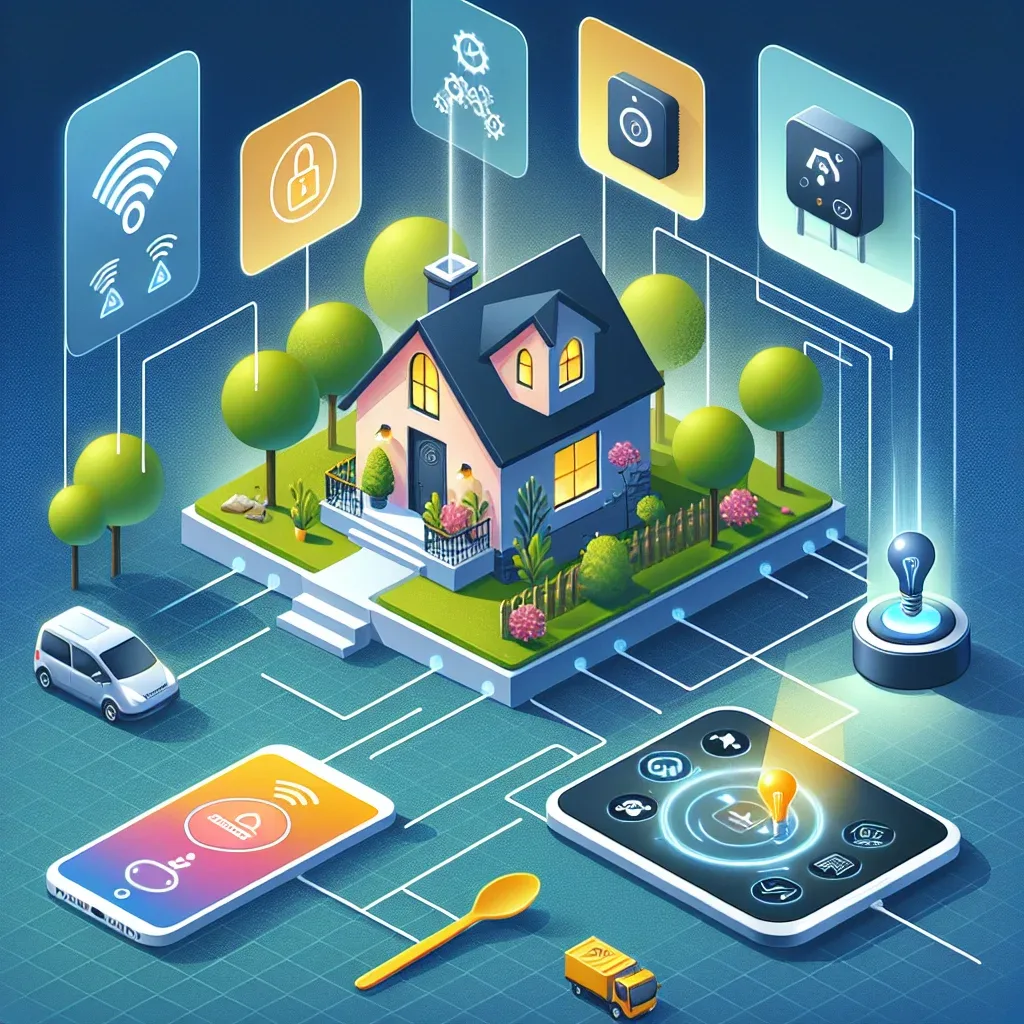
Before You Start: Plan With Purpose
Before purchasing your first device, answer three questions: (1) Which room matters most? (2) What is your budget? (3) What problem are you solving — high electricity bills, security gaps, or daily convenience? These answers will focus your investment where it delivers the most impact.
Steps 1–3: Build Your Control Center
Step 1: Choose a Smart Home Hub — Raspberry Pi 5 running Home Assistant is the top choice for maximum flexibility. If you are deep in the Apple ecosystem, Homebridge is an excellent alternative. HappySmart offers a free consultation to recommend the right hub for your lifestyle.
Step 2: Secure Your Network — Create a separate VLAN for IoT devices to isolate them from your main network. Dedicate your 2.4GHz band to IoT devices and reserve 5GHz for computers and phones. This step protects your personal data even if an IoT device is compromised.
Step 3: Install a Zigbee Coordinator — Plug in a Sonoff Zigbee 3.0 USB Dongle Plus and enable ZHA in Home Assistant. A Zigbee mesh network allows devices to communicate locally without relying on the internet, ensuring reliability during outages.
Steps 4–6: Add Smart Devices
Step 4: Smart Lighting — Start with the bedroom and living room. Choose Zigbee bulbs such as IKEA TRADFRI or Philips Hue and configure Circadian Lighting to automatically shift color temperature from energizing 6,500K in the morning to sleep-inducing 2,700K at night.
Step 5: Security System — Mount Hikvision IP cameras at the front door and key entry points. Use Home Assistant to receive motion alerts and build an automation that locks the door automatically when everyone leaves home.
Step 6: Smart Plugs — Attach smart plugs to high-consumption appliances such as washing machines, old refrigerators, or air conditioners. Monitor energy usage in kWh and create automations that cut power automatically when the house is empty.
Steps 7–10: Full Automation
Step 7: Air Quality System — Install a Xiaomi Mi Air Quality Monitor to track PM2.5 and CO2. Set an automation to activate a PAP Device when PM2.5 exceeds 35 μg/m³ and send a LINE Notify alert to the family.
Step 8: Voice Control — Connect Google Assistant or Apple Siri via Home Assistant integrations. Control devices in both Thai and English — "Hey Google, turn off the bedroom lights" works seamlessly once configured.
Step 9: Dashboard and Mobile App — Build a Lovelace Dashboard on a wall-mounted tablet showing the full home status, organized by room and security zone. Download the Home Assistant Companion App on iOS or Android for control from anywhere.
Step 10: Maintain and Update — Enable automatic monthly updates for Home Assistant and schedule weekly backups via the Google Drive Backup add-on. HappySmart's Smart Home Maintenance Plan covers the full system so you can focus on enjoying your home.
Expected Outcomes
After completing all 10 steps, you will have a home that uses 25–35% less energy, maintains clean air with PM2.5 alerts, responds to security events within 30 seconds, and dramatically improves daily quality of life. HappySmart is with you at every step.