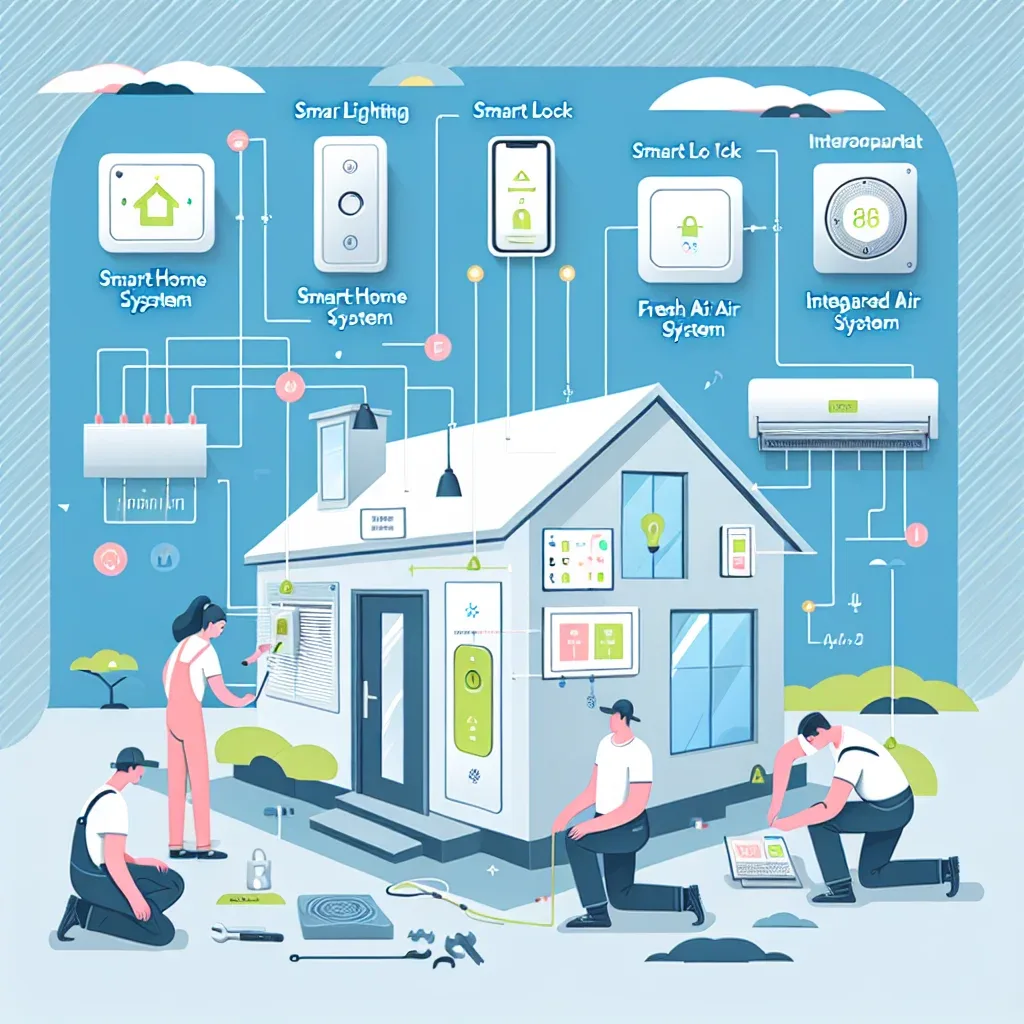
Why Install Both Systems Together?
Planning Smart Home and Fresh Air System installation simultaneously from the start saves significantly more than doing them separately later. RS-485 signal cables or Ethernet runs for IoT devices can be routed alongside ERV ductwork during a single construction or renovation project. Doing them separately later may require opening walls or ceilings again at additional cost.
Furthermore, designing sensor placement to align with ERV air outlet positions ensures automation accuracy that random sensor placement ignoring airflow patterns cannot achieve.
4-Step Correct Installation Process
Step one is thorough planning. Survey the floor plan, designate ERV unit location, intake and exhaust duct routes, diffuser positions for each room, and sensor placement points. Calculate Airflow Rate per ASHRAE 62.2 to determine required m³/h per room. Consult an HVAC engineer to assess structural feasibility.
Step two selects the home automation platform before purchasing any devices. Decide between Home Assistant (open source, maximum flexibility), Apple HomeKit (simple for Apple ecosystem users), or Google Home (best for Google ecosystem users). Home Assistant is strongly recommended for systems combining ERV and air quality sensors due to its superior custom integration support.
Step three installs hardware in the correct sequence. Begin with network infrastructure: Mesh Wi-Fi covering every area and a Zigbee Hub. Then install the RPi5 or HA Green hub with UPS. Install the ERV unit and route ducts per the approved plan. Install sensors in every room. Finally add endpoint devices such as smart switches, smart locks, and air purifiers.
Step four configures automations and tests systematically. Set automation rules one at a time, testing each before activating the next. Record 7-day baseline data, then fine-tune trigger thresholds to match the actual patterns of your household.
Important Safety Precautions
Electrical work: all wiring and connections must be performed by a licensed electrician. Never DIY the ERV electrical connections as units run on 220V and self-wiring is illegal in the event of an incident. For ERV: always verify condensate drainage is flowing correctly, as standing water causes rust and mold growth inside ducts. For Zigbee: keep the hub away from microwave ovens and other 2.4GHz devices to avoid signal interference. For network security: always configure IoT devices on a separate VLAN isolated from your main network.
30-Day Post-Installation Checklist
After 30 days of operation, verify these targets: average CO2 below 800 ppm in all rooms during daytime occupancy, indoor PM2.5 below 25 µg/m³ when outdoor PM2.5 exceeds 75 µg/m³, humidity stable between 40-60% RH in all rooms, no automation rules triggering abnormally such as ERV running at night without cause, and no recurring error patterns in Home Assistant logs.