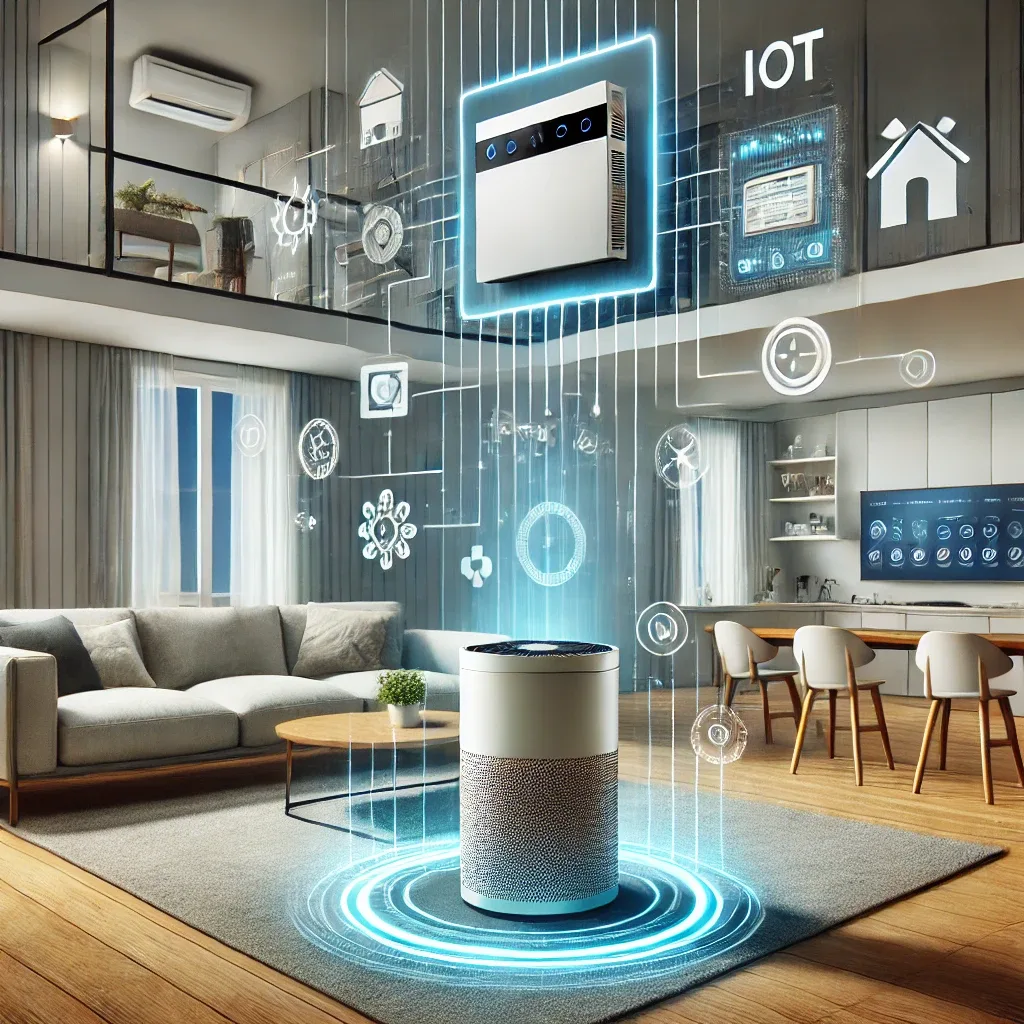
What Is a Clean Air System in a Smart Home?
A Clean Air System in a Smart Home context means the intelligent integration of a Fresh Air ventilation system (ERV or HRV) and an air purification system working together through home automation. This combination addresses both CO2 and humidity through fresh air exchange while simultaneously filtering particulates and VOC through purification.
The Fresh Air component brings in outdoor air and exhausts stale indoor air, reducing accumulated CO2, excess humidity, and indoor-generated toxins. The purification component filters pollutants from the air already circulating inside. Home Assistant acts as the orchestrator, using sensor data to trigger each system at the right time for optimal indoor air quality.
8 Measurable Health Benefits
A complete Clean Air System delivers measurable health benefits across eight dimensions: CO2 maintained below 600 ppm for improved concentration and decision-making, PM2.5 removal reducing respiratory disease risk, humidity control at 40-60% RH preventing mold and dust mites, VOC reduction lowering long-term carcinogen accumulation, improved sleep quality, reduced airborne pathogen transmission within the household, increased work productivity for home office occupants, and long-term medical expense reduction.
4-Step Installation Process
Step one is planning. Assess home size and occupancy to calculate required airflow rate per ASHRAE 62.2 standards. Map duct routing, unit installation points, and sensor locations for each room on a floor plan. Consult a certified HVAC specialist to evaluate building structure suitability.
Step two selects the system type. For Bangkok homes, ERV is recommended as the primary ventilation unit due to humidity management capability, paired with HEPA H13 air purifiers in individual rooms. ERV options include Panasonic FY-12VBD1 for smaller spaces, Mitsubishi Lossnay for medium areas, and Daikin VAM for larger homes.
Step three handles hardware installation. Have a certified technician install the ERV unit and route ducts per the floor plan. Install CO2 and PM2.5 sensors in bedrooms, living areas, and home offices. Run RS-485 signal cable or install Wi-Fi modules for Home Assistant connectivity.
Step four configures the system and automation. Build a Home Assistant Dashboard displaying real-time CO2, PM2.5, humidity, and temperature values. Create automation rules triggering ERV when CO2 exceeds 800 ppm or outdoor PM2.5 drops below 50 µg/m³. Set LINE Notify alerts for abnormal air quality deterioration.
Maintenance Tips
Follow this maintenance schedule for reliable operation. Monthly: clean pre-filters, review sensor readings versus baseline. Every 3 months: inspect duct connections, clean the heat exchange core. Every 6 months: replace Activated Carbon filters, inspect HEPA filter condition. Annually: replace HEPA H13 filters and calibrate all sensors.
Safety Warnings
Key safety precautions for installation and operation: all electrical work must be performed by a licensed electrician, do not install the ERV unit in poorly ventilated or high-temperature areas, inspect condensate drainage regularly to prevent mold growth inside the unit, shut down immediately if you smell burning or hear unusual noises and call a technician, and install additional CO sensors near kitchen stoves and gas appliances as a complementary safety layer.