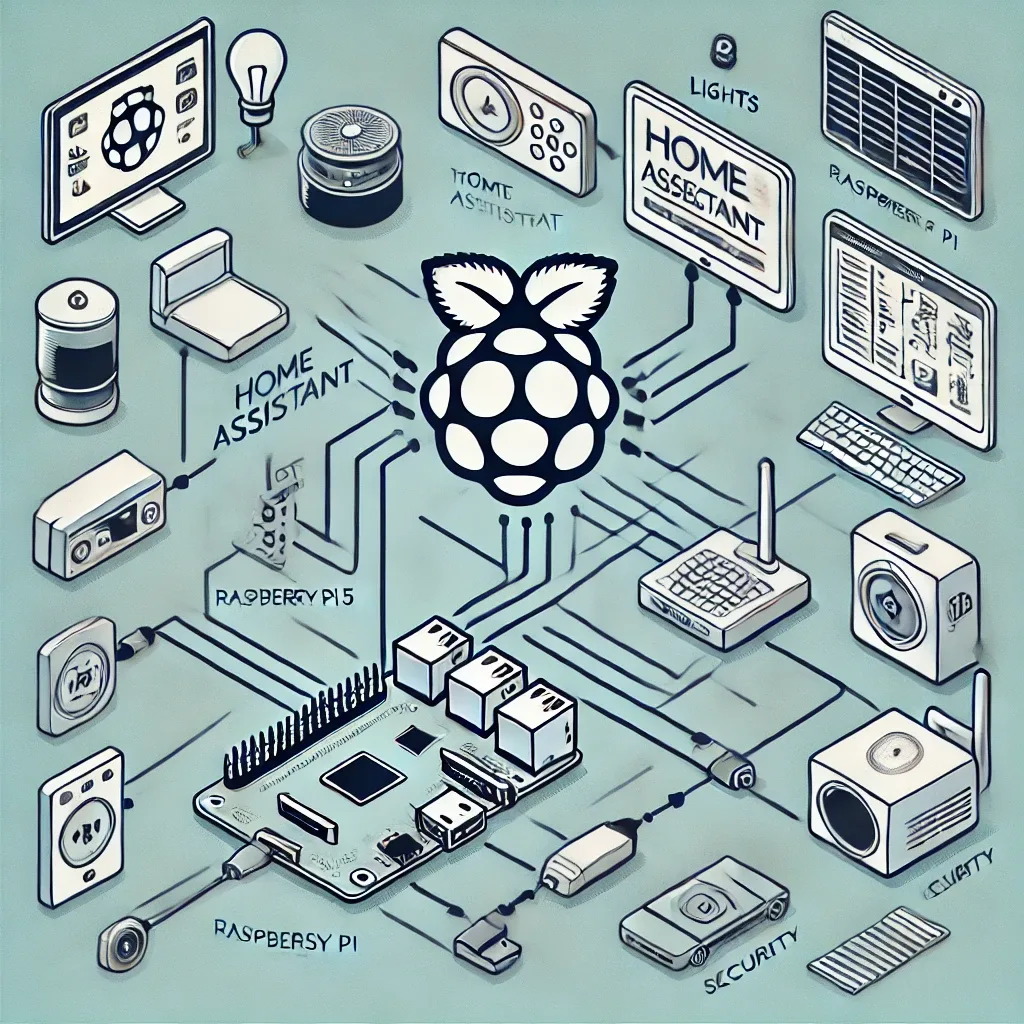
Hardware You Need Before Starting
Prepare the following components before installation:
- Raspberry Pi 5 (4GB ~2,000 THB, 8GB ~2,800 THB)
- 128GB NVMe SSD + PCIe HAT+ (strongly recommended over microSD — 5-10x more durable and faster)
- Official Raspberry Pi 27W USB-C Power Supply (official only, to avoid undervoltage issues)
- Active Cooling Case (essential in Bangkok's average 30-35°C ambient temperature)
- Zigbee USB Dongle (Sonoff Zigbee 3.0 Dongle Plus, ~400 THB) for Zigbee devices
- LAN cable for a stable connection during initial setup
Total hardware cost: approximately 4,000-6,000 THB for a complete Home Assistant Hub.
Step 1: Flash Home Assistant OS
- Download Balena Etcher from balena.io/etcher (supports Windows, macOS, Linux)
- Download the Home Assistant OS image for Raspberry Pi 5 from home-assistant.io/installation
- Open Balena Etcher → select the image file → select your SSD/microSD → click Flash
- Insert SSD/microSD into Raspberry Pi 5 → connect LAN cable and Power Supply
- Wait approximately 3-5 minutes for the first boot (installation is fully automatic)
Step 2: Initial Setup via Browser
Open a web browser on any device on the same network and navigate to:
- http://homeassistant.local:8123 or
- Your RPi5's IP address (check via your Router admin page)
The Setup Wizard guides you through:
- Creating your Admin User Account
- Setting your home name and Location (important for Sunrise/Sunset Automations)
- HA automatically scans and lists Auto-discovered Devices on your network
Step 3: Add Zigbee via ZHA Integration
ZHA (Zigbee Home Automation) is Home Assistant's built-in Zigbee integration:
- Settings → Devices & Services → Add Integration → search "Zigbee Home Automation"
- Select the Serial Port of your Sonoff Dongle (usually
/dev/ttyUSB0or/dev/serial/by-id/...) - ZHA creates your Zigbee network
- Pair devices: click "Add Device" then hold the Pair button on your Zigbee device for 3 seconds
Devices with strong ZHA compatibility: Aqara Temperature Sensor, Sonoff ZBMINI, Philips Hue bulbs, IKEA Tradfri
Step 4: Create Your First Automation
Example: Auto-turn on entrance light when motion detected after sunset
- Settings → Automations & Scenes → Create Automation
- Trigger: Device → PIR Motion Sensor → State = "Motion detected"
- Condition: Sun → Sun is below horizon (after sunset)
- Action: Device → Smart Bulb → Turn On → Brightness 80%
- Save and test by walking past the sensor
Recommended Add-ons for Beginners
From the HA Add-on Store (Settings → Add-ons):
- File Editor: edit configuration.yaml through the browser
- Mosquitto Broker: MQTT support for MQTT-based devices
- Node-RED: build complex automations using visual flow diagrams
- Frigate: AI Object Detection for CCTV cameras
HappySmart provides complete installation and configuration — Survey → single-day installation → training → 24H Support — getting your RPi5 + Home Assistant running from day one.