Start With Universal Design Before Smart Technology
A common mistake when adapting a home for elderly residents is buying Smart Home devices before addressing the physical fundamentals of the room. The result: expensive sensors installed in rooms with slippery floors, doors too narrow for wheelchairs, or light switches placed too high to reach. The correct sequence is Universal Design first, Smart Layer second.
Universal Design is a set of principles that makes a space functional for everyone regardless of physical ability. Once the foundation is correct, adding smart technology at any later stage becomes straightforward and cost-effective.
Standard 1: Door and Corridor Widths
Bedroom and bathroom doors should be at least 900 mm wide to accommodate wheelchairs and walking frames. Interior corridors should be at least 1,200 mm wide, with 1,500 mm clear turning radius where wheelchair turns are required. Door thresholds should be no more than 13 mm high, or ideally flush with the floor. Renovation cost: 5,000–15,000 THB per doorway.
Standard 2: Non-Slip Flooring
Bathroom floors must achieve a Coefficient of Friction (COF) ≥ 0.6 when wet — the ADA and ISO standard for wet-area flooring. Polished natural stone fails this standard. Textured ceramic tile or non-slip strips must be used instead. For bedrooms and living areas, SPC Flooring delivers COF ≥ 0.6 even when wet, with better impact absorption than rigid hard flooring.
Standard 3: Appropriate Bed Height
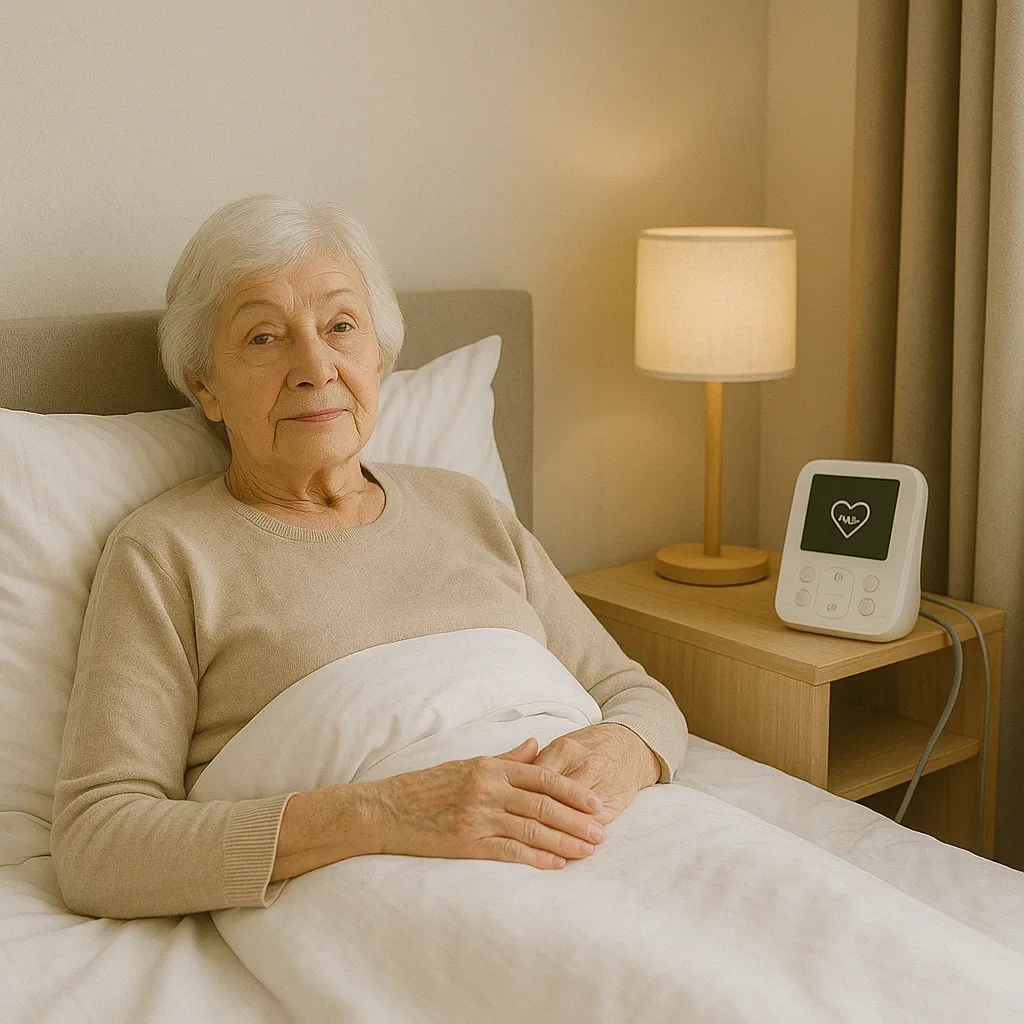
Floor-to-mattress-surface height should be 45–55 cm — the range at which most elderly people can rise to standing without excessive effort. Beds below 40 cm make rising very difficult; beds above 60 cm increase fall-from-bed risk. Smart bed-exit sensors that detect night-time departures can be added at the Smart Layer stage.
Standards 4–7: Lighting, Switches, Grab Bars, Ventilation
Task areas such as dining tables and bathroom vanities require ≥ 300 lux. Sleeping areas and night-time pathways should be lit at 30–50 lux to avoid disrupting sleep. Light switches and power outlets should be positioned at 900–1,100 mm from the floor. Bathroom grab bars must support ≥ 113 kg and be mounted at 840–920 mm height. Ventilation should achieve ≥ 6 air changes per hour.
Smart Layer: What to Add After the Foundation Is Complete
Once the Universal Design base is in place, the Smart Layer can operate at full effectiveness. Bedroom additions: mmWave Sensor (3,000 THB) + Circadian LED strip (2,500 THB) + Smart Plug for an adjustable bed frame. Bathroom additions: mmWave Sensor (3,000 THB) + 2,700K night light (800 THB) + Water Leak Sensor (500 THB). Living room additions: Air Quality Display (2,000 THB) + Smart Speaker for voice control (1,500 THB).
Total Smart Layer budget across the home: approximately 15,000–25,000 THB. Combined with Universal Design renovation at 30,000–60,000 THB, the complete project runs 45,000–85,000 THB — less than six months of live-in caregiver costs.