What Are Raspberry Pi and Home Assistant?
Many people assume that building a smart home requires significant money and technical expertise. In reality, combining a Raspberry Pi with Home Assistant creates a comprehensive smart home system that is both affordable and straightforward to manage.
Raspberry Pi is a credit-card-sized computer developed by the Raspberry Pi Foundation in the United Kingdom. It is far cheaper than commercial smart home hubs, compact, low-power, and fully compatible with Home Assistant.
Home Assistant is an open-source platform developed continuously by a global community of contributors. It controls smart home devices from a unified dashboard, supports over 1,000 brands, works over Wi-Fi, Zigbee, Bluetooth, and Z-Wave, costs nothing monthly, and stores all data locally for maximum privacy.
Preparing Your Hardware
You will need a Raspberry Pi 4 with 4GB or 8GB RAM (4GB recommended for beginners), a 32GB or larger Class 10 SD Card, a 5V 3A power supply for the Pi 4, an Ethernet cable or Wi-Fi connection, and a computer to flash the SD Card.
Total hardware cost runs approximately 2,500-4,000 baht -- significantly less than purchasing a premium branded hub with equivalent capabilities.
Step-by-Step Installation of Home Assistant
Visit https://www.home-assistant.io/installation/raspberrypi and download the Raspberry Pi image file. Use Balena Etcher or Raspberry Pi Imager to flash this image onto the SD Card.
Insert the SD Card into the Raspberry Pi, connect the power cable and an Ethernet cable, then wait approximately 20 minutes for the first boot to complete. Open a browser on your computer and navigate to http://homeassistant.local:8123 or the Raspberry Pi IP address followed by :8123.
Follow the on-screen instructions to create your user account and complete initial setup. Home Assistant will automatically discover compatible devices on the same network through its Auto-Discovery feature.
Adding Devices and Expanding the System
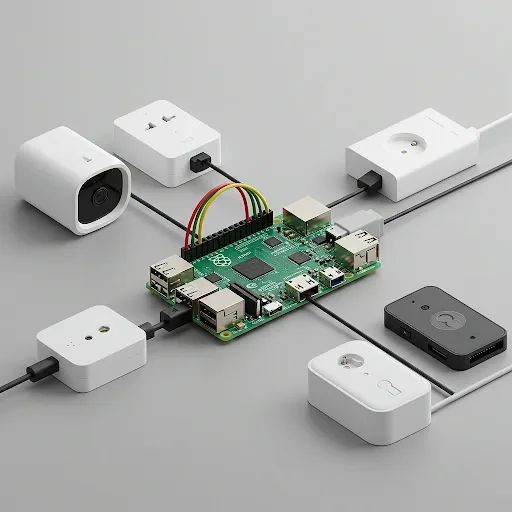
Once installed, begin adding devices immediately: smart plugs for appliance control, smart bulbs for lighting and color adjustment, door/window sensors for intrusion alerts, and a security camera for live mobile viewing.
As you grow more comfortable, the system expands in multiple directions. Connect a Zigbee Hub to support Aqara and IKEA Tradfri devices. Install the Node-RED add-on for drag-and-drop automation without writing any code. Add ESPHome for DIY devices such as earthquake sensors. Set up automatic backups to protect your configuration. Install the Home Assistant Companion App on your phone for remote control from anywhere.
Finally, integrate with Google Assistant or Amazon Alexa for hands-free voice control of every device in your home -- no app opening required.