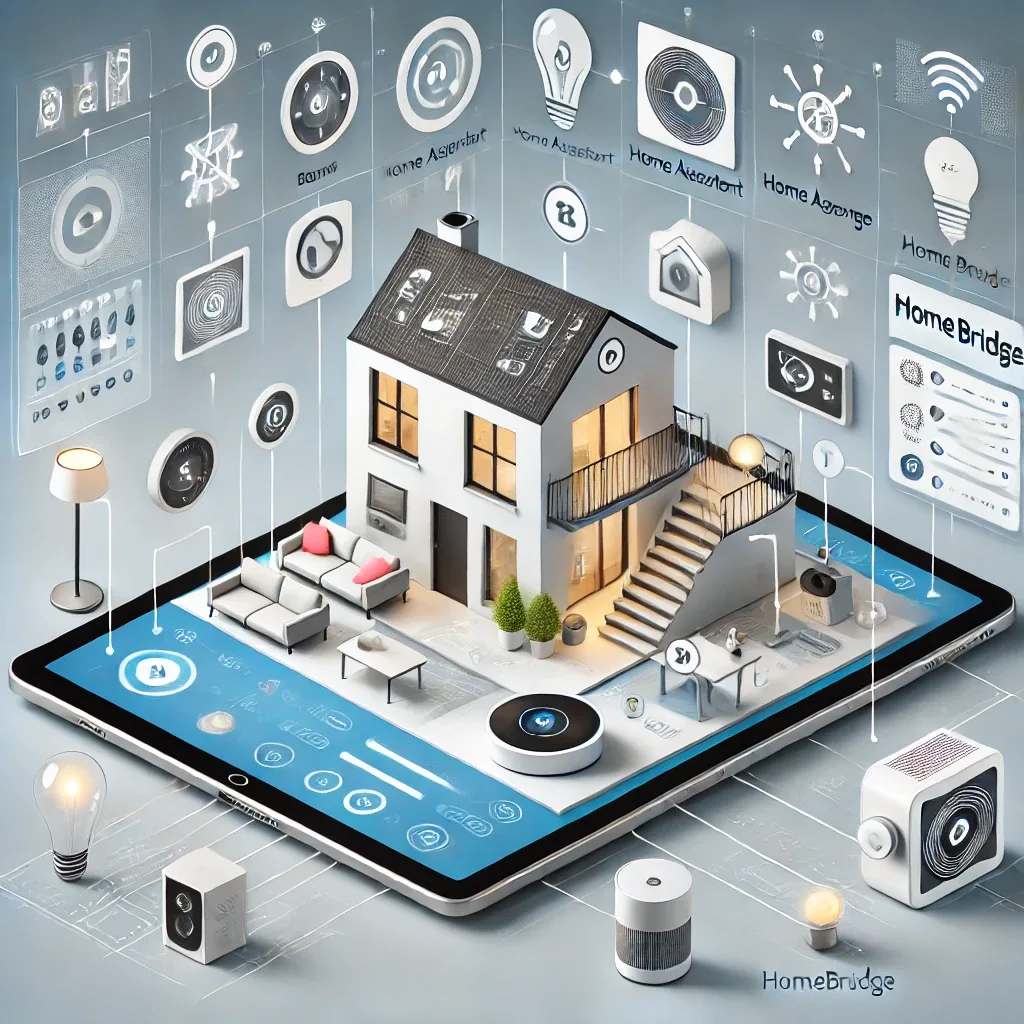
Home Assistant vs Homebridge: Which Should You Choose?
For beginners building a smart home, the common question is whether to use Home Assistant or Homebridge. Both have distinct strengths. Home Assistant suits those wanting a full-featured system supporting diverse brands with complex automation. Homebridge suits Apple users who want to bring non-HomeKit devices into Apple Home.
Both run on Raspberry Pi, and advanced users often run both together — Home Assistant as the main hub and Homebridge as a bridge for devices they want to control with Siri and Apple Home.
Home Assistant Installation Steps
To install Home Assistant OS on Raspberry Pi: (1) download the HAOS image for RPi from home-assistant.io; (2) flash it with Balena Etcher to a 32GB+ microSD; (3) insert the card, connect Ethernet, and power on; (4) wait 10 minutes, then visit http://homeassistant.local:8123; (5) create an account and complete initial setup; (6) add integrations via Settings > Devices & Services.
After installation, useful add-ons include Studio Code Server for editing configs, HACS (Home Assistant Community Store) for additional integrations, and File Editor.
Installing Homebridge with npm
Before installing Homebridge, ensure Node.js 18+ is on the system. Run sudo npm install -g --unsafe-perm homebridge homebridge-config-ui-x to install Homebridge with its Web UI.
Create a service with sudo hb-service install --user homebridge for auto-start on boot, then access the Web UI at http://[IP]:8581 to manage plugins and config.
Example config.json for Homebridge
A basic config.json specifies the bridge name, username (MAC address format), and an 8-digit pin, then adds accessories for desired devices and platforms for installed plugins — such as homebridge-tuya-web for Tuya devices or homebridge-xiaomi-roborock-vacuum for Xiaomi robot vacuums.
Critically, the username must follow MAC address format (XX:XX:XX:XX:XX:XX) and the pin must be 8 digits in XXX-XX-XXX format for Apple Home pairing.
Tips for Beginners
For beginners, start with Home Assistant — it has a more user-friendly UI and a larger community. Add Homebridge only when you specifically need to bring devices into Apple Home.
Enable automatic backups and update regularly. HappySmart is ready to advise on choosing the right platform and designing a smart home system that fits your needs and budget.