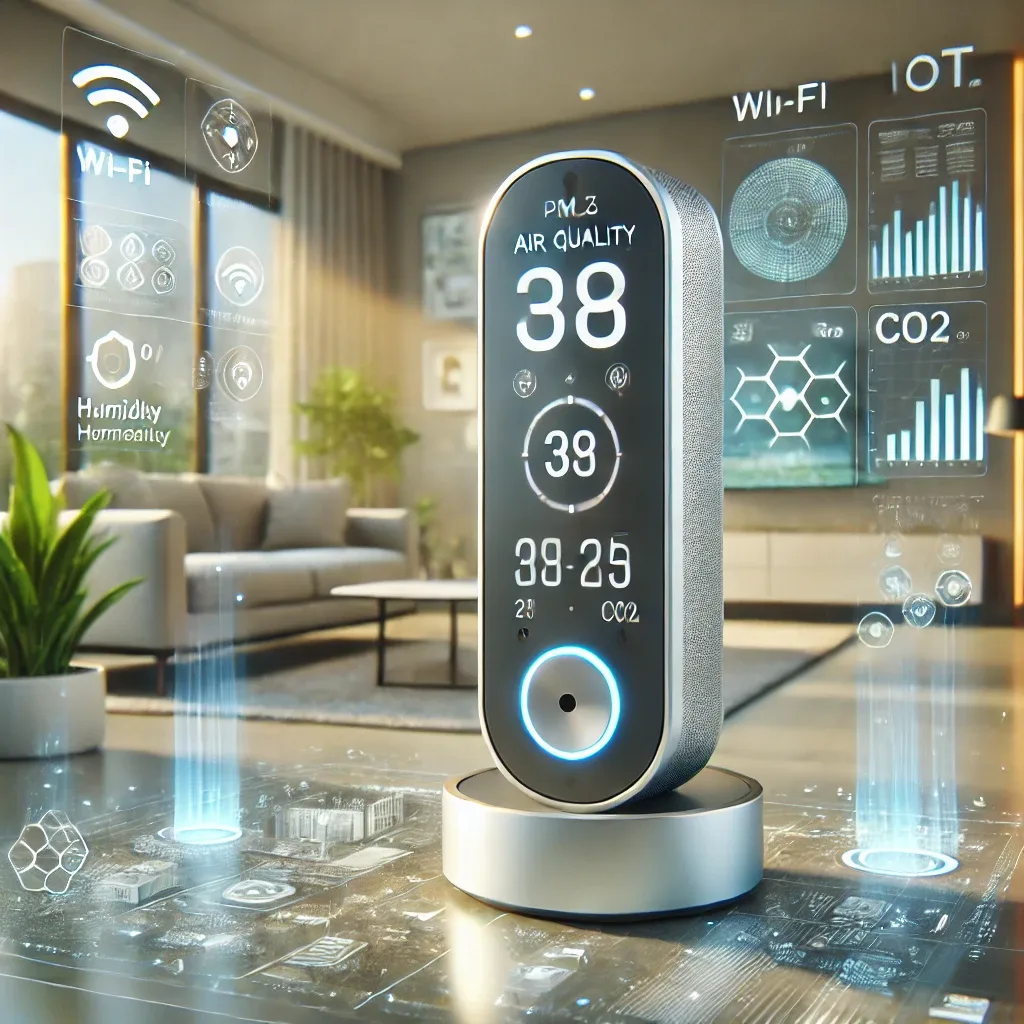
Why Air Quality Sensors Are Essential for Modern Homes
Air pollution has no color, smell, or taste. PM2.5 dust, accumulated CO2, VOCs from new furniture, and abnormal humidity all affect respiratory health, sleep, and concentration without residents realizing it. Smart air quality sensors solve this by measuring real values every minute and sending data to Home Assistant, triggering automated responses before problems affect health.
Sensor Types and What They Measure
PM2.5 and PM10 sensors detect particles ≤2.5 and ≤10 microns that can penetrate lungs and enter the bloodstream. CO2 sensors measure carbon dioxide from breathing — levels above 800 ppm cause drowsiness, poor concentration, and headaches. VOC sensors detect organic compounds from paint, furniture, and cleaning products. Temperature and humidity sensors help maintain 40-60% RH to prevent mold and dust mites. Recommended brands include Xiaomi Mi Air Quality Monitor, Airthings Wave Plus, Aqara TVOC Sensor, and Shelly H&T.
Benefits of Connecting to Home Assistant
Once sensors connect to Home Assistant, the system builds a Lovelace dashboard showing all parameters in real time on your phone or wall display. Set automations to open the air purifier when PM2.5 exceeds 50 μg/m³, activate ventilation fans when CO2 exceeds 800 ppm, and send LINE Notify alerts when values enter dangerous ranges. Data is also logged to InfluxDB for weekly air quality pattern analysis and continuous system improvements.
Installation and Connection Steps
Step 1: Choose sensors supporting Wi-Fi, Zigbee, or Bluetooth. Step 2: Place sensors at room center or near entry points at 1-1.5 meters height, at least 1 meter from AC units and windows. Step 3: Add integration to Home Assistant via ESPHome, Zigbee2MQTT, or Mi Home according to sensor protocol. Step 4: Build a Lovelace Dashboard displaying PM2.5, CO2, VOC, humidity, and temperature. Step 5: Configure automations and notifications, then test by burning incense near the sensor to verify response. Step 6: Review and adjust thresholds every 2-4 weeks based on real data.
Identifying Pollution Sources and Building Healthy Environments
Sensor data reveals when dust levels spike — such as when the front door opens in the evening or while frying food — enabling targeted solutions. Choose low-VOC furniture, add plants near high-VOC zones, and align the ventilation schedule with real lifestyle patterns for maximum effectiveness.