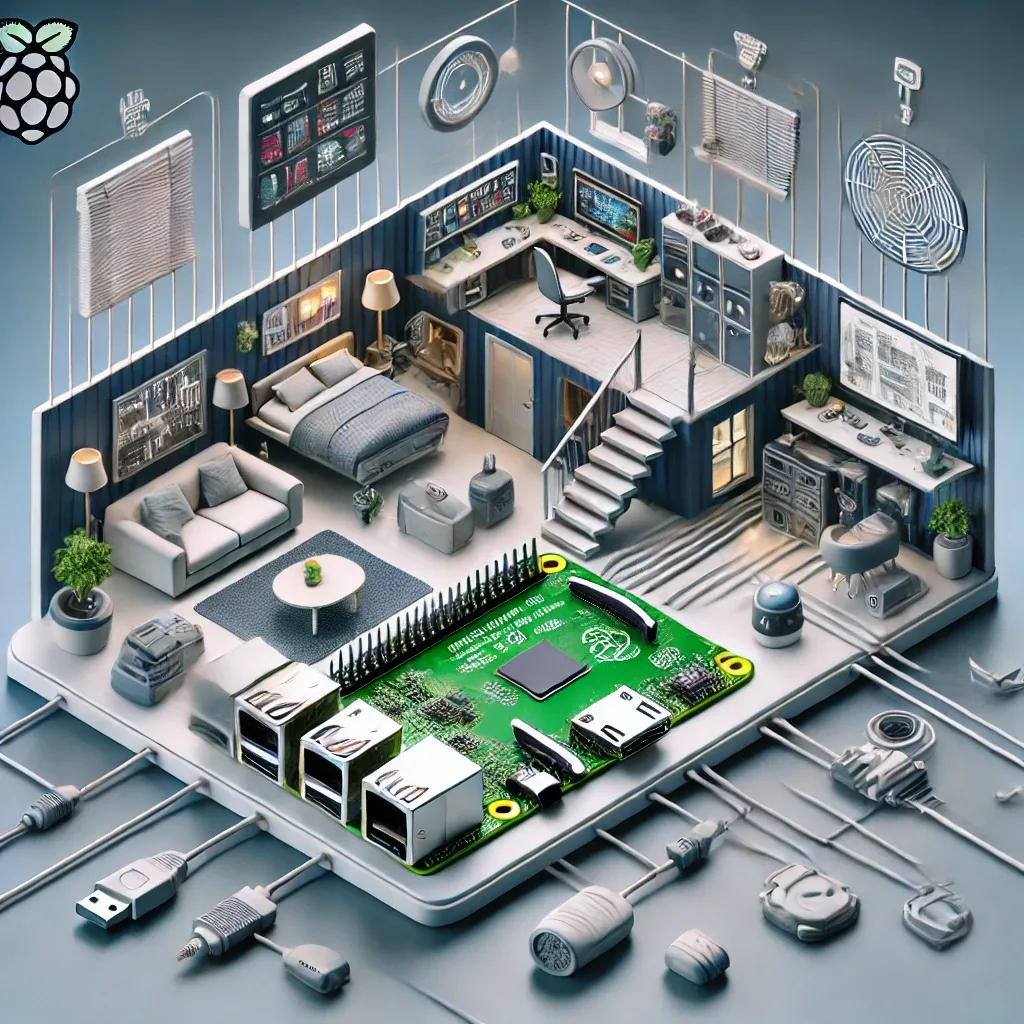
Why Raspberry Pi 5 Is the Best Choice for a Smart Home Hub
The Raspberry Pi 5, released in 2023, features a 64-bit Quad-core ARM Cortex-A76 CPU at 2.4 GHz — delivering 2-3x the processing power of RPi4, sufficient for demanding Smart Home workloads.
It supports Wi-Fi 802.11ac, Bluetooth 5.0, and four USB-A ports for Zigbee/Z-Wave dongles. Compatible operating systems include Raspberry Pi OS, Ubuntu, and Home Assistant OS natively.
Step 1: Prepare the Hardware
Required hardware: Raspberry Pi 5 (4GB or 8GB for complex systems), MicroSD Card at least 32GB (64GB recommended), USB-C 5V/3A adapter, HDMI cable and monitor for initial setup, and a Zigbee USB Dongle (Sonoff Zigbee Dongle Plus or HUSBZB-1).
For superior storage performance, RPi5 supports NVMe SSD via PCIe HAT — providing 10-20x faster I/O than MicroSD with significantly longer lifespan.
Step 2: Install Home Assistant OS
The recommended approach for Smart Home is Home Assistant OS, purpose-built for this application. Download the Home Assistant OS image from home-assistant.io, flash it to MicroSD using balenaEtcher, insert the card into RPi5, and power on.
Connect to Wi-Fi and access Home Assistant at http://<IP-Address>:8123. Complete initial setup, create a user account, and set your home's location.
For Docker deployment: docker run -d --name=homeassistant --restart=always -v /home/homeassistant/config --net=host homeassistant/home-assistant:stable
Step 3: Install Zigbee2MQTT
Zigbee2MQTT bridges Zigbee devices to an MQTT broker, which Home Assistant reads directly. In Home Assistant, go to Add-ons Store and install both Mosquitto MQTT Broker and Zigbee2MQTT.
Configure Zigbee2MQTT to specify the USB dongle port (/dev/ttyUSB0 or /dev/ttyACM0), then add Zigbee devices by pressing "Permit Join" and triggering pairing mode on each device.
Step 4: Add IoT Devices
With Zigbee connected, add devices through additional integrations. Home Assistant supports over 3,000 integrations including Xiaomi Mi Home, Philips Hue, Google Nest, and Samsung SmartThings.
Create Automation rules defining Triggers (e.g., CO2 > 800 ppm), Conditions (e.g., time 22:00-06:00), and Actions (e.g., activate ventilation fan).
Step 5: Configure IoT VLAN
For security, create a dedicated IoT VLAN for all Smart Home devices, preventing them from accessing your main network containing sensitive data.
Conclusion
Raspberry Pi 5 provides a robust foundation for a fully controlled Smart Home. The 2,000-5,000 THB investment in RPi5 with accessories delivers maximum flexibility for future system expansion.