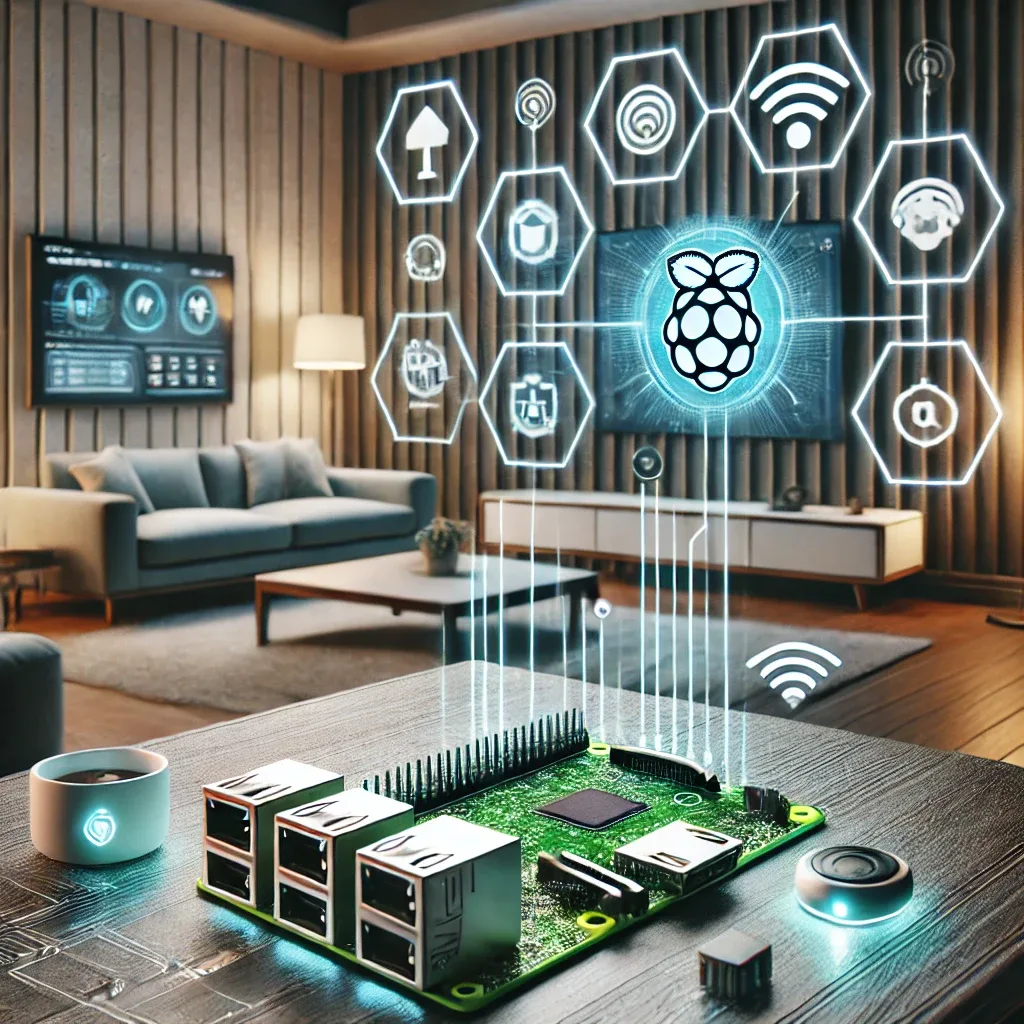
Raspberry Pi: The Core of Smart Home Solutions
Raspberry Pi is a credit-card-sized single-board computer that has become the global standard for DIY smart home projects. The Raspberry Pi 5, launched in late 2023 and still the go-to choice in 2026, features a quad-core ARM Cortex-A76 CPU at 2.4 GHz, 4 or 8 GB RAM, PCIe 2.0 for NVMe SSD expansion, and Gigabit Ethernet.
Why Raspberry Pi Excels for Smart Home Use
Raspberry Pi offers several compelling advantages over pre-built smart hubs like Samsung SmartThings or Amazon Echo Hub. First, value for money: at USD 80–100, an RPi 5 supports unlimited IoT devices with no monthly subscription fees.
Second, maximum flexibility: a single RPi 5 can simultaneously run Home Assistant OS (HAOS), Homebridge, Node-RED, Frigate NVR, Pi-hole, and additional add-ons — functionality that would require multiple commercial hubs to replicate.
Third, privacy and local control: all data is processed inside your home with no external cloud dependency. This matters enormously for security cameras and daily routine data.
Fourth, community support: the global Raspberry Pi and Home Assistant communities, including the "Home Assistant Thailand" Facebook group with hundreds of thousands of members, provide blueprints, troubleshooting, and regular updates.
How to Install Raspberry Pi for Smart Home
The core steps are straightforward. Download the Home Assistant OS image for Raspberry Pi 5 from home-assistant.io and flash it to a Class 10+ SD card or NVMe SSD using Raspberry Pi Imager.
Insert the SD/SSD, connect an Ethernet cable, power via USB-C (5V 3A), and wait 10–20 minutes for first-boot initialization. Navigate to homeassistant.local:8123 in your browser to begin setup.
Next, install HACS (Home Assistant Community Store) to access additional integrations including Adaptive Lighting, Frigate, and Google Home.
Connecting IoT Devices
Raspberry Pi 5 connects to IoT devices across multiple protocols: Zigbee via a USB dongle (Sonoff Zigbee 3.0 or ConBee III), Z-Wave via a Z-Wave JS controller, Wi-Fi devices running Tasmota or ESPHome firmware, and Matter/Thread for 2025–2026 generation devices.
A practical example: connect Ikea TRADFRI Zigbee bulbs, Aqara temperature sensors, Reolink cameras, and Shelly smart plugs all into a single Home Assistant dashboard with unified automations.
Performance Tips and Reliability
For long-term reliability, use NVMe SSD rather than SD card — SD cards have limited write cycles under continuous Home Assistant use. Add a quality UPS or power bank to protect against power cuts. Enable automatic backups to Google Drive or a Samba share via the Home Assistant Backup add-on.
Conclusion
Raspberry Pi 5 remains the most powerful and cost-effective DIY smart home platform in 2026. Its combination of affordability, flexibility, privacy-first local processing, and robust community support — including a growing Thai-language community — makes it the definitive choice for anyone building a serious smart home.