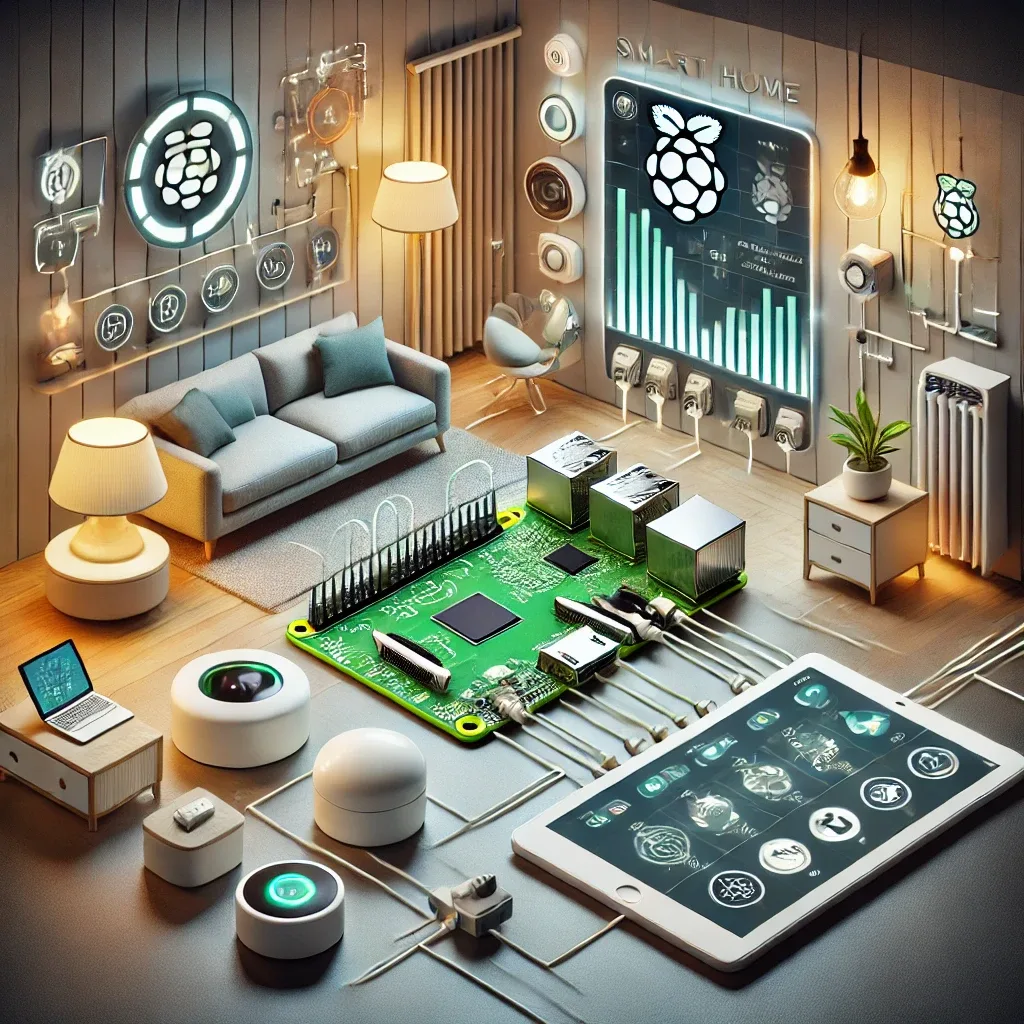
Why Raspberry Pi Is Ideal for Smart Home
Raspberry Pi is a compact, low-power mini-computer (RPi4 uses only 5-8W under load) with sufficient processing power to serve as a Smart Home Hub. It can simultaneously run Home Assistant, HomeBridge, and other automation platforms.
Key advantages: accessible price (RPi4 4GB around 1,800-2,500 THB), no manufacturer cloud dependency, unlimited expandability, large developer community, and support for all IoT device types via Zigbee, Z-Wave, and MQTT protocols.
Required Hardware
For a basic installation: Raspberry Pi 4 or 5 (4GB RAM recommended for device-rich systems), MicroSD Card 16GB+ (Class 10 or A1 recommended), USB-C 5V/3A adapter for RPi4 or 5V/5A for RPi5, Micro HDMI cable for initial setup, network connection (Wi-Fi or Ethernet), and a USB Dongle for Zigbee or Z-Wave.
Step 1: Install the Operating System
Download and install Raspberry Pi Imager on your computer. Select your desired OS, choose your SD card, click Write, and wait for completion. Insert the MicroSD into the Raspberry Pi and power on.
For dedicated Smart Home use, Raspberry Pi OS Lite (no Desktop GUI) is recommended to conserve resources, with Home Assistant or HomeBridge installed on top.
Step 2: Basic Configuration
Access the Raspberry Pi via Terminal or SSH, then change the default password: passwd. Update the system: sudo apt update && sudo apt upgrade. Install Python and Node.js: sudo apt install python3 nodejs.
Step 3: Install Home Assistant via Docker
Install Docker: sudo apt install docker.io. Then run Home Assistant:
sudo docker run -d --name=home-assistant --restart=unless-stopped -p 8123:8123 -v /path/to/your/config:/config homeassistant/home-assistant:stable
Access Home Assistant at http://<IP-Address>:8123 and complete initial configuration.
Step 4: Install HomeBridge (for Apple HomeKit Users)
For users wanting to connect non-HomeKit devices to Apple Home: sudo npm install -g homebridge. Configure config.json and add Plugins for your devices. HomeBridge supports over 2,000 plugins covering devices from all brands.
Step 5: Connect IoT Devices
For Zigbee: install zigbee2mqtt with npm install -g zigbee2mqtt. For Z-Wave: use the Z-Wave JS Add-on in Home Assistant. For MQTT: install Mosquitto Broker and configure topics.
After connecting devices, create Automations — lights on when motion is detected, AC off when a room is empty for 30 minutes.
Conclusion
Raspberry Pi is the cost-effective choice for a Smart Home Hub that gives you full system ownership, eliminates external cloud dependency, and scales without limits as your needs grow.