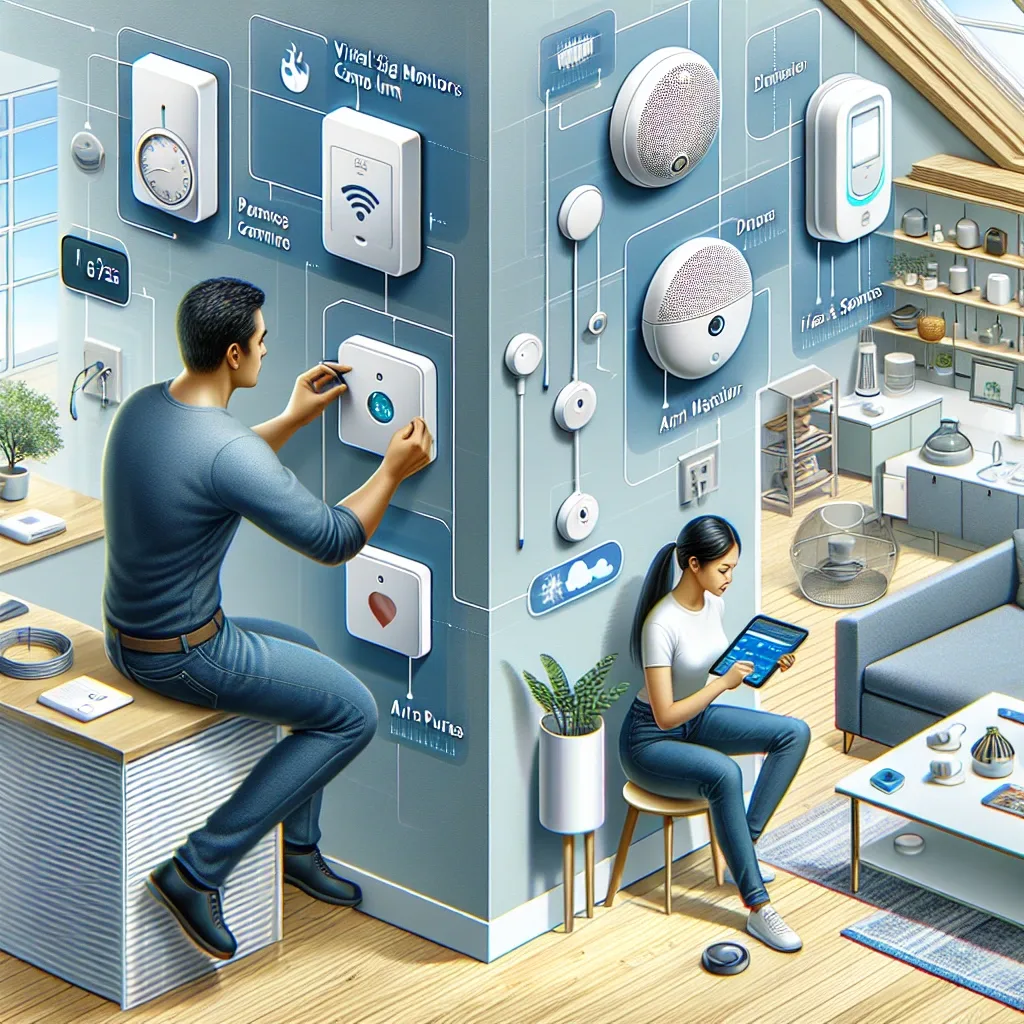
Pre-Installation Checklist
Before purchasing any device, verify five readiness factors: internet speed of at least 50 Mbps with Wi-Fi coverage in every corner of the home, a router or mesh system supporting VLAN to isolate the IoT network from personal devices, stable power supply with UPS for the hub and router, a phased budget planned in advance, and a list of certified technicians for professional installation work.
IoT network segmentation on a separate VLAN is critical for security. Some Smart Home devices contain known security vulnerabilities, and placing them on an isolated network prevents lateral access to personal devices if any device is compromised.
Installing an Air Quality Monitoring System
Always start with measurement. Install air quality sensors in the bedroom first, as it is the space where you spend the most time and directly affects sleep quality. Recommended sensors include the Awair Element measuring CO2, PM2.5, VOC, humidity, and temperature with Home Assistant API connectivity at 5,000-7,000 THB, or the Aqara TVOC Air Quality Monitor connecting via Zigbee at 1,500-2,500 THB.
After installation, collect 3-5 days of baseline data before deciding which purification or ventilation equipment to add. Real data will reveal whether your primary problem is CO2 accumulation, excess humidity, or PM2.5 infiltrating from outside.
Installing Circadian Lighting
Lighting directly affects circadian rhythm and sleep quality. Circadian Lighting adjusts color temperature throughout the day to mirror natural sunlight: cool white-blue (6,500K) in the morning stimulates cortisol and alertness, gradually shifting to warm yellow-orange (2,700K) in the afternoon and evening, and soft red (2,200K) before bedtime to stimulate melatonin production.
Setup is straightforward using Philips Hue or IKEA TRADFRI bulbs with the Circadian Lighting Integration in Home Assistant. Configure once and it runs automatically every day without manual adjustment, adapting to seasonal sunrise and sunset time changes.
Installing a Smart Thermostat
Smart thermostats typically pay back their investment within 1-2 years. The Ecobee SmartThermostat Premium at 8,000-12,000 THB includes room sensors that detect occupancy and adjust temperature only in occupied rooms, saving 15-23% on energy according to EnergyStar data.
After installation, set a schedule reflecting real life patterns: 23°C at night on weekdays for better sleep and 25°C on weekends to save energy. Configure Away Mode to automatically reduce cooling when everyone leaves home, detected through phone presence detection in Home Assistant.
Installing Smart Security Cameras
Smart Home cameras should support Local Storage and RTSP streaming for privacy and independence from cloud services that may be discontinued. A good option is the Reolink Duo 2 POE at 4K resolution with RTSP support connecting to Home Assistant via ONVIF, priced 3,000-5,000 THB.
Define Motion Zones covering only critical areas to minimize false alarms. Connect to Home Assistant and create an automation sending snapshot images via LINE Notify when motion is detected at the front entrance during nighttime hours.
Installing Smart Locks and Maintenance Schedule
Recommended smart locks for Home Assistant include the Aqara Smart Lock U200 supporting Matter at 5,000-8,000 THB, and the August Smart Lock Pro supporting Z-Wave at 7,000-10,000 THB. Set Auto-Lock after 5 minutes for maximum security and create temporary keycodes for housekeeping staff or service technicians.
Follow this whole-system maintenance schedule: weekly review the Dashboard for anomalous readings, monthly update Home Assistant and add-ons and clean sensors, every 3 months test backup and restore procedures, every 6 months replace Zigbee sensor batteries and air purifier filters.