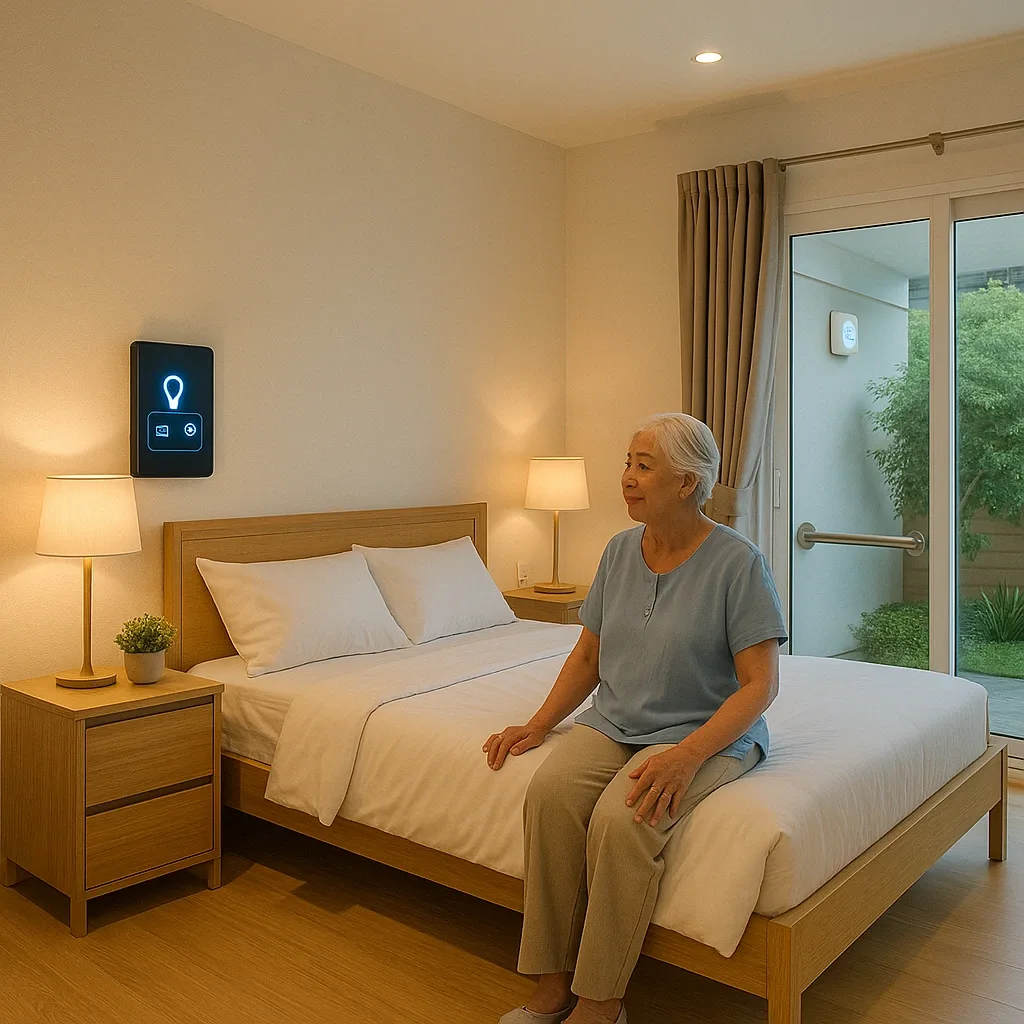
A good elderly bedroom must go beyond comfort — it must detect anomalies before incidents occur and remain easy to use for a senior living alone. This guide synthesises guidance from Universal Design architects and Smart Home Safety installers so Thai families can start correctly.
Five Universal Design Foundations Before Installing Devices
Floor COF ≥0.5 wet and dry. Choose anti-slip vinyl or matte-finish tile. Avoid carpet and glossy surfaces.
Sliding door width ≥90 cm, zero threshold, for wheelchair access and unsteady walking.
Bed height 45–50 cm from floor, easing sit-to-stand transitions and reducing orthostatic dizziness risk.
Grab rails beside bed and in bathroom at 75–80 cm height, stainless steel 304 rated to ≥120 kg.
Warm White lighting 3,000–3,500K, auto-activated by Motion Sensor at night.
8-Item Pre-Installation Checklist
Item 1: Ceiling height ≥2.7 m for standard mmWave sensors (some models require ≥2.8 m). Item 2: Strong Wi-Fi signal inside the room — test with a signal app before purchasing devices. Item 3: At least two grounded outlets in the bedroom and one IP67 outlet in the bathroom. Item 4: Load-bearing walls for wall-mount Panic Button and grab rails. Item 5: Bathroom door must open outward so a fallen occupant cannot block rescue entry. Item 6: No furniture taller than 1.5 m creating dead zones beneath a corner-mounted mmWave sensor. Item 7: UPS or battery backup for router and smart hub — prevents monitoring gap during power cuts. Item 8: Elderly person consents and understands the system — demonstrate the Panic Button press and audible alert before going live.
mmWave Sensor Placement for Full Room Coverage
For a 3×4-metre bedroom, mount one mmWave sensor at the ceiling corner above the bed, covering the sleeping area, the path to the bathroom, and the door zone. For rooms larger than 4×5 metres, use two sensors facing each other to eliminate dead zones behind large furniture.
The bathroom requires a separate mmWave or PIR sensor at the ceiling centre, mounted at 2.4–2.6 m. Alert thresholds: no movement ≥15 minutes in the bathroom, or ≥60 minutes in the bedroom during daytime.
Budget and Investment Sequence
Phase 1 — Immediate Safety (3,000–6,000 THB): wearable Panic Button + two Motion Sensor Lights. Phase 2 — Detection (8,000–15,000 THB): mmWave sensor for bedroom + PIR sensor for bathroom. Phase 3 — Health (25,000–60,000 THB): Smart Bed + Smart Mirror or Smart Speaker. Total 36,000–81,000 THB depending on brand and number of installation points.