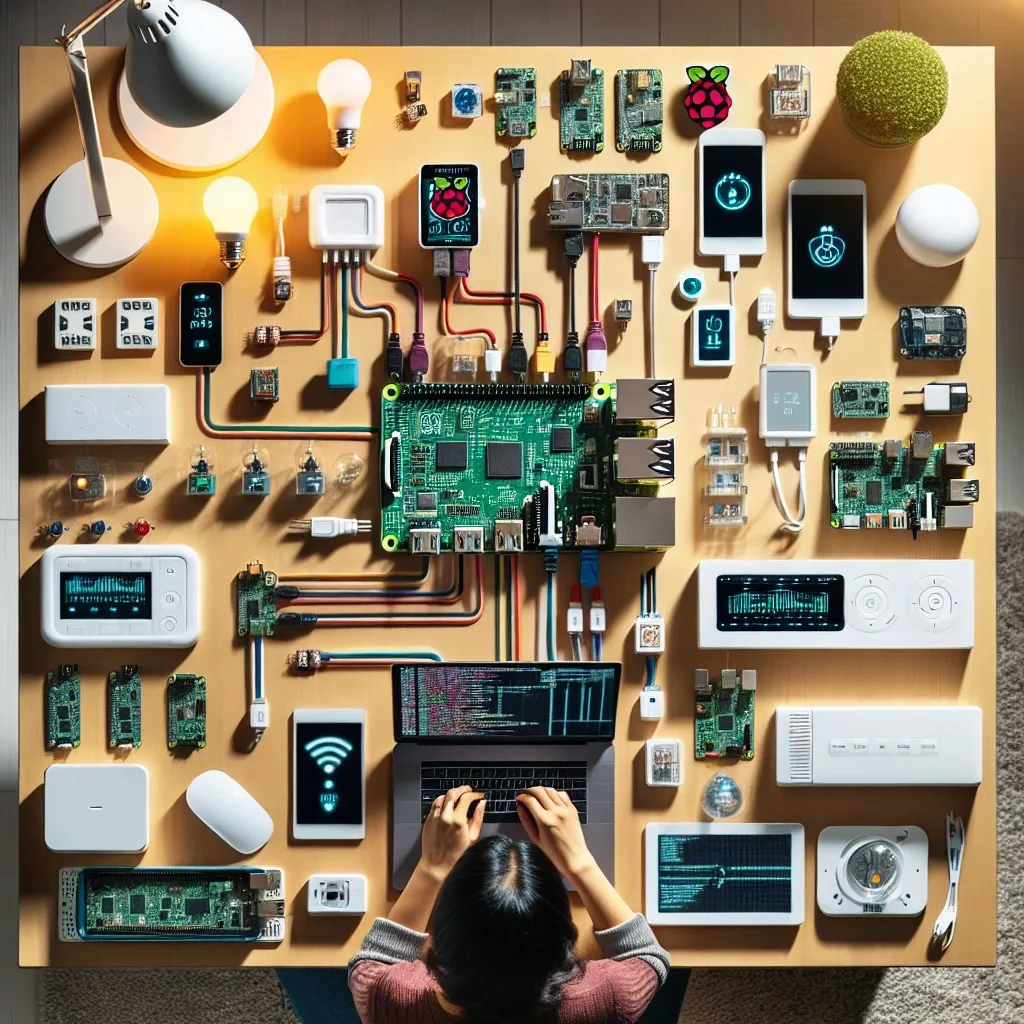
Why Raspberry Pi Is the Best Starting Point for Your Smart Home
Among all smart home hub options, Raspberry Pi remains the best choice for beginners in 2025-2026 for three key reasons:
First, genuinely affordable: RPi 4B (4GB) costs approximately 1,800 THB; RPi 5 (4GB) around 2,500 THB — compared to commercial hubs starting at 5,000-15,000 THB with frequent annual subscription fees.
Second, no device limitations: Home Assistant on Raspberry Pi supports 3,000+ brands — from Xiaomi, Philips Hue, and Hikvision to Daikin and DIY sensors you build yourself.
Third, data stays home: Unlike Google Nest or Amazon Echo Hub where everything flows through the cloud, Raspberry Pi + Home Assistant operates entirely locally.
Equipment to Prepare Before Starting
For a basic smart home installation, you need:
- Raspberry Pi 4B (4GB) or RPi 5 (4GB/8GB): 4B is sufficient for medium-sized homes; RPi 5 is recommended when adding CCTV cameras or AI add-ons
- USB SSD or NVMe (RPi 5 via PCIe): 64-128GB — SSD strongly preferred over microSD for durability in 24/7 systems
- Power supply: USB-C 5V/3A (RPi 4B) or 5V/5A (RPi 5) — use official adapters for stability
- Zigbee USB Dongle: Sonoff Zigbee 3.0 Dongle Plus (~400 THB) for connecting Zigbee devices
Step 1: Install Home Assistant OS
The easiest and most recommended method is Home Assistant OS — a purpose-built operating system designed specifically for HA:
- Download Balena Etcher on your computer
- Download the Home Assistant OS Image for RPi4 or RPi5 from home-assistant.io/installation
- Insert SSD/microSD via USB adapter into your computer
- Open Balena Etcher → select Image → select Drive → click Flash (takes 5-10 minutes)
- Remove SSD → insert into RPi → connect LAN cable and power → boot
- Wait approximately 5-10 minutes for first boot
- Open a browser on any device on the same network and go to
http://homeassistant.local:8123
Step 2: Initial Setup and Adding Devices
On first access to Home Assistant:
- Create admin account: Set a strong Username and Password
- Set home location: Enter your home's GPS coordinates for location-based automations like "turn on AC when arriving home"
- Install Zigbee Integration (ZHA): Settings → Devices & Services → Add Integration → search "Zigbee Home Automation" → select USB Dongle
- Automatic Discovery: Devices on the same network such as Xiaomi, Philips Hue Bridge, and TP-Link Kasa are detected automatically
Step 3: Build Your Dashboard and First Automation
Dashboard: Overview → Edit Dashboard → add Cards for displaying light status, temperature, CCTV cameras, and whatever else you need.
Starter Automation examples:
- Turn off all lights when the last person leaves home (using GPS Tracking via HA Companion App)
- Turn on hallway lights when Motion Sensor detects movement after 8:00 PM
- Send LINE notification when Door Sensor detects the front door opening while everyone is away
Recommended Add-ons to Install
Home Assistant's Add-on Store extends its capabilities significantly:
- File Editor: Edit config files directly — essential for advanced customization
- Mosquitto MQTT Broker: For MQTT-based devices like Sonoff DIY and Tasmota firmware
- Node-RED: Flow-based automation for complex multi-step workflows beyond the standard Automation Editor
- Frigate: AI Object Detection from CCTV cameras — RPi 5 required for adequate performance
System Maintenance
A smart home system on RPi requires minimal maintenance:
- Update HA: Home Assistant releases monthly updates — always keep current for security. Update via Settings → System → Updates
- Automatic Backup: Schedule backups to Network Storage or Google Drive via Add-on twice monthly
- Log Review: Check every 2-3 months for integrations with recurring errors