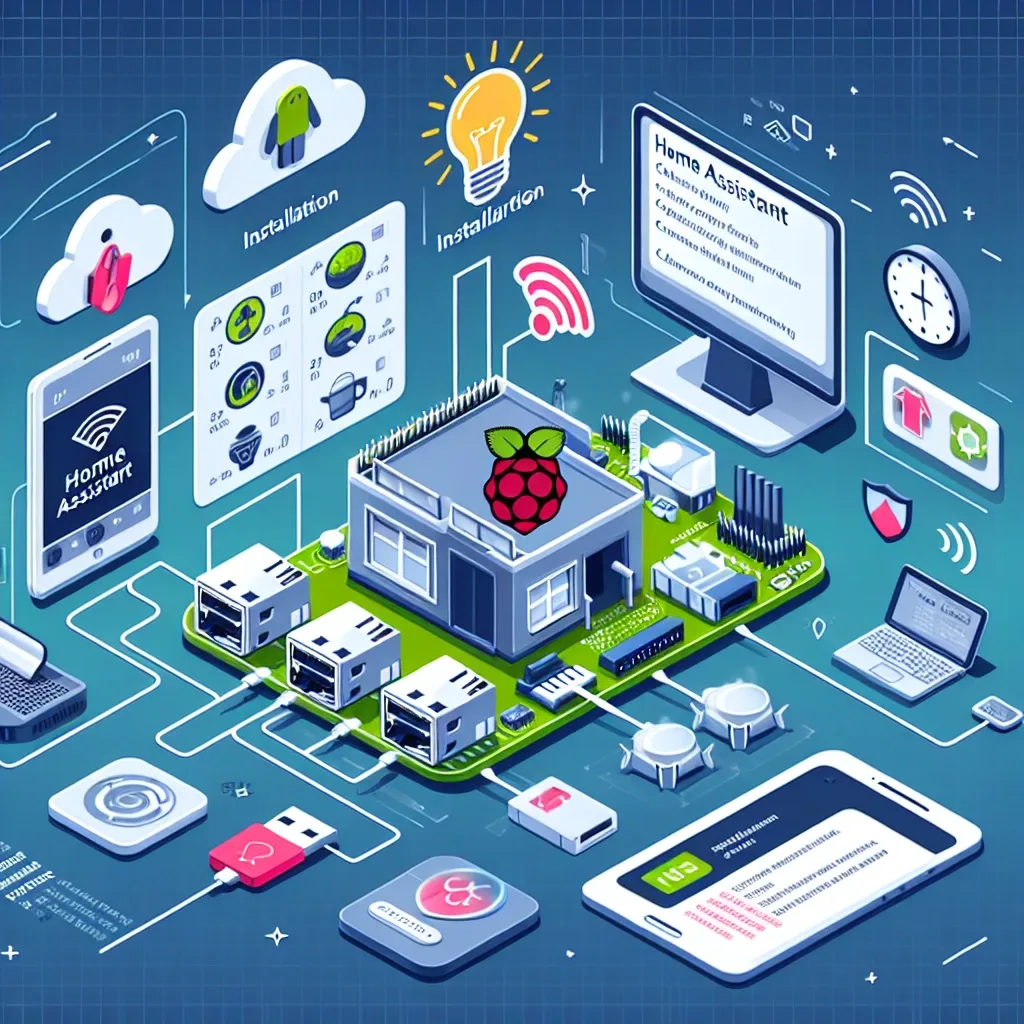
Why Home Assistant on Raspberry Pi?
Home Assistant (HA) is the world's most popular open-source smart home platform. Running it on a Raspberry Pi means all your data is processed locally — never transmitted to external servers. This makes it the top choice for privacy-conscious homeowners who also want local automations that function reliably even without an internet connection.
Key Benefits of Home Assistant
HA supports over 3,000 integrations covering major brands including Philips Hue, IKEA TRADFRI, Google Nest, Apple HomeKit, Xiaomi, Aqara, and thousands more. Its powerful automation engine creates rules triggered by time, location, or device state. Voice control through Google Assistant and Amazon Alexa is supported natively, alongside dedicated iOS and Android apps for full mobile management.
Required Hardware
For the recommended setup, you need: a Raspberry Pi 4 or Pi 5 (4GB RAM minimum), a 32GB+ microSD card (or SSD for Pi 5 via USB), a 5V/3A power adapter, an HDMI cable, and a keyboard for initial setup. Total hardware cost is approximately 3,000–5,000 THB for a starter kit — a fraction of proprietary smart home hub costs.
Step-by-Step Installation
Download the Home Assistant OS image from home-assistant.io, selecting your Pi model. Use Raspberry Pi Imager or Balena Etcher to flash the image to your microSD. Insert the SD card into the Pi, connect power and LAN, and power on. Allow 5–10 minutes for the first boot. Then navigate to http://homeassistant.local:8123 or the Pi's IP address. Follow the setup wizard to create your account and begin adding devices.
Adding Integrations and Building Automations
After setup, go to Settings > Devices & Services > Add Integration to search for your device brands. HA often auto-discovers devices on your network. Once devices are added, navigate to Settings > Automations & Scenes to build your first rule — such as automatically turning on lights when you arrive home. The visual automation builder requires no coding.
HappySmart Makes It Effortless
HappySmart offers full Raspberry Pi + Home Assistant installation with preconfigured integrations for your specific devices. No trial and error — the team configures integrations, automations, and a custom dashboard to be fully operational in a single day. Contact HappySmart for a consultation.