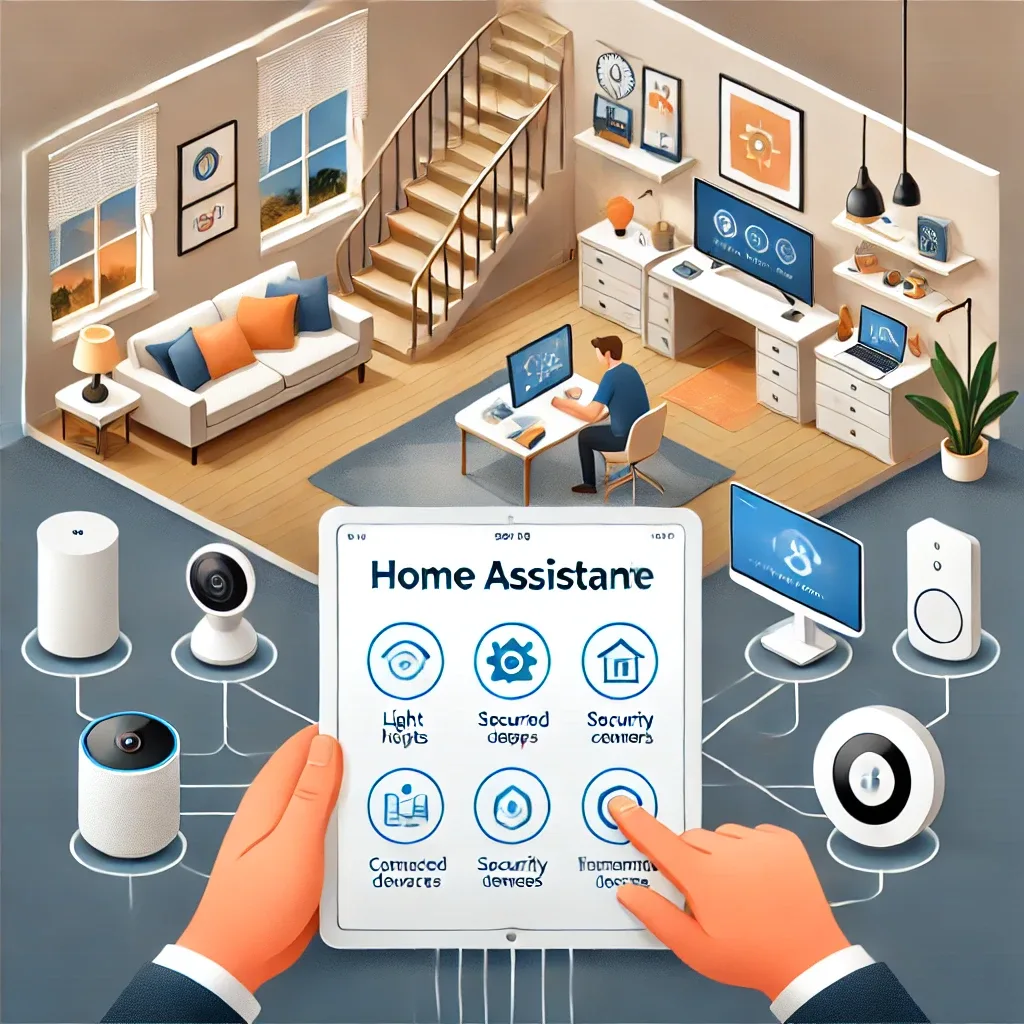
What Home Assistant Is and Why It Beats Single-Brand Apps
If your home has Xiaomi bulbs, a TP-Link door lock, an EZVIZ camera, and a Tuya air conditioner, you need four separate apps to manage one property. Home Assistant solves this by acting as a central platform that brings everything into a single dashboard.
Home Assistant is open-source software developed by a global community. It supports over 3,000 brands and protocols, charges no subscription fee, and keeps all data within your home network.
Hardware You Need to Get Started
For beginners in 2026, the best starting hardware is a Raspberry Pi 5 with 4GB RAM, priced around ฿3,500, paired with a 64GB Class 10 microSD card running Home Assistant Operating System.
For long-term stability, a USB SSD is a better choice than microSD. The constant write cycles of a running Home Assistant instance will wear out microSD cards within a year or two. A 128GB USB SSD delivers noticeably faster performance and a much longer service life.
4 Steps to Install Home Assistant
Step one: write the image. Download the Home Assistant OS image for Raspberry Pi 5 from home-assistant.io and use Raspberry Pi Imager to write it to your storage. The process takes about five minutes.
Step two: connect and boot. Insert the storage into the Raspberry Pi, connect a LAN cable, and power on. Allow five to ten minutes for the first boot, then open a browser and navigate to homeassistant.local:8123.
Step three: complete initial setup. Home Assistant walks you through a simple onboarding flow: name your home, select the Bangkok timezone, and create an admin account.
Step four: add your devices. Go to Settings, then Devices and Services, then Add Integration. Search for your device brands: Xiaomi Miio, Tuya, TP-Link Tapo, and follow the connection instructions for each.
What You Can Do Immediately After Installation
Once Home Assistant is running, you can build automations using a drag-and-drop interface without writing any code. Common starting points: turn off all lights when you leave home, or open motorised blinds automatically at sunrise.
HappySmart also offers a fully managed Home Assistant installation service for clients who prefer a system ready to use from day one.