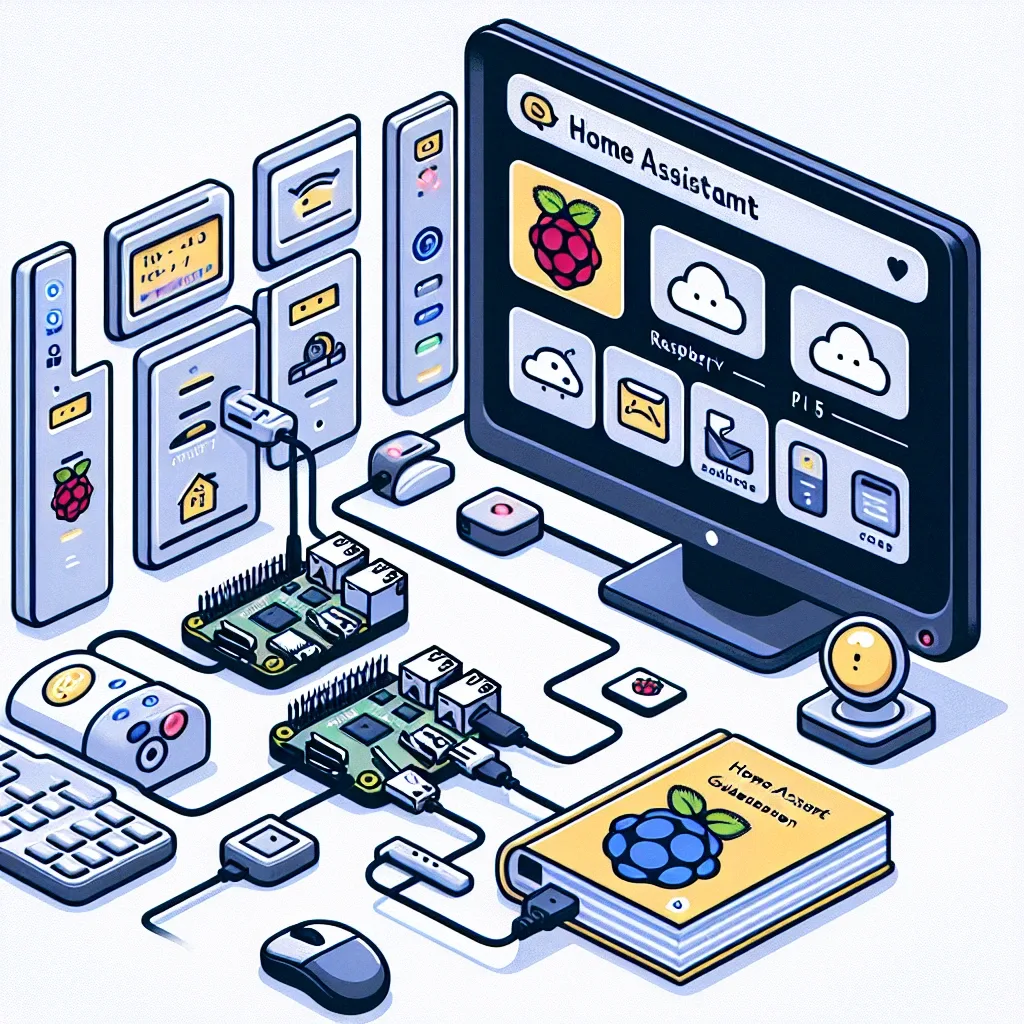
Hardware You Need Before Starting
A stable long-term Home Assistant installation begins with the right hardware. The recommended configuration for a mid-sized home with up to fifty devices is a Raspberry Pi 5 with 4 GB RAM. For installations running many add-ons or retaining extended data logs, the 8 GB model is the better choice.
Storage: a MicroSD card of at least 32 GB with a Class 10 or A2 rating is the minimum. Slower cards wear out quickly under the frequent read-write cycles Home Assistant generates. Power: the Raspberry Pi 5 requires a USB-C supply at 5V/3A. Anything lower causes instability under load. Cooling: a case with active cooling is necessary for a device running continuously around the clock — passive cooling allows thermal throttling that degrades performance over time.
Steps 1 and 2 — Download and Flash
Navigate to home-assistant.io/installation, select Raspberry Pi, and download the Home Assistant OS image. The file arrives as a compressed .img.xz of roughly 600-800 MB depending on the current release version.
Two tools work reliably for flashing. Balena Etcher is the simpler choice: open the application, select the image file, select the MicroSD card as the target, click Flash, and wait five to ten minutes. Raspberry Pi Imager, downloaded from raspberrypi.com, is equally effective and lists Home Assistant OS directly under Other Specific-Purpose OS, so no separate image download is needed.
Steps 3 and 4 — Boot and Access
Insert the flashed MicroSD card into the Raspberry Pi 5. Connect an Ethernet cable before connecting power — do not rely on Wi-Fi for the first boot. Once the power supply is connected, the first boot takes five to ten minutes as the system downloads and installs additional components automatically.
When the boot sequence completes, open a browser on any computer on the same network and navigate to http://homeassistant.local:8123. If the hostname does not resolve, check the Raspberry Pi's IP address from the router admin page and use http://[IP address]:8123 instead.
Steps 5 and 6 — Onboarding and Integrations
The onboarding wizard walks through naming the home, creating an administrator account, setting the geographic location (used for automations referencing sunrise and sunset), and auto-detecting devices already present on the network.
Once onboarding is complete, navigate to Settings > Devices and Services > Add Integration to connect platforms. The integrations to add first depend on the devices in the home. Tuya connects all Tuya-protocol devices via cloud. Xiaomi Mi Home brings in the full Xiaomi device range. EZVIZ connects cameras and sensors. TP-Link Tapo covers Tapo plugs, cameras, and bulbs. All four are built into the integration store — no additional installation is required.
For more advanced setups, adding Zigbee2MQTT through the add-on store (which requires a USB Zigbee dongle such as a Sonoff Zigbee 3.0) enables control of hundreds of Zigbee device models from dozens of manufacturers, all managed within the same Home Assistant interface.
HappySmart Can Set This Up for You
The installation steps above are straightforward to follow. Configuring Home Assistant for production use — stable network segmentation, automated backups, complex multi-device automations, and secure remote access — requires deeper expertise. HappySmart provides complete installation and configuration services, from initial OS flashing through automation design, with owner training included.