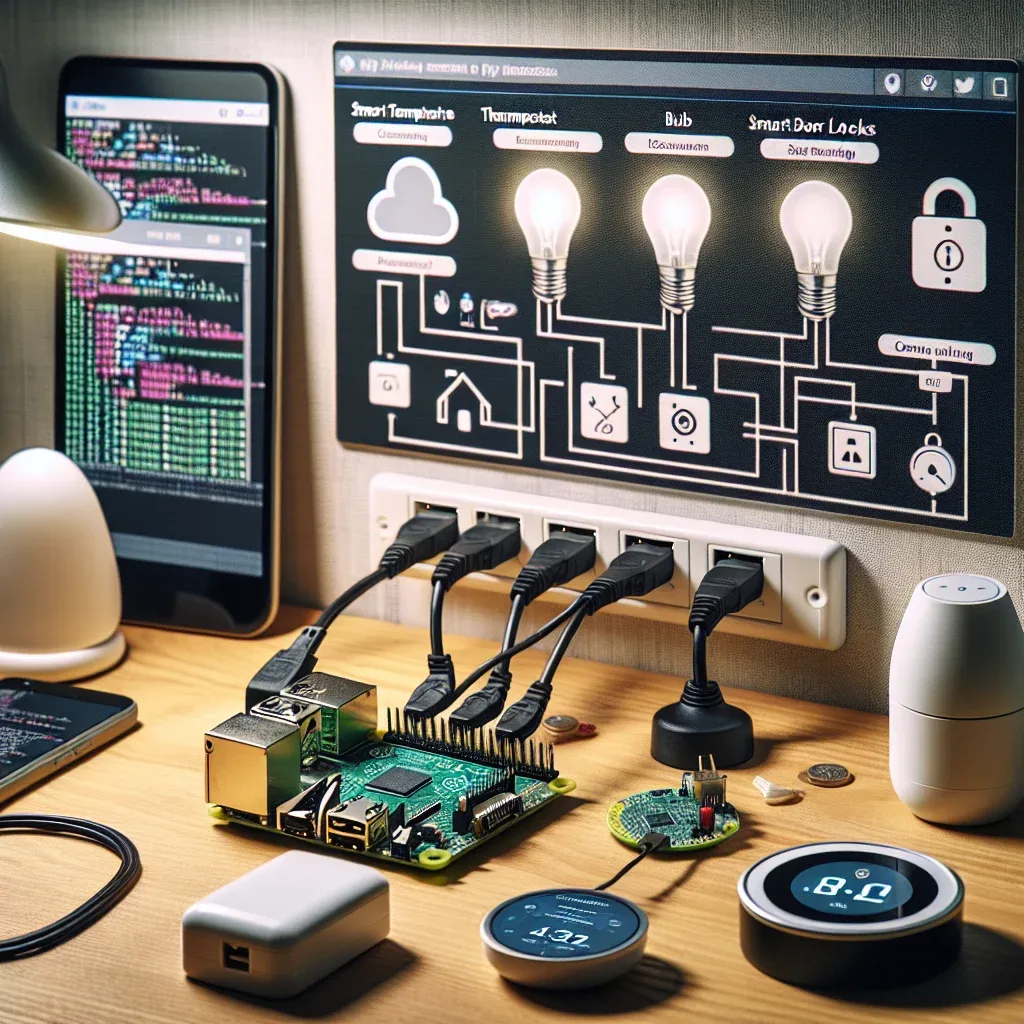
What Is Raspberry Pi 5 and Why Does It Suit Smart Home?
Launched in late 2023, the Raspberry Pi 5 has become the top choice for those building a self-hosted Smart Home Hub without monthly subscription fees. Unlike commercial hubs such as SmartThings or Google Nest Hub that depend on the manufacturer's cloud, RPi 5 runs its operating system from a MicroSD or NVMe SSD, keeping all data entirely within your home.
Pricing starts around 65 USD (4GB RAM) to 85 USD (8GB RAM) — significantly cheaper than commercial hubs costing 130-400 USD, plus ongoing subscription fees for premium features.
Key Hardware Specifications of Raspberry Pi 5
The core chip is the Broadcom BCM2712 Cortex-A76 Quad-Core running at 2.4GHz, delivering 2-3x the performance of RPi 4. RAM options are 4GB, 8GB, or 16GB (LPDDR4X). For Home Assistant managing 50-100 devices, 4GB is sufficient. If you plan to run resource-intensive add-ons like Frigate NVR for AI-powered cameras, go with 8GB.
Connectivity covers every Smart Home need: Wi-Fi 802.11ac (Dual-Band), Bluetooth 5.0 BLE, Gigabit Ethernet, 2x USB 3.0, and USB-C for power. The 40-pin GPIO header allows direct connection of sensors and DIY circuits, while PCIe 2.0 support enables NVMe SSD attachment for long-term system stability.
Installing Home Assistant OS Step by Step
Prepare the following before starting: Raspberry Pi 5 with case and cooling fan, Class 10 MicroSD (32GB minimum) or NVMe SSD 128GB for best performance, 5A USB-C power cable, and a Zigbee Dongle (Sonoff Zigbee 3.0 USB Dongle Plus is recommended at approximately 15-20 USD).
Download Raspberry Pi Imager from raspberrypi.com. Select Choose OS > Other specific-purpose OS > Home assistants and home automation > Home Assistant, then choose Raspberry Pi 5 as the target device. Insert your MicroSD, click Write, and wait 5-10 minutes.
Insert the MicroSD into RPi 5, connect Ethernet (recommended for first setup), and power on. The first boot takes approximately 5 minutes. Open a browser and navigate to http://homeassistant.local:8123 or http://[RPi-IP]:8123. Follow the Onboarding Wizard to create your user account and name your home.
Zigbee Dongle Setup and Pairing Your First Device
Plug the Zigbee USB Dongle into a USB 3.0 port on the RPi 5. In the HA Dashboard, go to Settings > Devices & Services > Add Integration > Zigbee Home Automation (ZHA). The system will auto-detect the dongle and display the Serial Port for selection. Click Submit to initialize the Zigbee Coordinator.
To pair Zigbee devices: navigate to Settings > Devices > Add Device, then put the device in pairing mode. For IKEA Tradfri bulbs press the reset button 6 times; for Aqara sensors press and hold for 5 seconds. HA discovers and registers the device within 60 seconds.
Advantages Over Commercial Smart Home Hubs
RPi 5 with Home Assistant wins decisively on flexibility: it supports Zigbee, Z-Wave, Matter, Wi-Fi, and Bluetooth simultaneously, whereas most commercial hubs support only one or two protocols. Over 3,200 integrations include devices popular in Thailand such as Yale Nextouch smart locks, Hikvision cameras, and Reolink NVR. Total cost of RPi 5 + HA setup is approximately 80-130 USD, compared to 200-500 USD for commercial hub plus annual subscriptions.