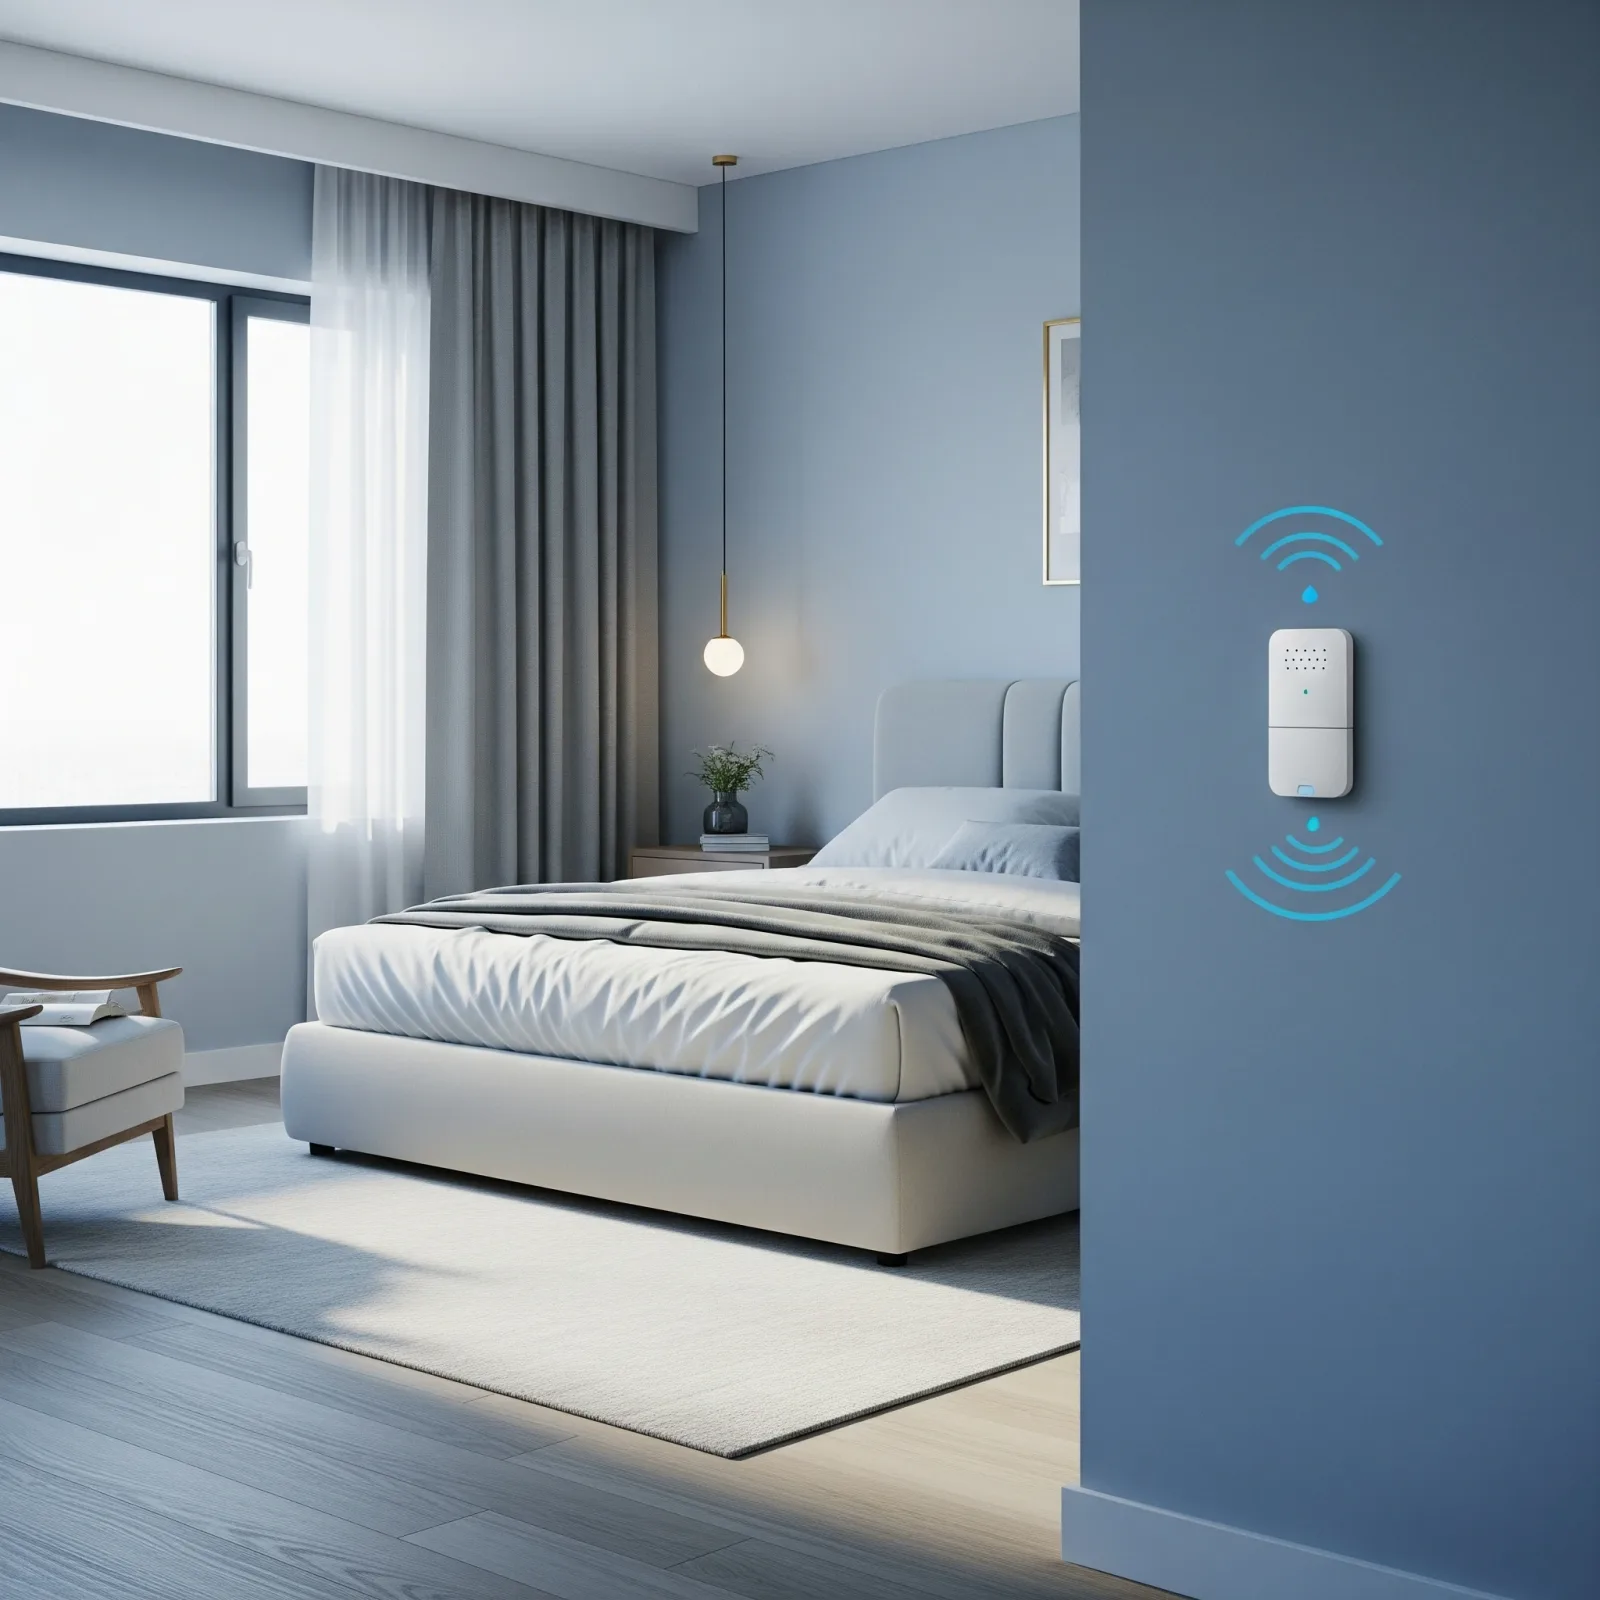
Why the Bedroom Is the Starting Point for Smart Living
The bedroom is the space where we spend at least 6–8 hours a day — with the brain and body in deep recovery and repair mode. The quality of the air breathed throughout this time directly impacts long-term health. The three most critical smart sensor categories for a bedroom are CO2 sensors for air quality monitoring, hygrometers for humidity and temperature tracking, and earthquake sensors for seismic detection. All three work together through Home Assistant or other apps to create a bedroom that essentially takes care of itself.
How to Install Sensors Correctly in a Bedroom
Placement significantly affects reading accuracy. CO2 sensors should be positioned near the headboard at 1–1.5 metres height — avoid AC vents, which produce misleading readings. Humidity sensors work best in the centre of the room or on the bedside table, away from heat-generating devices like chargers and lamps. Earthquake sensors perform best on hard, stable surfaces such as the floor or a solid wooden shelf — avoid floating tables or moveable shelving that might vibrate independently. For power supply, most sensors offer two options: battery-powered (flexible placement, no cables) or USB/wired (no battery anxiety, ideal for permanent positions). In condos where cable management is important, battery models are generally preferred.
Comparing Smart Sensor Control Apps
Google Home / Amazon Alexa suits beginners — unified control of multiple devices, voice commands, but cloud-dependent. Smart Life / Tuya supports a wide range of Tuya-platform devices with drag-and-drop automation and scheduling. Home Assistant is the most powerful option: local processing without internet dependency, universal device and protocol support, and unlimited automation customisation.
Smart Bedroom in Real Life
A Bangkok family with a young child deployed CO2 + humidity sensors with Home Assistant, configuring automations to open a ventilation fan when CO2 rises, activate a humidifier when air becomes dry, and send LINE alerts when humidity spikes abnormally during the rainy season. The result: the child slept through the night more consistently, allergy symptoms noticeably reduced within 2–3 weeks. Total investment for all three sensor types plus Home Assistant on a Raspberry Pi 5 runs approximately 8,000–12,000 THB — highly cost-effective compared to the long-term health expenditure it prevents.