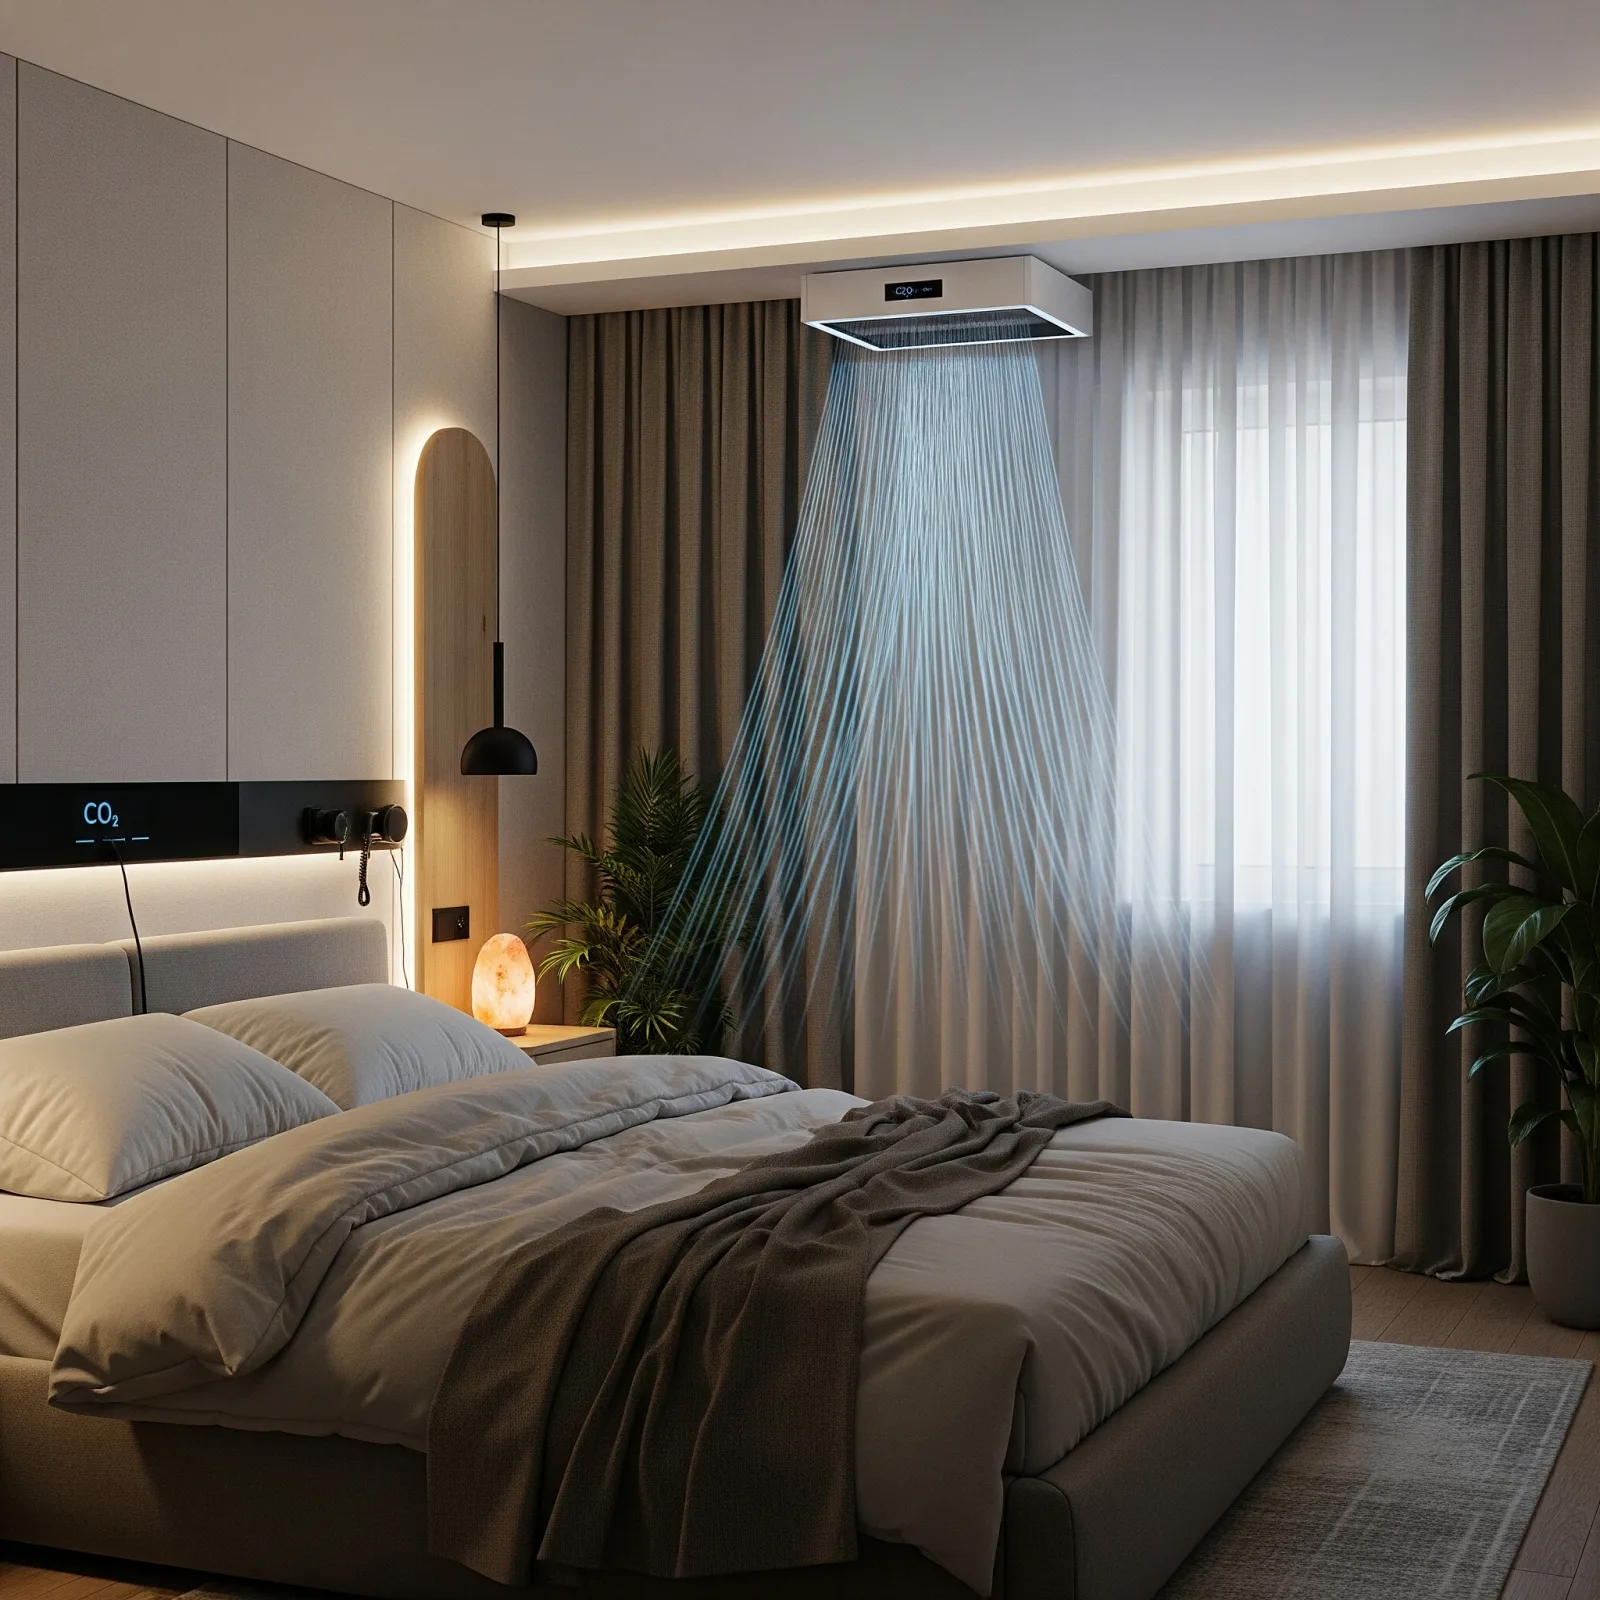
Is Your Bedroom Actually Safe and Comfortable?
The average person spends 7–8 hours a night in the bedroom — one third of their entire life. Yet bedroom air quality is almost universally overlooked. CO2 levels above 1,000 ppm result in fragmented sleep, morning headaches, and measurably reduced cognitive performance the next day. Humidity below 40% dries out the throat and skin; above 60%, it promotes mould growth. And with Thailand recording over 70 seismic events in 2025, an earthquake sensor is no longer a novelty — especially in the northern region.
Essential Devices for a Smart Bedroom
CO2 Sensor: monitors carbon dioxide in real time. The Aranet4 Home (NDIR technology, Bluetooth) costs 4,500–6,000 THB and pairs with most platforms. DIY builds using the SCD40 sensor with Home Assistant run 800–1,200 THB. When CO2 exceeds 1,000 ppm, an automation can open a smart window or activate an air purifier.
Hygrometer (Smart Humidity Sensor): the Xiaomi LYWSD03MMC (300–500 THB) connects via Bluetooth to Home Assistant. The SwitchBot Meter Plus (900–1,200 THB) adds an onboard display and Apple HomeKit support. Set alerts for RH below 40% or above 60%.
Earthquake Sensor: built around an MPU6050 accelerometer paired with an ESP32 microcontroller, this sensor monitors X, Y, and Z axis vibrations. When movement exceeds a defined threshold, it fires an immediate push notification. Total hardware cost: 500–1,500 THB.
Smart Plug plus Air Purifier: link your air purifier to a Smart Plug so it activates automatically when CO2 or outdoor AQI crosses a threshold. The Xiaomi Air Purifier 4 Lite is a widely used choice in Bangkok.
Connecting and Configuring Automation
Google Home: Some CO2 sensors with Works with Google support allow Routines that trigger a Smart Plug — for example, opening a ventilation fan when CO2 exceeds 1,000 ppm.
Home Assistant: Offers the deepest automation. Example: when CO2 is above 1,200 ppm and time is between 22:00 and 06:00, activate the air purifier and dim lights to avoid disturbing sleep. All logic runs locally.
Alexa: Use the Routines feature to trigger devices when a supported sensor reports an out-of-range value.
Installation Steps
Step 1: Place the CO2 Sensor at head height when sleeping, at least 50cm from any window or AC vent to avoid false readings from direct airflow.
Step 2: Mount the Hygrometer on the wall or bedside table. Set alert thresholds at RH below 35% and RH above 65%.
Step 3: Install the Earthquake Sensor on a stable wall or structural element. Calibrate the threshold carefully to exclude vibrations from traffic or building HVAC systems.
Step 4: Connect all devices to your chosen hub or app. Run each automation manually to verify it triggers correctly before relying on it overnight.