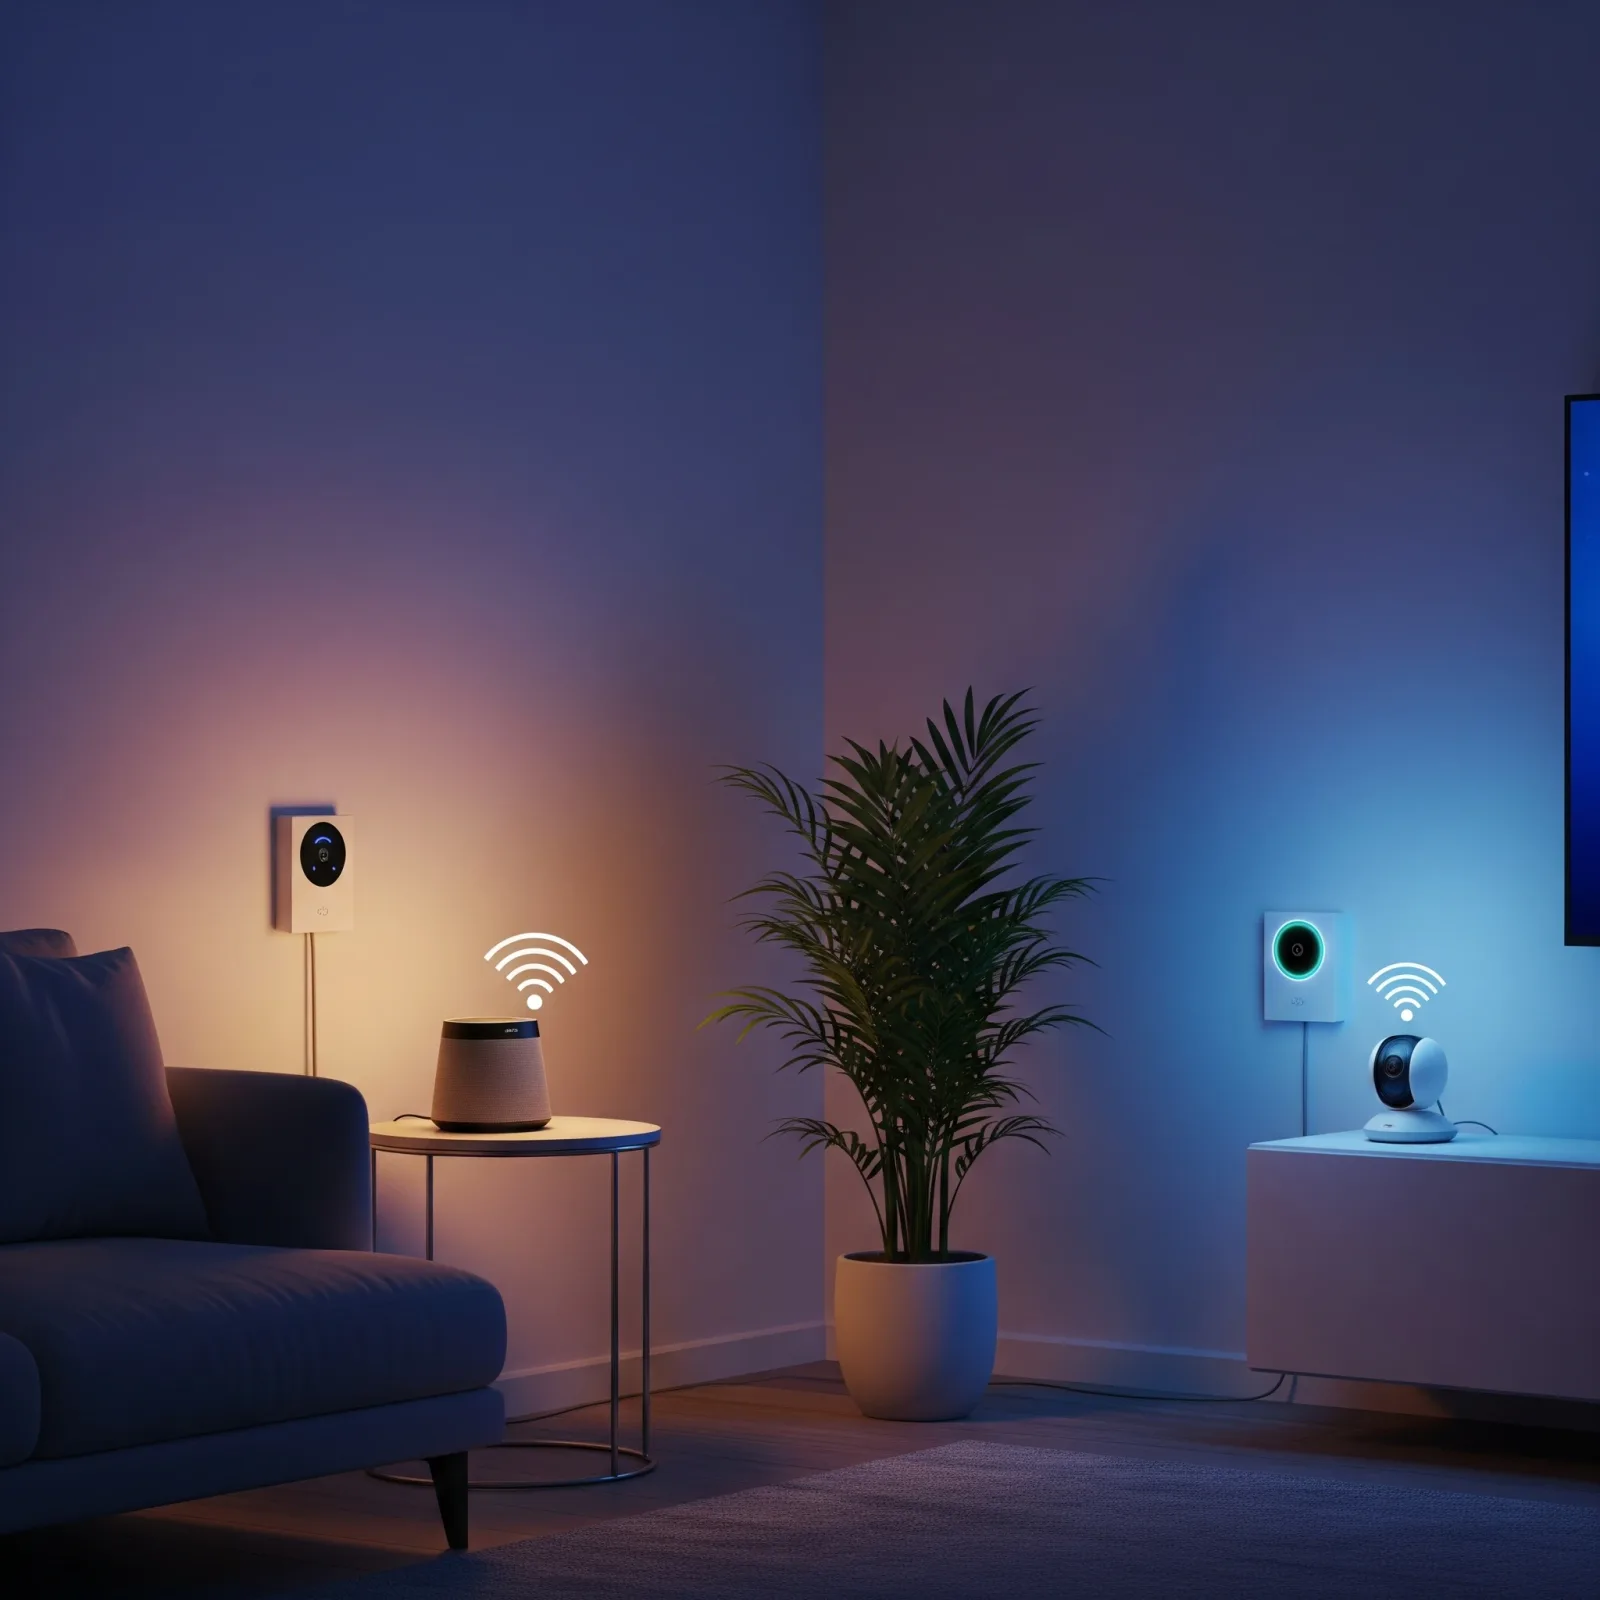
Why Smart Plugs Are the Best Starting Point
If you're not sure where to begin your smart home journey, the answer is always a Smart Plug. No electrical knowledge required, no drilling, no rewiring — just plug it into your existing outlet, download the app, and you're done. Starting at 250 THB, a Smart Plug works with devices you already own. There's nothing to replace.
Smart Plugs also act as your entry point into a broader smart home ecosystem. Once you connect one to Google Home, Alexa, or Apple HomeKit, adding more devices later becomes progressively easier — every new device joins an already-configured platform.
Best Smart Plug Models Available in Thailand
Four models stand out for value and reliability in the Thai market:
TP-Link Tapo P110 (350–499 THB): includes energy monitoring, letting you identify your highest-consuming appliances. Supports Google Home and Alexa. Connects to 2.4GHz Wi-Fi.
Xiaomi Mi Smart Plug WiFi (250–350 THB): pairs with Mi Home or Google Home. Compact design; the 2-in-1 variant adds a USB charging port. Supports timers and app-based automation.
Sonoff S26 R2 (280–400 THB): best Home Assistant compatibility of any plug in this price range. Ideal if you want local automation that runs without relying on any cloud service.
Meross Smart Plug (300–450 THB): the only option in this tier that supports Apple HomeKit alongside Google Home and Alexa, making it the top pick for iPhone and iPad users.
Step-by-Step Smart Plug Installation
Step 1: Insert the Smart Plug into your wall outlet. The LED indicator should glow amber or blink, signalling it's ready to pair.
Step 2: Download the corresponding app — Tapo, Mi Home, or eWeLink depending on your brand. Create an account.
Step 3: Open the app and select Add Device. The app will prompt you to connect the plug to your 2.4GHz Wi-Fi network. Note that 5GHz is not supported by most smart plugs.
Step 4: Name the device descriptively — Living Room Fan or Bedroom TV — so voice commands feel natural.
Step 5: Link the plug's app to Google Home or Alexa via Linked accounts or the Works with Google flow. Your plug will appear in the main platform within seconds.
Connecting to Google Home, Alexa, and Home Assistant
Google Home: Open the app, tap +, select Set up device then Works with Google. Search for your brand (Tapo, Mi Home), sign in, and your plug appears immediately.
Amazon Alexa: Open Alexa, go to Devices, tap +, choose Add Device, then search for and enable the brand's Skill. Sign in to link the account.
Home Assistant (advanced users): Both Sonoff and Tapo are supported via built-in integrations — no custom components needed. This enables fully local automation that works even without an internet connection, which is ideal for reliability-critical setups.