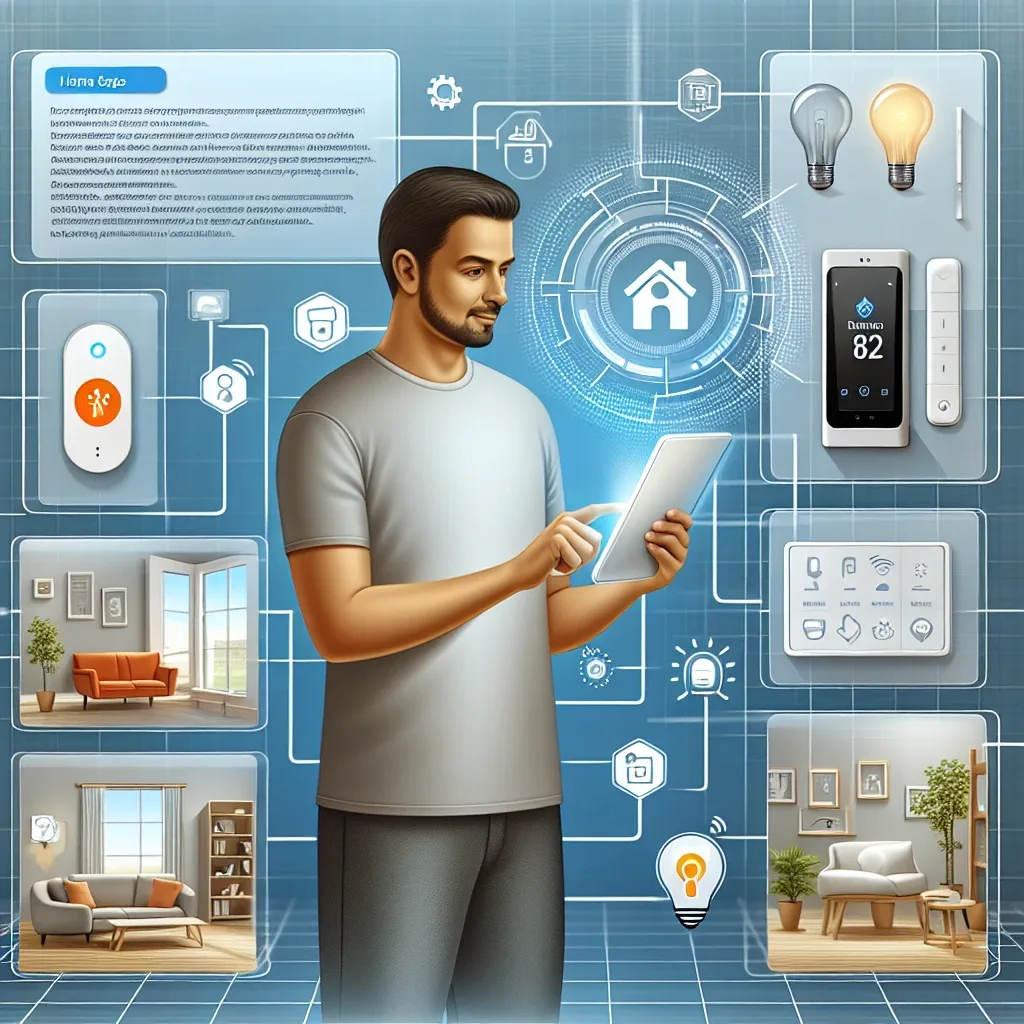
Why Home Assistant Is the Top Smart Home Choice
Among all smart home hubs, Home Assistant stands out for three key advantages: flexibility (supporting virtually any brand), privacy (no cloud dependency), and low cost (open-source with only hardware expenses). In Thailand, HA adoption is growing rapidly among homeowners who want genuine, long-term control over their smart home ecosystem.
Hardware Shopping List
Before starting, gather: a Raspberry Pi 4 Model B or Pi 5 (4GB RAM; 8GB recommended for larger homes), a 32GB Class 10 microSD card or 64GB+ SSD for Pi 5, a 5V/3A power adapter (quality matters — Pi requires stable power), a micro HDMI cable (Pi 4) or mini HDMI (Pi 5), and a USB keyboard for initial setup. Total cost is approximately 3,000–5,000 THB.
Steps 1–3: Download and Flash
Download the latest Home Assistant OS image from https://www.home-assistant.io/installation/raspberrypi. Install Balena Etcher on your computer. Insert the microSD, open Etcher, select Flash from file, choose the downloaded .img.xz file, select your SD card as the target, and click Flash. The process takes approximately 5–10 minutes.
Steps 4–6: Hardware Assembly and First Boot
Insert the SD card into the Raspberry Pi. Connect a LAN cable (Ethernet is preferred over Wi-Fi for initial setup). Connect power and switch on. The Pi's LED will blink during first boot, which takes 5–15 minutes. Once blinking stabilizes, open a browser on a computer on the same network and navigate to http://homeassistant.local:8123.
Steps 7–9: Initial Configuration
The onboarding wizard will appear. Enter your name, set a password, and configure timezone to Asia/Bangkok. Choose Metric units for the Thai context. Home Assistant will perform auto-discovery to find devices on your network. Click Add on discovered devices, assign rooms (bedroom, living room, etc.), and you're ready to use your smart home.
Building Your First Automation
Go to Settings > Automations & Scenes > Create Automation. Set a trigger such as sunset, add a condition like nobody home, and define an action like turning on the entrance light. Creating your first automation immediately demonstrates HA's true potential — and there is no coding required.
HappySmart Handles Everything
If you prefer a hands-off experience, HappySmart manages the complete installation from hardware to working automations — including post-installation support and a satisfaction guarantee. Contact HappySmart for a quote.