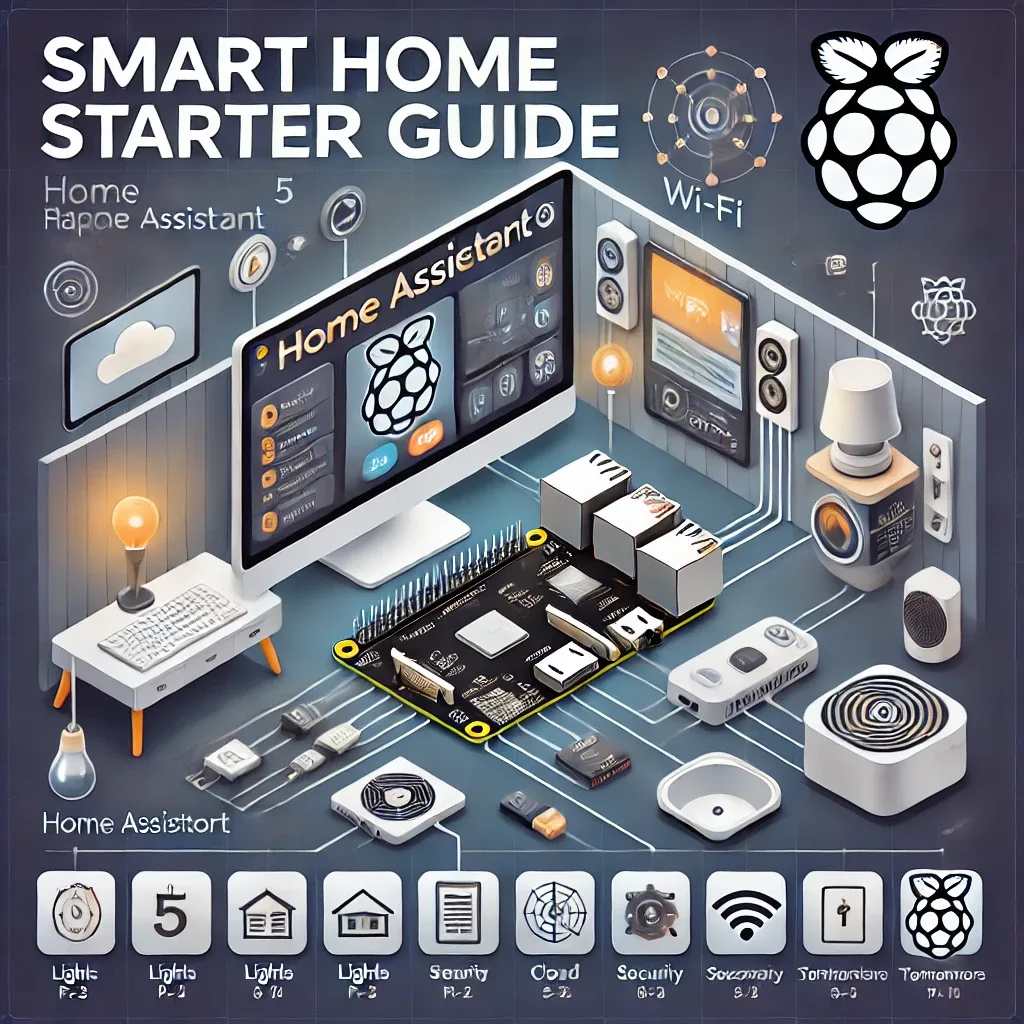
Why Home Assistant on Raspberry Pi 5 Is the Best Starting Point
For anyone wanting to build a Smart Home without knowing where to start, the most widely recommended answer in global Smart Home communities is Home Assistant on Raspberry Pi. This combination delivers maximum flexibility, full privacy (data never leaves home), and reasonable cost compared to monthly-fee cloud systems.
Raspberry Pi 5 is the latest generation, delivering 2-3x the performance of RPi 4 with a Cortex-A76 CPU at 2.4GHz and 4GB or 8GB RAM options. It comfortably handles homes with more than 50 IoT devices without performance degradation.
Hardware You Need
Before starting, prepare: Raspberry Pi 5 (4GB RAM is sufficient for typical homes; 8GB for larger systems), a MicroSD card of at least 32GB Class 10 or UHS-1 (64GB recommended), 5V/5A Power Supply for RPi5, an Ethernet cable or Wi-Fi for networking, and a computer to flash the OS.
For higher performance, a NVMe SSD via PCIe HAT provides 5-10x faster I/O than MicroSD. For beginners, however, MicroSD is perfectly adequate during the learning phase.
Installing Home Assistant OS
Download Raspberry Pi Imager or balenaEtcher from the official website. Select the latest Home Assistant OS (HAOS) image for Raspberry Pi 5, then flash it to the MicroSD card. Insert the card into the RPi5, connect an Ethernet cable (recommended over Wi-Fi for initial setup due to stability), and power on.
After approximately 5-10 minutes, open a browser on any computer on the same network and navigate to http://homeassistant.local:8123. The Setup Wizard appears — create your account, set your location, and the system is ready.
Adding Philips Hue, Xiaomi, and Other Devices
Once inside Home Assistant, navigate to Settings → Devices & Services → Add Integration. The system auto-discovers devices on the network. A Philips Hue Bridge appears immediately — simply press the button on the Bridge, confirm in HA, and connection is complete.
For Xiaomi, use the Xiaomi Home Integration for cloud-based control, or for full local control use Zigbee2MQTT with a Zigbee USB dongle such as the SONOFF Zigbee 3.0 Dongle, which supports 2,000+ Zigbee device models. TP-Link Kasa, Yeelight, Google Nest, and Ecobee all integrate via their respective Integration cards.
Building Your First Automation in 10 Minutes
Go to Settings → Automations → Create Automation. Set the Trigger to Time at 06:00, and the Action to turn on bedroom lights at 30% brightness with a 3000K warm color temperature for a gentle Morning Routine.
Another immediately useful automation: when motion sensors detect no movement for more than 30 minutes, turn off all lights. This alone typically reduces electricity consumption by 15-20%. HA supports increasingly complex automations including conditional logic, script reuse, and template-based triggers.
Remote Access for Use Outside Home
For remote access to Home Assistant, two options exist: Nabu Casa ($6.50/month, maintained by the HA development team, very easy to configure) or a self-hosted WireGuard VPN with no recurring fees. Nabu Casa also enables Google Assistant and Amazon Alexa integration, allowing voice control both inside and outside home.