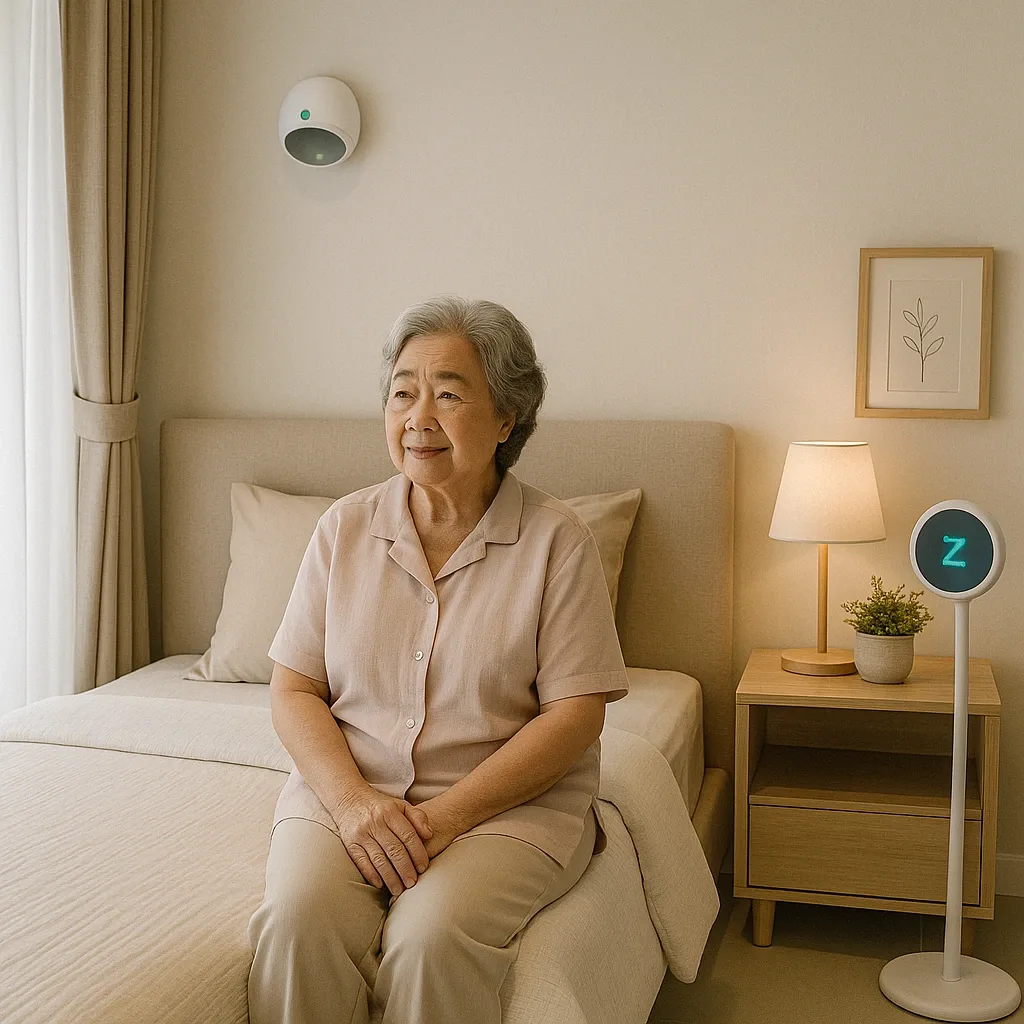
2 Tracks for Transforming a Standard Room into a Smart Wellness Room
Every family has different resources and capabilities. There is no single path to creating a Smart Wellness Room for elderly. This article defines two clear tracks with complete, actionable checklists.
Track A: DIY — No Contractor, Done in 1 Day
Best for: Budget-constrained families, rental homes where drilling is not permitted, or families wanting to pilot the system before a major investment.
Track A Devices (installation order):
- Smart Plug x2 (400–600 THB) — AC/fan control, auto on/off, no wiring needed
- PIR Motion Sensor battery-powered x1 (300–500 THB) — double-sided tape mount
- Door/Window Sensor x2 (300–400 THB) — room door + medication drawer
- Panic Button wireless x1 (800–1,500 THB) — neck lanyard or bedside placement
- Smart Bulb E27 x2 (400–600 THB) — replaces existing bulbs, no rewiring
- Smart Hub x1 if devices need it (500–1,000 THB)
Track A total: 2,700–4,600 THB
Track A Installation (4 hours):
- Hour 1: Smart Plug + Smart Bulb + Wi-Fi connection
- Hour 2: PIR + Door Sensor + Panic Button mounting
- Hour 3: App setup + Automation Rules (lights on motion, alert if no movement >1 hour)
- Hour 4: Test all scenarios + teach elderly user to use Panic Button
Track A limitations:
- No mmWave (no sleep-time respiration monitoring)
- No hardwired night lights (plug-in only)
- Sensor batteries require replacement every 6–12 months
Track B: Professional Installation — Complete System
Best for: Long-term owner-occupied homes, high-risk elderly, families wanting a complete system with no coverage gaps.
Track B additional devices (beyond Track A):
- mmWave 60GHz Sensor x1 (2,500–4,500 THB) — ceiling mount, requires wiring
- Hardwired Night Light x3 (600–1,200 THB) — wall-embedded at 3 points
- Grab Rail bedside + bed head (1,500–3,000 THB) — wall-drilled
- NDIR CO₂ + PM2.5 Sensor x1 (1,500–2,500 THB)
- Smart Door Lock (3,500–8,000 THB)
- Electrician + mason labour (5,000–10,000 THB)
Track B total: 20,000–38,500 THB (Track A + additional devices + labour)
Track B Timeline: 3–5 working days
- Day 1: Wall work (night lights + grab rail drilling)
- Day 2: Electrical (mmWave + sensor wiring)
- Day 3: IT (Smart Lock + network + app)
- Days 4–5: Testing + calibration + family training
Decision Checklist: Track A or Track B?
Choose Track A if: ☐ Rental property / wall drilling not permitted ☐ Budget under 10,000 THB ☐ Elderly person is low–moderate risk ☐ Want to pilot before major investment
Choose Track B if: ☐ Long-term owner-occupied (>5 years) ☐ Elderly is high-risk (>75 years, chronic conditions) ☐ Sleep-time monitoring required (mmWave) ☐ Budget 20,000–40,000 THB ready to invest
Recommended: Start Track A → evaluate 3 months → upgrade Track B gaps as needed