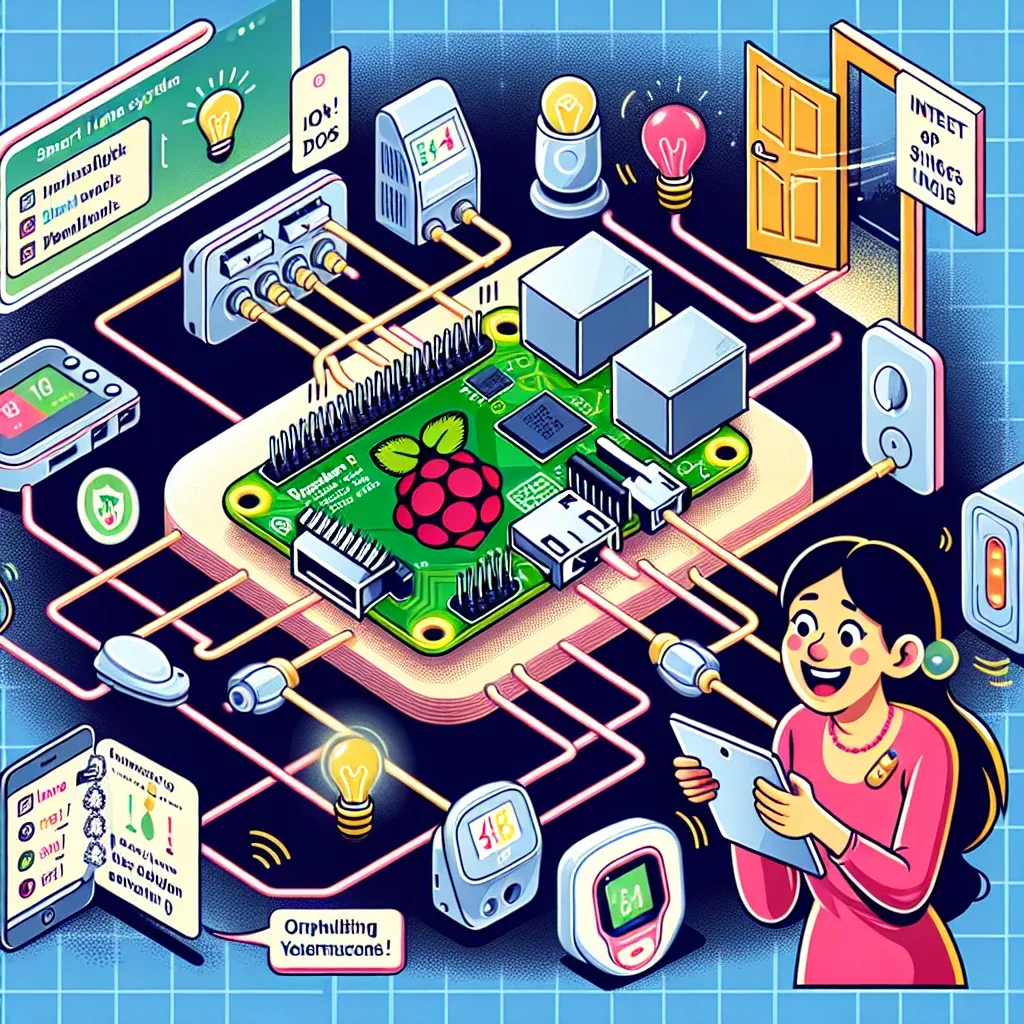
Why Raspberry Pi Is the Best Smart Home Controller
Among all Smart Home Hub options, Raspberry Pi running Home Assistant OS is the strongest choice for anyone who wants a flexible, affordable, and cloud-independent system.
Reason 1 — Cost: RPi5 costs only 2,500-3,500 THB, compared to SmartThings Hub or Hubitat at 4,000-8,000 THB, yet delivers superior performance. Reason 2 — Flexibility: supports every IoT protocol including MQTT, Zigbee, Z-Wave, Matter, Wi-Fi, and Bluetooth via a rich add-on ecosystem. Reason 3 — Local-first: all processing happens inside your home, so automations continue working even during internet outages. Reason 4 — Community: Home Assistant has over 500,000 global users and a Thai community of over 10,000 members ready to help.
Hardware You Need
Essential components: Raspberry Pi 5 (4GB or 8GB RAM, 2,500-3,500 THB — 8GB recommended for homes with more than 50 IoT devices); NVMe SSD 256GB (400-800 THB, far more durable than MicroSD); 5V/5A power adapter (200-400 THB); Zigbee Coordinator USB such as Sonoff Zigbee 3.0 USB Dongle Plus (400-600 THB); LAN cable or Wi-Fi dongle; and an active-cooling case.
Step 1: Install Home Assistant OS
Download Home Assistant OS from the official website. Use Raspberry Pi Imager or balenaEtcher to flash the .img file to the NVMe SSD (not MicroSD — SSD is far more durable). Configure hostname and SSH key before flashing. Insert the SSD into RPi5 via a USB3.0-to-NVMe adapter or M.2 HAT. Power on and wait 5-10 minutes for first boot. Access Home Assistant at http://
Step 2: Configure Network and Security
Assign a static IP to RPi5 on your router to prevent address changes. Create a dedicated IoT VLAN separate from the main network to prevent IoT devices from accessing sensitive data on the primary network.
Step 3: Install Key Add-ons
Through the Home Assistant Add-on Store, install: Mosquitto MQTT Broker for device communication; Zigbee ZHA Integration for Zigbee devices; Node-RED for complex automation flows; File Editor for configuration files; and Grafana + InfluxDB for data dashboards.
Step 4: Add IoT Devices
In the Home Assistant Dashboard, navigate to Settings > Devices and Services. Select the relevant integration — Zigbee Home Automation for Zigbee devices, Z-Wave JS for Z-Wave devices, and MQTT for general devices.
Step 5: Build Automation Rules
Use Node-RED to build automation workflows: when CO2 > 800 ppm, activate ERV automatically; when PM2.5 > 50 µg/m³, switch air purifier to Turbo Mode; when leaving home, turn off all AC and lights; and send a daily report via LINE Notify at 07:00. HappySmart is ready to design and install a complete Raspberry Pi Smart Home system tailored to your home.