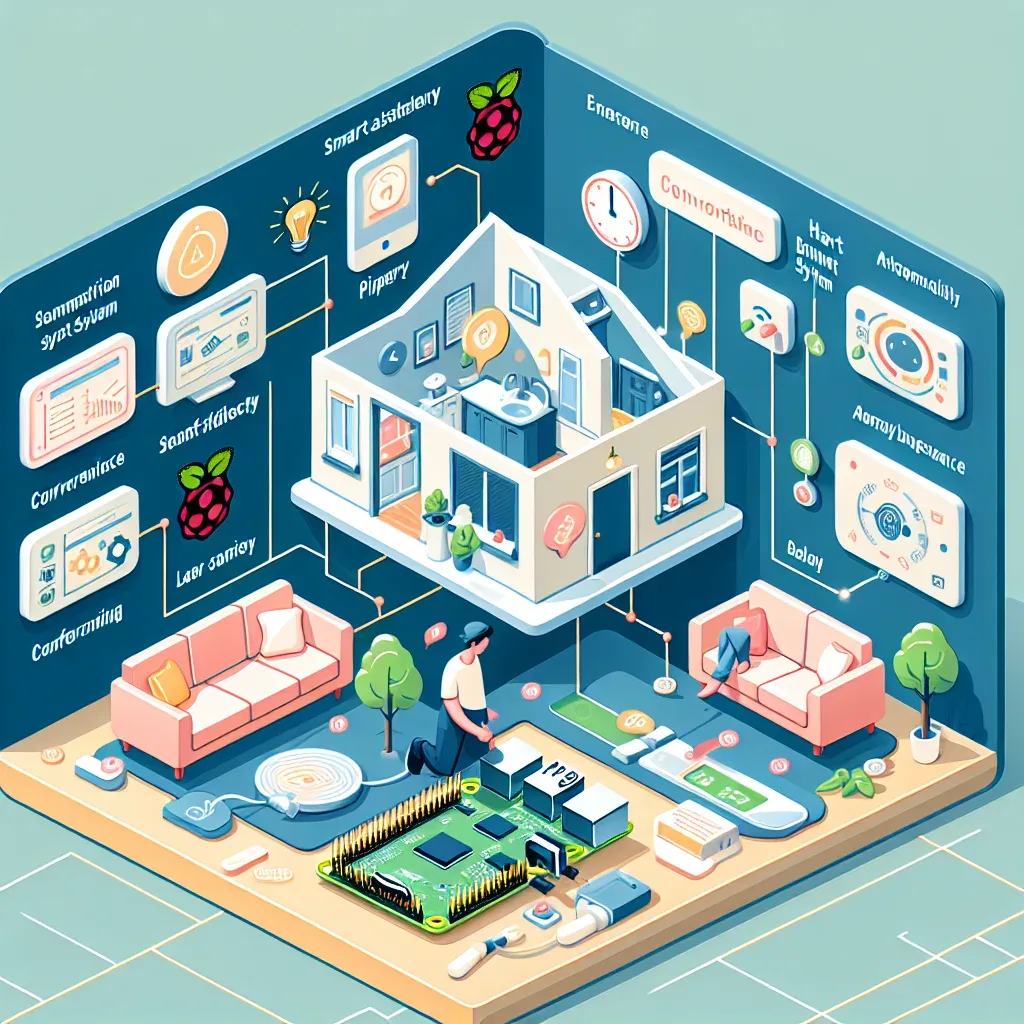
Why Raspberry Pi Is the Most Popular Choice
Among available Smart Home Hubs, Raspberry Pi stands out for its accessible price, high flexibility and the world's largest developer community. Starting at just 1,500-2,500 THB for RPi4 or 2,000-3,500 THB for RPi5 — far cheaper than commercial Smart Home Hubs like SmartThings Hub or Hubitat Elevation at 5,000-8,000 THB.
Hardware Preparation: What You Need
For a Standard installation, recommended components include: Raspberry Pi 4B (4GB) or RPi5 (4GB/8GB), MicroSD Card Class 10 32GB+ or NVMe SSD with PCIe HAT+ for RPi5, Power Supply 5V/3A (RPi4) or 27W USB-C (RPi5), and a Zigbee USB Dongle (Sonoff Zigbee 3.0 USB Dongle Plus recommended, ~500 THB).
Recommended extras: a case with cooling fan, Ethernet cable (better than Wi-Fi for servers), and a small UPS to protect against sudden power outages.
OS and Software Installation
Step 1: Download Home Assistant OS image from home-assistant.io/installation/raspberrypi Step 2: Flash to MicroSD or NVMe using Balena Etcher or Raspberry Pi Imager Step 3: Insert storage and power on — allow 5-10 minutes for first boot Step 4: Open a browser at homeassistant.local:8123, create an account and set timezone to Asia/Bangkok Step 5: Go to Settings → Add-ons → Zigbee Home Automation (ZHA) to pair Zigbee devices
Software Comparison: HA vs OpenHAB vs Domoticz
Home Assistant: most modern UI, most integrations (3,200+), active development — recommended first choice. OpenHAB: rule-based approach suited to Java developers, richer scripting but older UI and smaller community. Domoticz: lightweight and efficient for older hardware, Python scripting, but fewer features than HA.
For beginners and general use, Home Assistant is the correct answer.
Connecting Devices: 4 Main Protocols
Zigbee: best for budget sensors and bulbs, connects via USB Dongle, unlimited mesh network expansion. Z-Wave: ideal for Smart Locks and door sensors requiring high stability. Wi-Fi: easiest to set up but consumes more power and depends on router performance. Bluetooth: suitable for sensors close to the Hub such as temperature/humidity in HomeKit ecosystems.
ROI Calculation: Payback in 18-24 Months
Initial investment: RPi4 + MicroSD + Zigbee dongle + basic devices ≈ 8,000-12,000 THB. Energy savings of 20-35% = approximately 300-600 THB/month depending on current electricity costs. ROI ≈ 18-24 months, not counting security and convenience benefits.
HappySmart provides complete installation services with 1-year after-sales support. Free no-obligation consultations available.