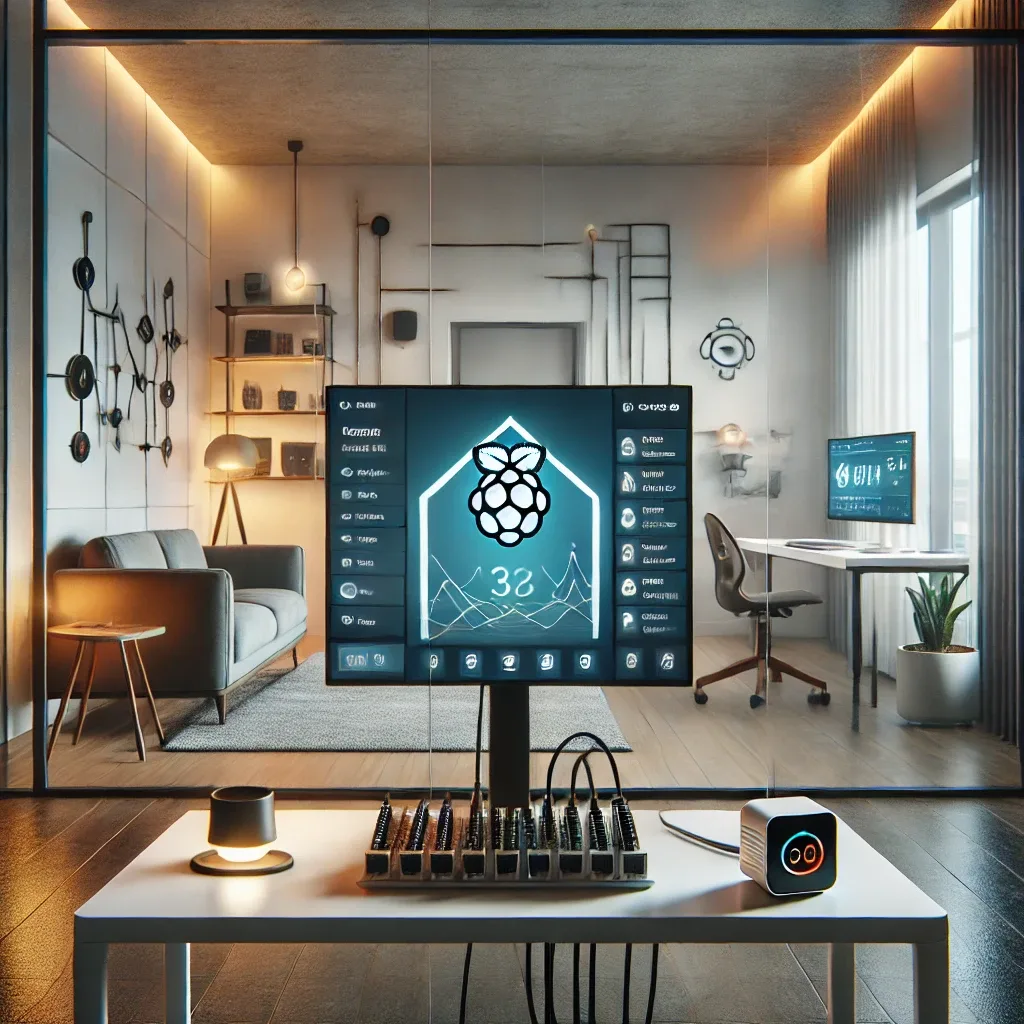
What Is Home Assistant and Why Is It the Heart of a Smart Home?
Home Assistant is open-source software designed exclusively for smart home management. It connects devices from over 3,000 global brands — Philips Hue, Xiaomi, Amazon Alexa, Google Home, Apple HomeKit — all in one interface. No app-switching required. It operates both locally and remotely, with local processing keeping your private data secure inside your home.
Why Raspberry Pi 5 Is the Best Choice
Raspberry Pi 5 offers multiple advantages: compact size with low power consumption of just 5-27W depending on load; performance sufficient to handle hundreds of simultaneous Automations; far lower cost than proprietary hubs like Hubitat or SmartThings; broad IoT compatibility via Zigbee, Z-Wave, Wi-Fi, Bluetooth, and Matter; and unlimited customization flexibility to tailor your system precisely to your household's needs.
Step-by-Step Installation of Home Assistant on Raspberry Pi 5
Required hardware: Raspberry Pi 5 (4GB or 8GB), 32GB+ MicroSD Card or NVMe SSD, 5V/5A power supply, Ethernet cable, and a computer to prepare the SD card. Installation steps: Download Home Assistant OS from home-assistant.io selecting the Raspberry Pi 5 version. Use balenaEtcher to flash the image to MicroSD Card. Insert the card into Raspberry Pi 5, connect Ethernet, and power on. Wait 3-5 minutes. Open a browser to http://homeassistant.local:8123. Create your user account and begin adding devices.
Connecting Smart Devices and Creating Automations
After installation, add devices via Settings > Devices & Services. Home Assistant automatically discovers devices on your network. Popular Automation examples include: alerts when someone rings the doorbell, motion-sensor-controlled lighting, automatic AC temperature adjustment when you arrive home, and real-time dashboards displaying all device status at a glance.
Key Benefits of Home Assistant on Raspberry Pi 5
Convenience through single-app control of everything. Security via AI camera systems, Smart Lock, and real-time alerts. Energy savings from intelligent Automations. Flexibility to customize the system around each family's specific daily routines. And maximum privacy through fully local processing with no cloud dependency.