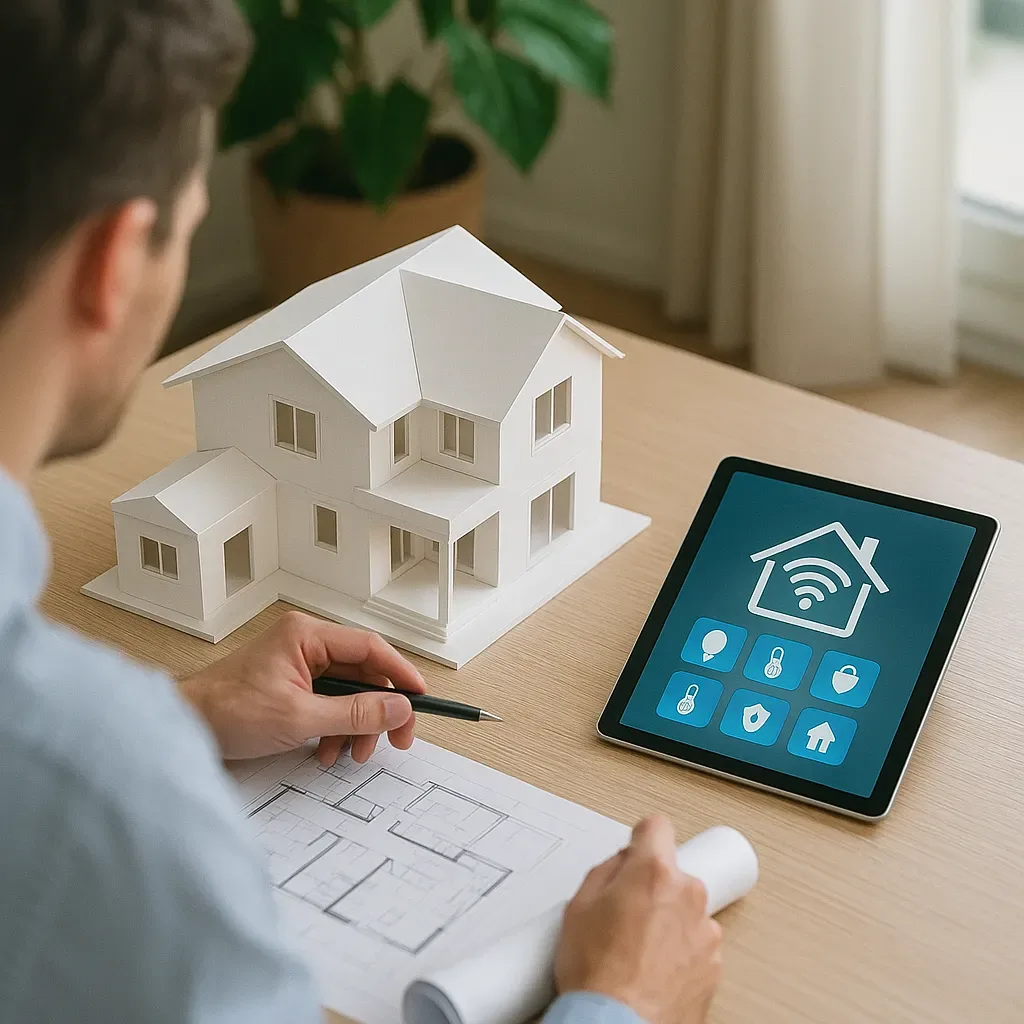
The Most Common Mistake: Calling the Smart Home Integrator Too Late
Based on experience across Thai new-build projects, the most frequent problem is homeowners deciding on smart home after walls are already plastered. The consequence: running cable through conduit embedded in finished walls, costs 3-5x higher, and visible surface raceways.
Correct timeline: the smart home integrator must arrive alongside Mechanical/Electrical trades, before floor slabs are poured and walls are built.
4 Construction Stages and Smart Home Integration
Stage 1: Design Stage (before construction begins)
- Smart Home team submits electrical and network layers into the 3D BIM model
- Coordinate junction box positions, conduit routes, and patch panel room location
- Define cable specifications: CAT6A for PoE cameras, CAT6 for APs, shielded cable for sensors
- Architect + contractor + smart home integrator review clash detection together
Stage 2: Rough-in Stage (before plastering)
- Run all conduit per agreed 3D model
- Install junction boxes and back boxes for switches and outlets
- Pull all cables before walls close: this is the only cost-effective opportunity
- Integrator verifies every back box position against 3D model on tablet
Stage 3: Finish Stage (after plastering and painting)
- Install smart switches, outlets, and sensors into pre-installed back boxes
- Connect smart panel and home automation controller
- Test each circuit using tablet and HA dashboard
- Punch list: photograph and annotate remaining items in the model
Stage 4: Handover Stage
- As-Built Drawing: update 3D model to reflect actual installation
- Documentation: create digital home manual showing every breaker circuit
- Owner Training: 4-8 hours covering HA operation and emergency procedures
Using 3D Models in Weekly Site Coordination Meetings
Weekly site meetings should use 3D models instead of 2D drawings:
- iPad/Tablet on site: open model to compare against physical installation
- Augmented Reality: Fologram/Morpholio AR overlays cable routes onto real walls
- Clash Report: highlights where smart home conduit conflicts with HVAC or structure
- Progress Photos: photograph each junction box with annotation in the 3D model
Cost Comparison: Planned vs Retrofit
Rough-in stage cable installation:
- CAT6A per meter: 35-50 THB
- Conduit per meter: 25-40 THB
- Labor per point: 150-250 THB
Retrofit after plastering:
- Wall chasing per meter: 300-500 THB
- Conduit embedding and surface repair per meter: 500-800 THB
- Repainting per m²: 200-400 THB
Conclusion: retrofit costs 5-10x more than upfront coordination.
Pre-Pour Checklist Against 3D Model
Before concrete pour and wall closure, verify against the 3D model: ☑ All conduit runs match the drawing ☑ All junction boxes are at specified location and height ☑ All cables are labeled and documented ☑ Power cable and data cable separation ≥ 15 cm ☑ Smart panel room ready to accept rack and UPS ☑ Integrator signs off on rough-in installation
Mutual sign-off from all teams before walls close is the guarantee that nothing will need expensive re-opening later.