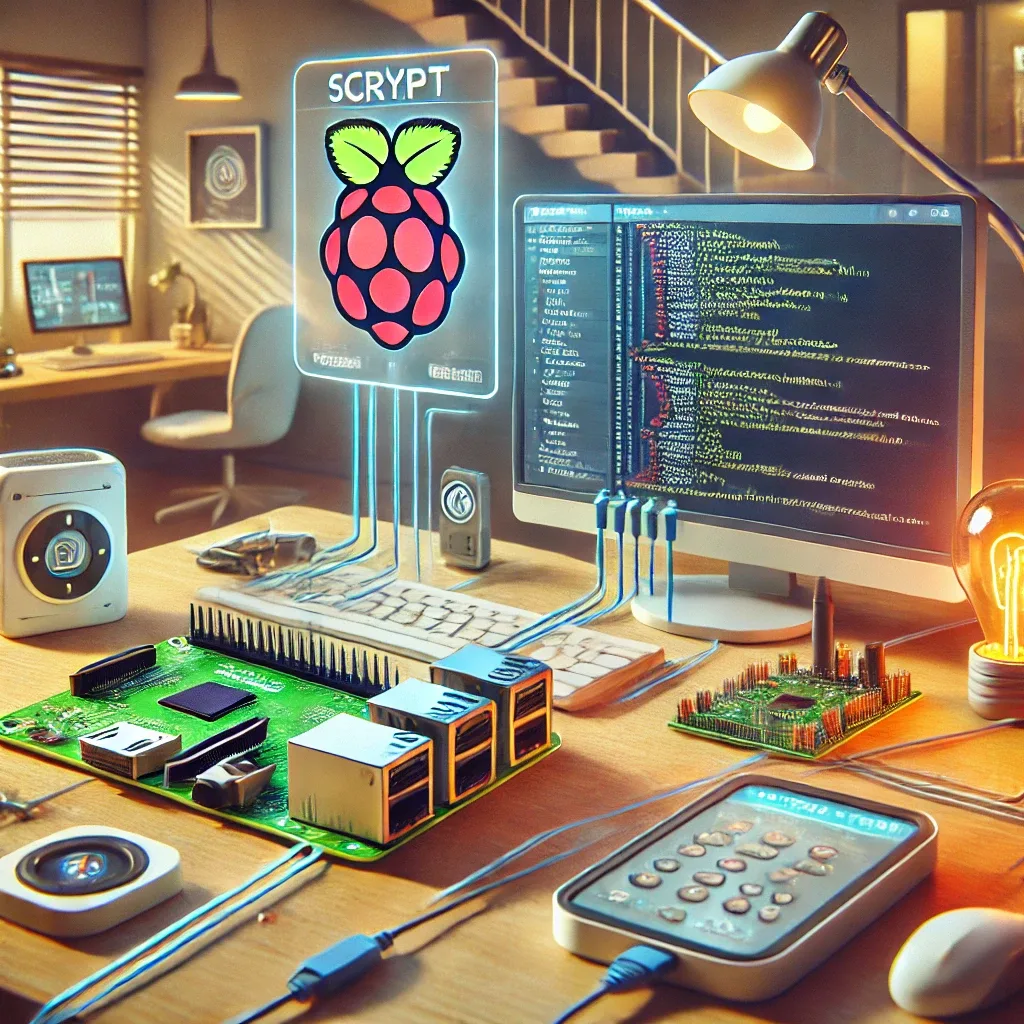
Raspberry Pi 5 as a Smart Home Hub in 2026
For homeowners who want full control over their smart home without depending on any manufacturer's cloud, running Home Assistant on a Raspberry Pi 5 remains the most capable open-source option available in 2026. The Pi 5's BCM2712 processor at 2.4 GHz, up to 8 GB of RAM, and PCIe 2.0 interface for NVMe storage make it a genuinely reliable hub — not a hobbyist experiment.
All processing happens locally, which means no monthly subscription fees and no risk of a manufacturer shutting down a cloud service and bricking your devices overnight.
What Devices Does Home Assistant Support?
Home Assistant currently maintains integrations with more than 3,000 platforms, covering Xiaomi Mi Home, Tuya, TP-Link Tapo, EZVIZ, Apple HomeKit, and Google Home. The Matter 1.4 standard, whose device profiles expanded significantly in 2026 to include energy management and security categories, allows many new devices to connect natively without a brand-specific bridge.
For older devices that predate Matter, Zigbee2MQTT and Z-Wave JS run as Home Assistant add-ons and bring those devices into the same automation engine. This means a home with existing Zigbee bulbs, door sensors, and thermostats does not need to replace everything to gain a unified control layer.
Setting Up Home Assistant on Raspberry Pi 5
The installation begins by writing Home Assistant OS to storage. An NVMe SSD via a PCIe hat is strongly preferred over microSD in 2026 — boot times and database write performance are categorically different, and the SSD will outlast a microSD card by years of continuous operation.
After the first boot, the onboarding wizard runs in any browser on the same network. Adding Tuya, Mi Home, or EZVIZ integrations takes a few minutes: navigate to Settings, then Devices and Services, search for the integration, and authenticate with the existing account. The system discovers devices automatically.
HomeBridge, which bridges non-HomeKit devices into Apple's ecosystem, installs as a Home Assistant add-on directly — no separate hardware required.
What to Consider Before Installing
Network quality is the single most important factor. A crowded 2.4 GHz band with many IoT devices causes packet collisions that manifest as sluggish response or missed automations. A Wi-Fi 6E router or a TP-Link Deco mesh system resolves this cleanly.
HappySmart always recommends placing IoT devices on a separate VLAN or network segment from personal computers and phones. This prevents a lower-security device from becoming an entry point into the rest of the home network — a basic security practice that every HappySmart installation follows by default.