PWA คืออะไร และทำไมต้องใช้กับ HA?
Progressive Web App (PWA) คือเว็บแอปที่ใช้ Web APIs สมัยใหม่เพื่อให้ประสบการณ์ใกล้เคียง native app โดยไม่ต้องผ่าน App Store HA Companion App ยอดเยี่ยม แต่ PWA ช่วยเพิ่มประโยชน์สำหรับบ้านที่มีหลายอุปกรณ์ (TV stick, tablet เก่า, iPad ในครัว) ที่ไม่ต้องการติดตั้ง App Store
HA Frontend เป็น PWA โดยธรรมชาติ
Home Assistant มี และ built-in ตั้งแต่เวอร์ชัน 2021.1 — คุณต้องการแค่:
- เปิด HA ผ่าน HTTPS (self-signed หรือ Let’s Encrypt) 2. ไปที่ URL บน Safari (iOS) หรือ Chrome (Android) 3. กด Share → Add to Home Screen (iOS) หรือ Install App (Android)
การตรวจสอบ: HA manifest.json อยู่ที่ https://your-ha-domain/manifest.json ควรมี: { "name": "Home Assistant", "start_url": "/", "display": "standalone", "background_color": "#111111", "theme_color": "#03a9f4", "icons": [...] }
Custom PWA สำหรับ Dashboard เฉพาะ
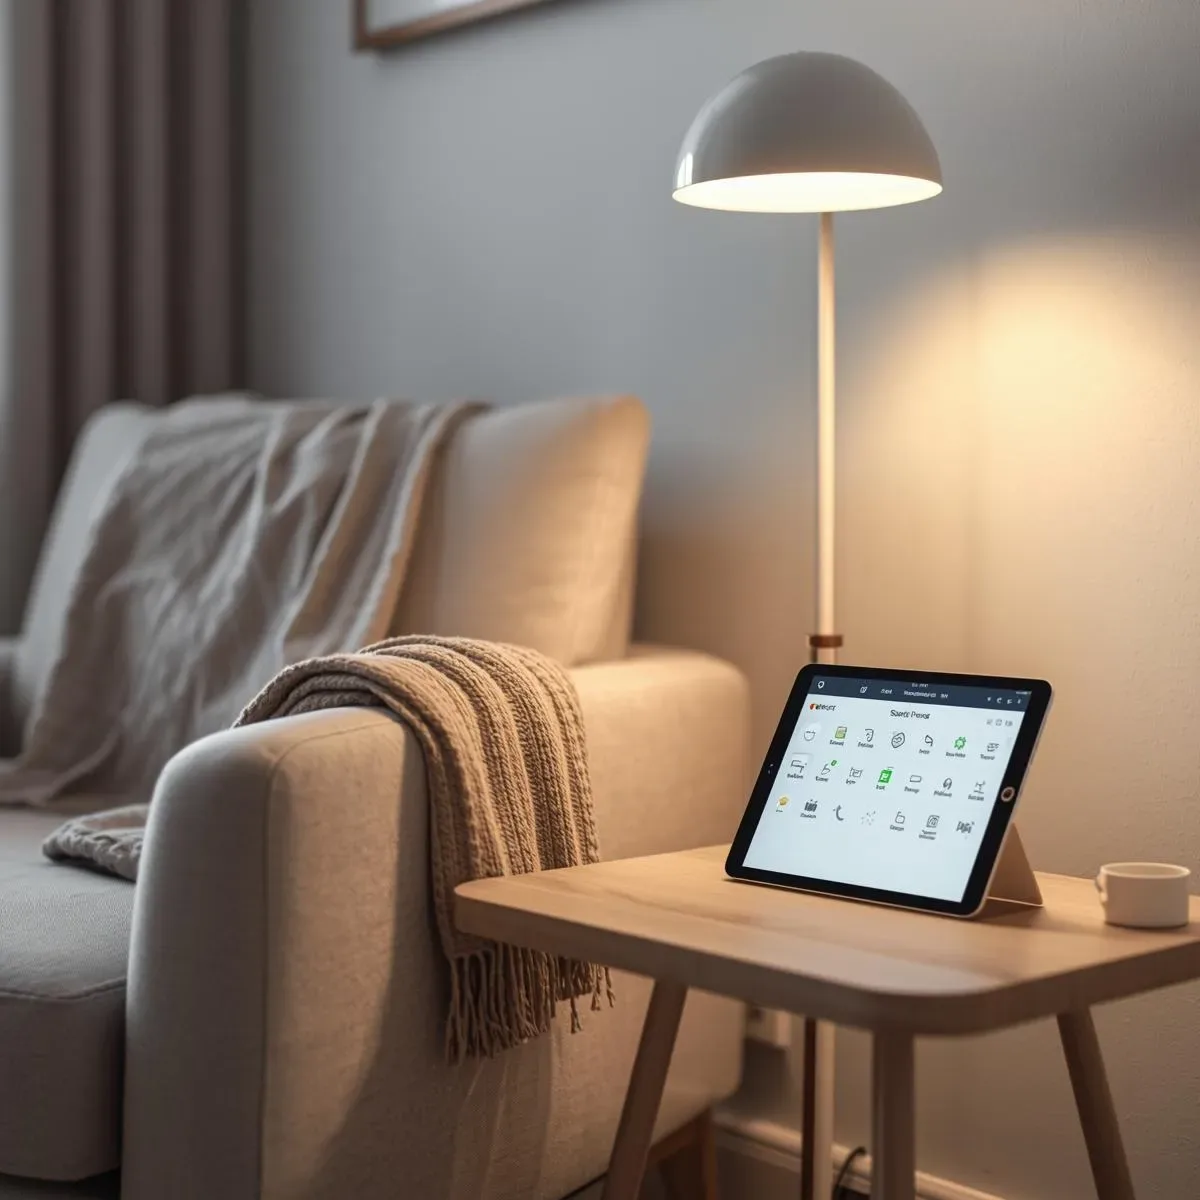
สร้าง PWA แยกที่โหลด HA dashboard view เฉพาะ (เช่น หรือ ) โดยไม่มี header HA:
html <!DOCTYPE html> <html lang="th"> <head> <meta charset="UTF-8"> <meta name="viewport" content="width=device-width, initial-scale=1.0"> <title>Smart Home Control</title> <link rel="manifest" href="/pwa/manifest.json"> <meta name="theme-color" content="#1a1a2e"> <style> * { margin: 0; padding: 0; box-sizing: border-box; } body { background: #1a1a2e; } iframe { width: 100vw; height: 100vh; border: none; } </style> </head> <body> <iframe src="https://ha.local/lovelace/main?kiosk" allow="camera; microphone" ></iframe> <script> if ('serviceWorker' in navigator) { navigator.serviceWorker.register('/pwa/sw.js'); } </script> </body> </html>
Service Worker สำหรับ Offline Caching
javascript // sw.js — Service Worker const CACHE_NAME = 'ha-pwa-v1'; const PRECACHE_URLS = [ '/', '/pwa/manifest.json', '/pwa/icon-192.png', '/pwa/icon-512.png' ]; self.addEventListener('install', event => { event.waitUntil( caches.open(CACHE_NAME) .then(cache => cache.addAll(PRECACHE_URLS)) ); }); self.addEventListener('fetch', event => { // Network-first สำหรับ HA API, Cache-first สำหรับ static assets if (event.request.url.includes('/api/')) { event.respondWith( fetch(event.request).catch(() => caches.match(event.request) ) ); } else { event.respondWith( caches.match(event.request).then(cached => cached || fetch(event.request) ) ); } }); // รับ push notification self.addEventListener('push', event => { const data = event.data?.json() || {}; event.waitUntil( self.registration.showNotification(data.title || 'Smart Home', { body: data.body || 'New alert', icon: '/pwa/icon-192.png', badge: '/pwa/badge-72.png', tag: data.tag || 'ha-alert', data: { url: data.url || '/' } }) ); }); self.addEventListener('notificationclick', event => { event.notification.close(); event.waitUntil( clients.openWindow(event.notification.data.url) ); });
manifest.json สำหรับ Custom PWA
json { "name": "Smart Home Control", "short_name": "SmartHome", "start_url": "/pwa/", "display": "standalone", "orientation": "portrait", "background_color": "#1a1a2e", "theme_color": "#03a9f4", "icons": [ { "src": "/pwa/icon-192.png", "sizes": "192x192", "type": "image/png" }, { "src": "/pwa/icon-512.png", "sizes": "512x512", "type": "image/png", "purpose": "maskable" } ] }
Push Notifications จาก Home Assistant
HA สามารถส่ง push notification ผ่าน Web Push API ไปยัง PWA ที่ติดตั้งแล้ว:
python # Python script ส่ง Web Push notification จาก HA import json from pywebpush import webpush, WebPushException def send_ha_push(subscription_info: dict, title: str, body: str, url: str = '/'): webpush( subscription_info=subscription_info, data=json.dumps({"title": title, "body": body, "url": url, "tag": "ha-alert"}), vapid_private_key="path/to/vapid_private_key.pem", vapid_claims={"sub": "mailto:admin@smarthome.local"} ) # ตัวอย่างการเรียกใช้จาก HA automation send_ha_push( subscription_info=STORED_SUBSCRIPTION, title="⚠️ Motion Detected", body="Living room motion at 23:15", url="/lovelace/security" )
iOS vs Android: ความแตกต่างที่ต้องรู้
| Feature | iOS Safari PWA | Android Chrome PWA | |---|---|---| | Add to Home Screen | Share → Add to Home Screen | Install App popup | | Push Notification | ✓ iOS 16.4+ (ต้องติดตั้งแล้ว) | ✓ เต็มรูปแบบ | | Offline | ✓ Cache API | ✓ Service Worker | | Camera access | ✓ | ✓ | | Background sync | ✗ | ✓ |
HTTPS บน Local Network ด้วย Caddy
caddyfile ha.local { reverse_proxy localhost:8123 tls internal }
Caddy ออก self-signed cert อัตโนมัติสำหรับ internal domain — iOS/Android ต้องติดตั้ง root cert บนอุปกรณ์ก่อนเพื่อเชื่อถือ cert
สรุป
PWA บน Home Assistant ให้ประสบการณ์ใกล้เคียง native app โดยไม่ต้องผ่าน App Store — เหมาะสำหรับ tablet ในครัว, iPad ติดผนัง, หรือสมาชิกในบ้านที่ต้องการ shortcut บน homescreen